
I am very excited to be sharing a little series that I am launching called Double Duty Decor. This will be a spot where I take things that I already have (either store bought or handmade) and tweak them a bit to give them a little ‘refresh’ and a new twist. I love the thought of stretching both my dollar and my decor. My hope is that this will be especially helpful as we move from fall into the holidays ahead.
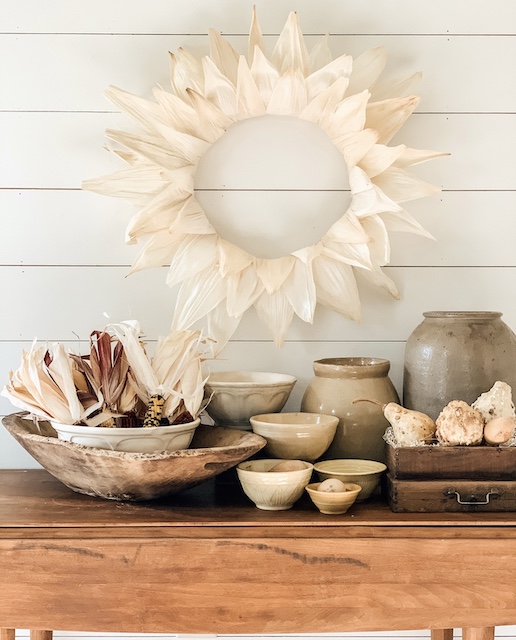
Today I thought we could revisit this corn husk wreath. This DIY got SO MUCH LOVE when I posted it. You can see the original corn husk wreath DIY here. I actually love this wreath – as is. I am drawn to the neutral color. However, I did get a lot of comments and messages mentioning how beautiful this wreath would look with a little color. With that in mind, I have decided to change my corn husk wreath up a bit for the Thanksgiving holiday. I am excited to add in a little color pop!
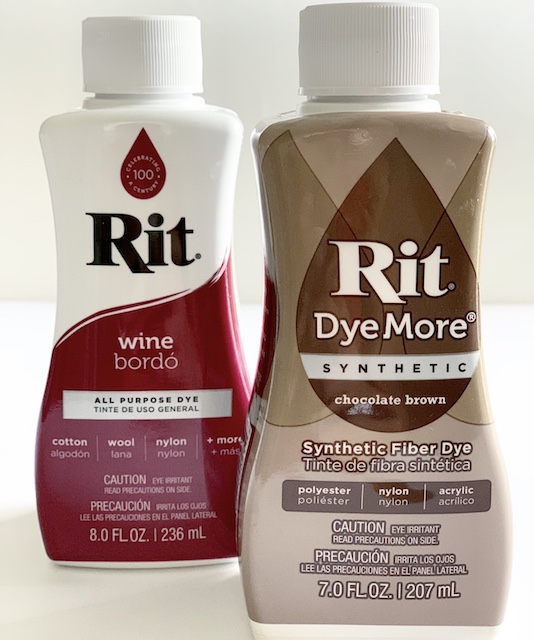
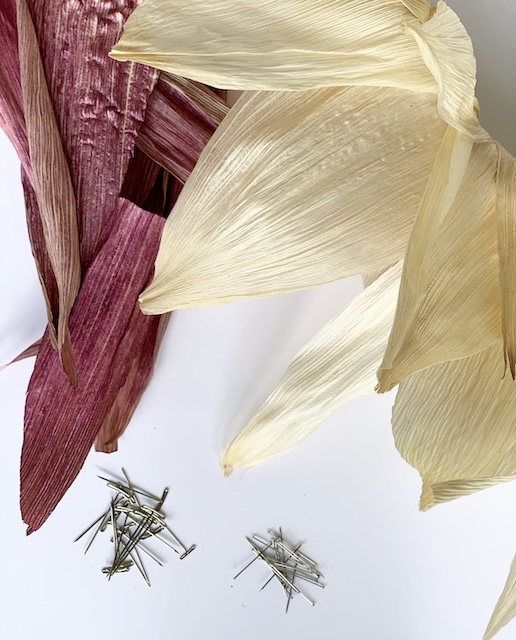
To accomplish this task, I decided to use Rit dye. They have so many amazing color options. It was hard to choose which color to go with. In the end, I decided to go with a “burgundy” but you could choose any color that suits you.
Materials
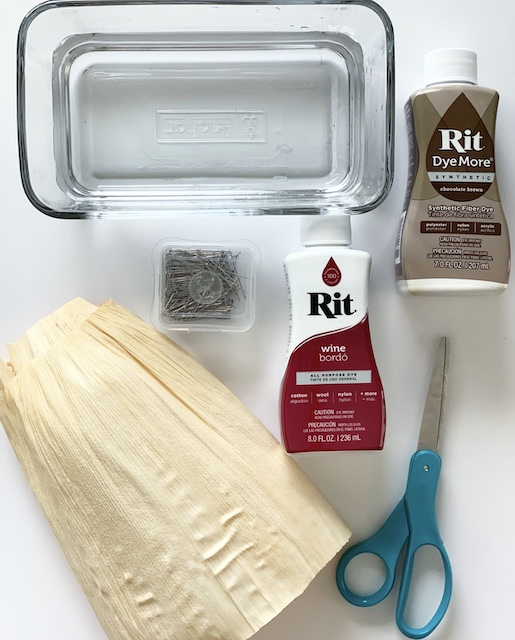
Rit Dye
Corn Husks
Pins
Glass Dish
Scissors
Water
not pictured:
Straw Wreath Form
Craft Paper
Steps

- First, use scissors to trim each corn husk. This is necessary because the husks that I bought were much too large as is. I simply gave each husk a nice little ‘point.’

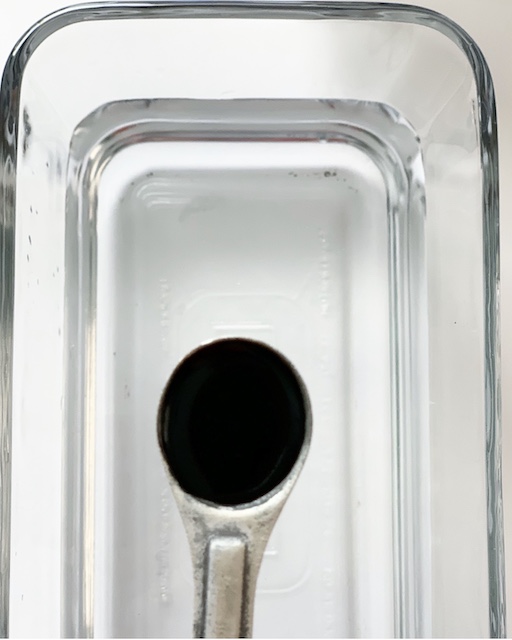
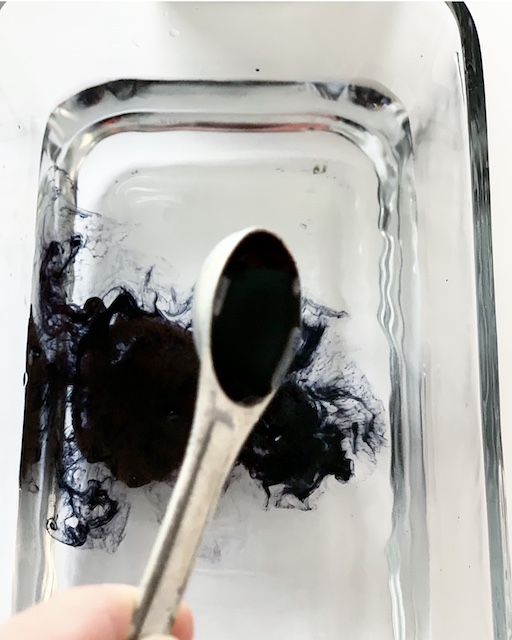
2. Next, I measured out the dye. I used this color formula chart that Rit created to base my measurements. I was unable to buy the specific colors that I originally wanted because the store didn’t have a lot of options but this chart helped me tremendously.
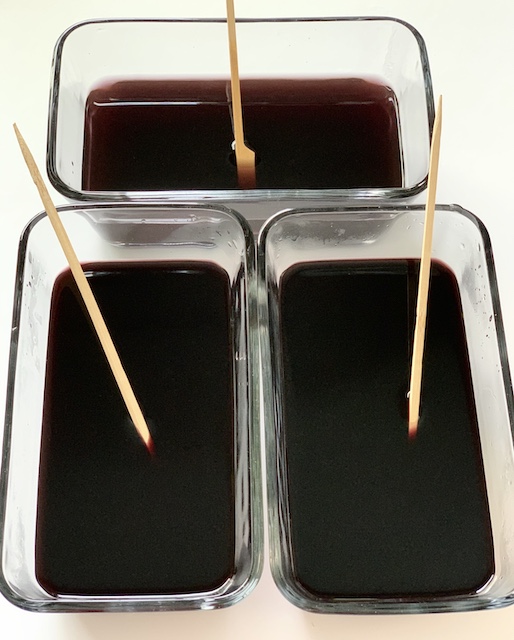
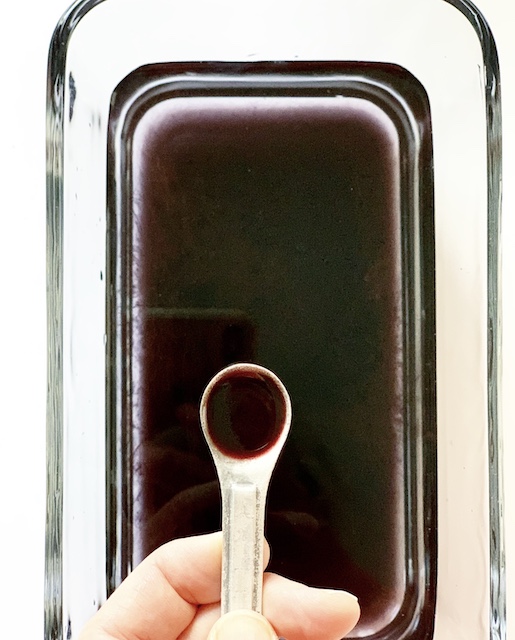
3. For this wreath, I decided to use three shades of the same color – I just tweaked each a bit. The formulas I created (based on the two colors that I bought) are:
– COLOR #1 – 2 Cups Water, 1/2 Teaspoon Brown, 1/4 Teaspoon Wine
– COLOR #2 – 2 Cups Water, 3/4 Teaspoon Brown, 1/2 Teaspoon Wine
– COLOR #3 – 2 Cups Water, 1 1/4 Teaspoon Wine, 1 Teaspoon Brown
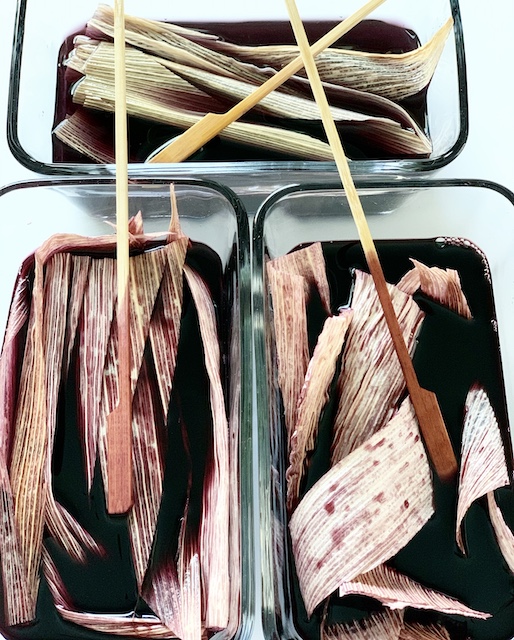
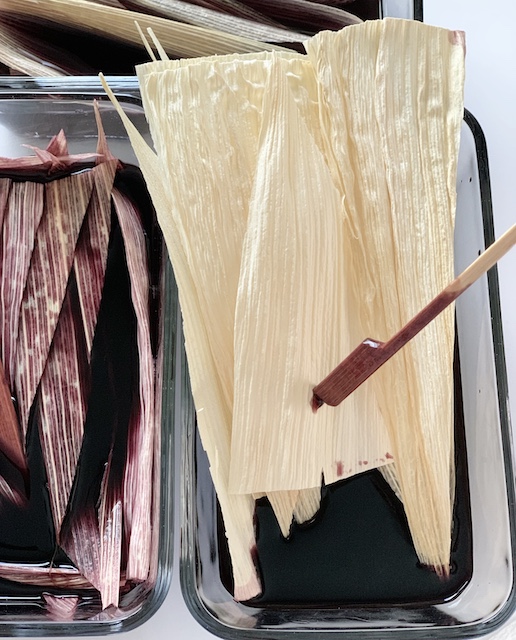
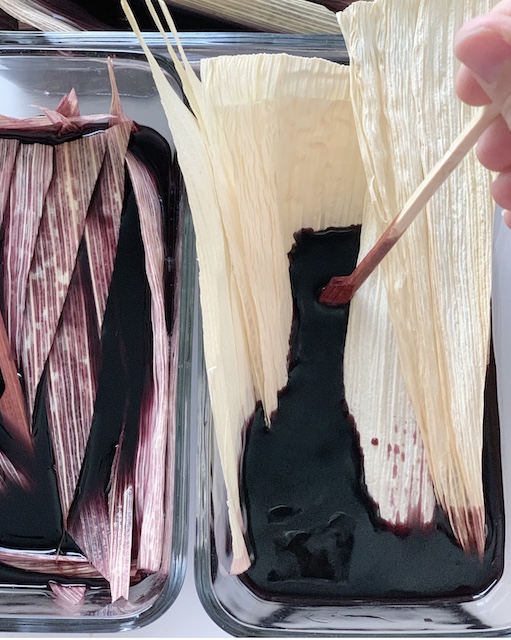
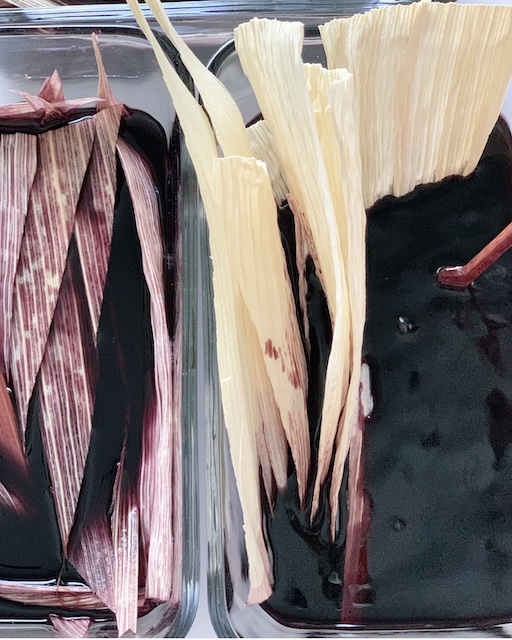
4. Next, I submerged the trimmed corn husks into the dye. I kept the husks in the dye for 45-60 minutes and I stirred vigorously several times – making sure that all parts of each husk were covered with the dye. In the end, there wasn’t really that much difference between the bottom two colors. But, that is alright! I was still very pleased with this easy process.
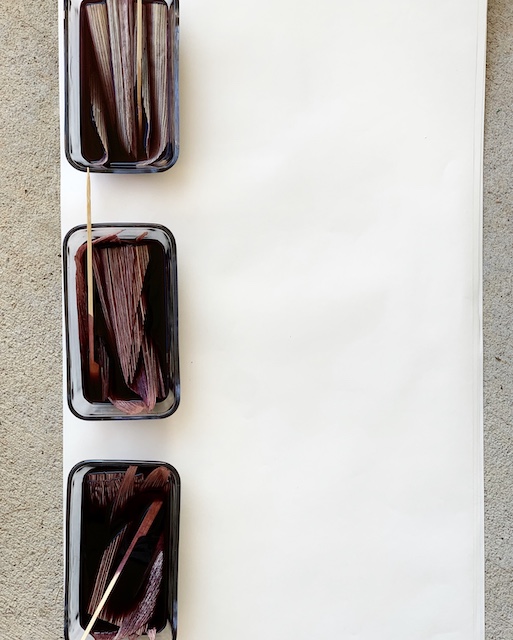

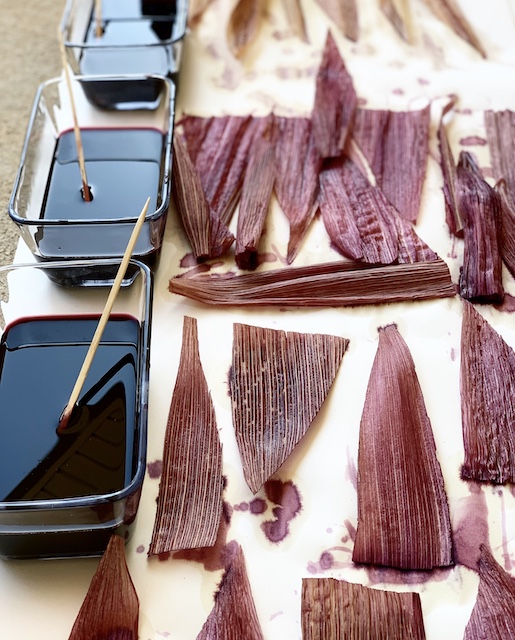
5. After the husks were done sitting in the dye, I pulled them out to dry. I did this step outside because it was a bit messy! Using several layers of craft paper to catch the drips, I pulled each husk out of the dye using tongs. I let them dry outside on the craft paper for about 45 minutes.
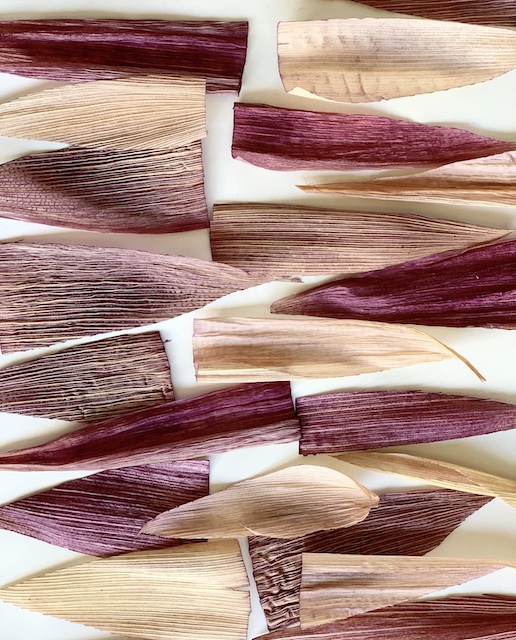

6. While the husks were still a little damp, I used a brand new straw wreath to ‘mold’ them. I wanted to ’round’ them out a bit while they were still damp. I didn’t use the main wreath because I didn’t want the damp husks to ‘drip’ any dye onto it.
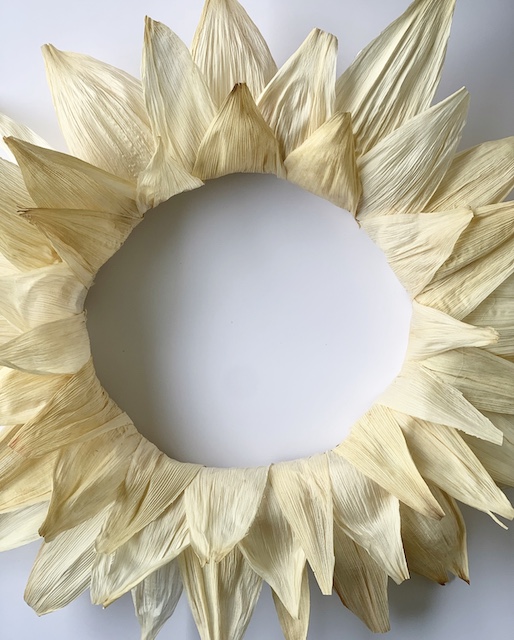
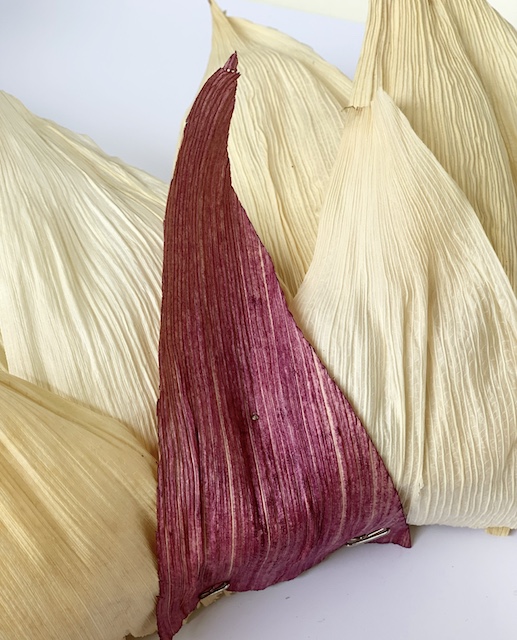
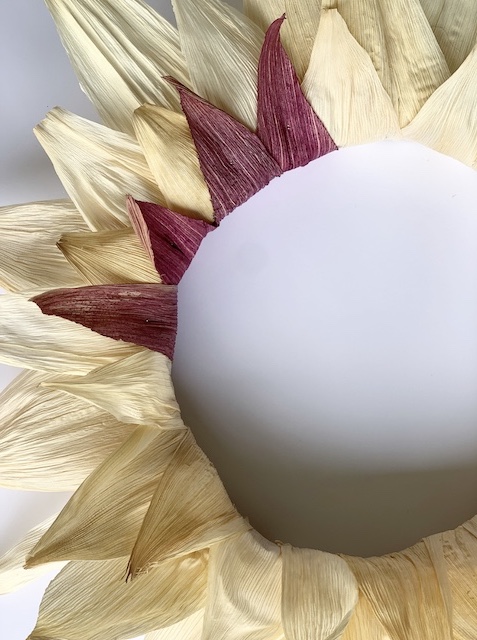
7. Once the husks were basically dried, I simply attached them to my existing wreath. I did this using both T pins and rounded pins. I did NOT hot glue them onto the wreath because I want to be able to use my original neutral wreath again next year. Also, I may want to try and add a new color to the top in the future. There are endless possibilities.
* I do think that using hot glue would offer a cleaner look. You can see the pins if you get close.
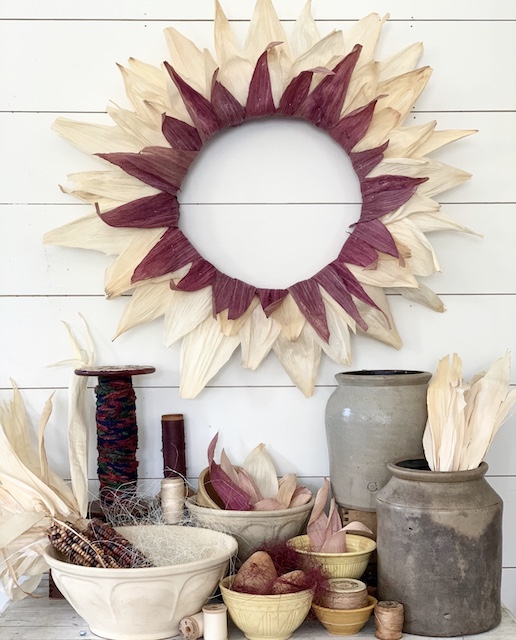

I have to admit, I am in love with this new look. The added color definitely gives it a ‘new look’ and it also adds a hint of warmth! It feels like a brand new wreath – just in time for Thanksgiving! Oh, and now I want to dye everything.
I can’t wait to share my next ‘dye’ project AND my next double duty decor idea! Stay tuned!




 Simple Dollar Tree Ghost Transformation
 Fall Flowers On The Mantel
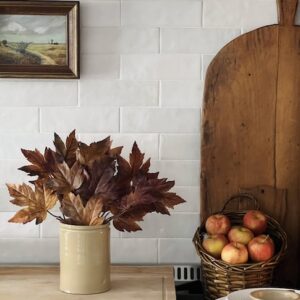 Kitchen Counter Fall Decor: Simple & Warm Additions
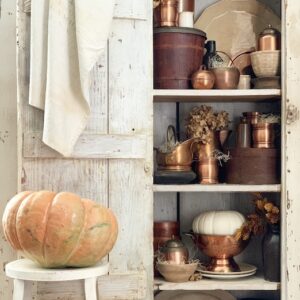 Shelf Styling for Fall with Copper

