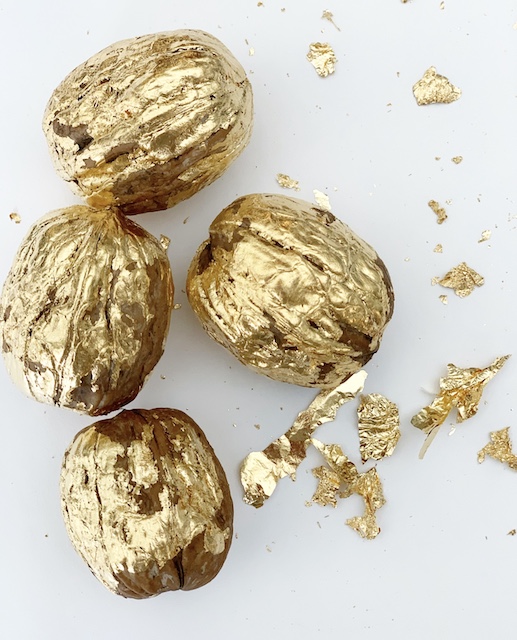
Can you believe the holiday season is right around the corner? I am so excited to begin decorating for the winter months. While there is so much excitement in the air, I also know that each year the holiday season tends to sneak up on me. I always find myself running out of time before I get it all done. But not this year! I am getting a head start and am kicking off the season with a very simple little DIY. Gilded walnuts are so easy to make and they can transition beautifully from Thanksgiving into Christmas.
A few weeks back, I tried my hand at gilding pumpkins. I loved the way that they turned out. You can see how I created my Copper Kissed Pumpkins right here! I was so pleased with these and I am so excited to try gilding something new!
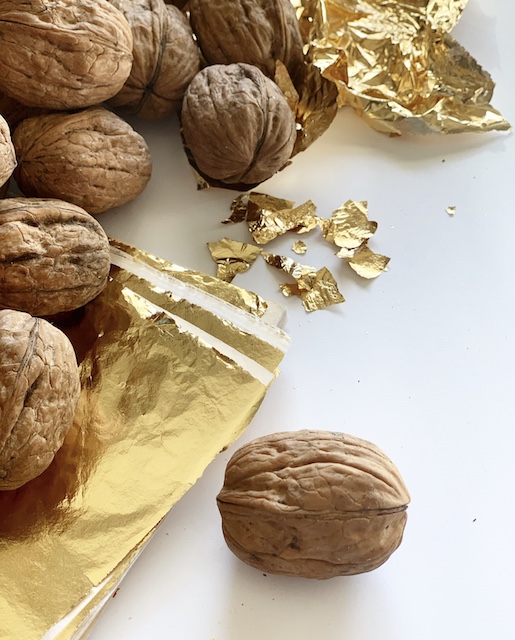
When I ordered the copper gilding sheets for the pumpkins, they came in a pack that also included silver and gold sheets. With the idea of “not letting anything go to waste’ in mind (smile), I am decided to use the GOLD sheets today. I am so excited to be making gold gilded walnuts.
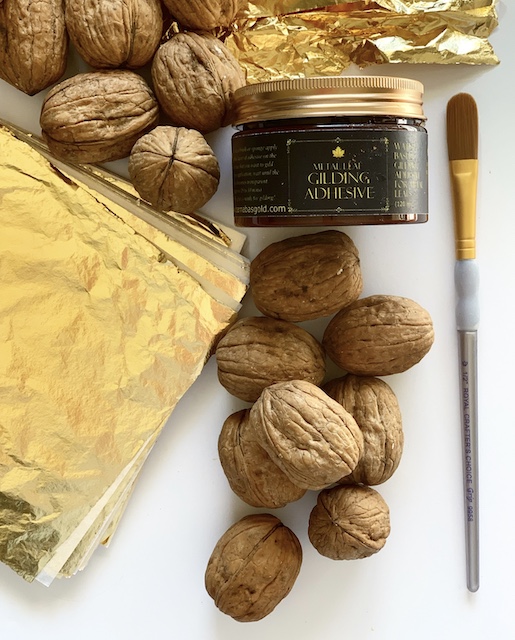
Materials
- Walnuts
- Gold Leaf
- Gilding Adhesive
- Paint Brush
Process
choose the perfect walnuts
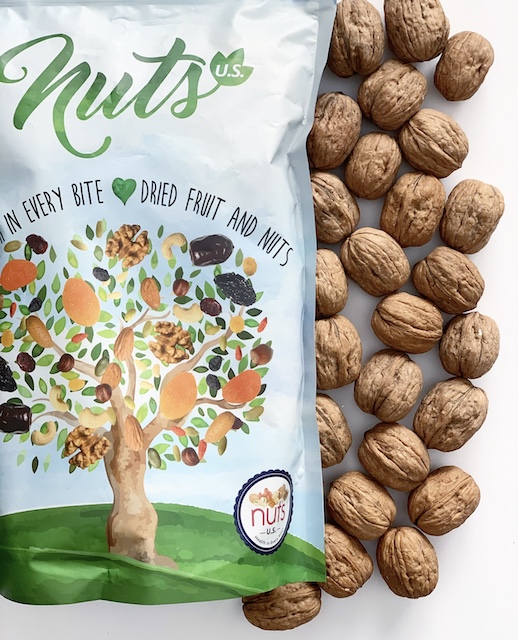
I ordered this 2 pound bag of walnuts. Once it arrived, I made sure to look through the bag and remove any walnuts that were broken or any that had cracks!

apply the adhesive
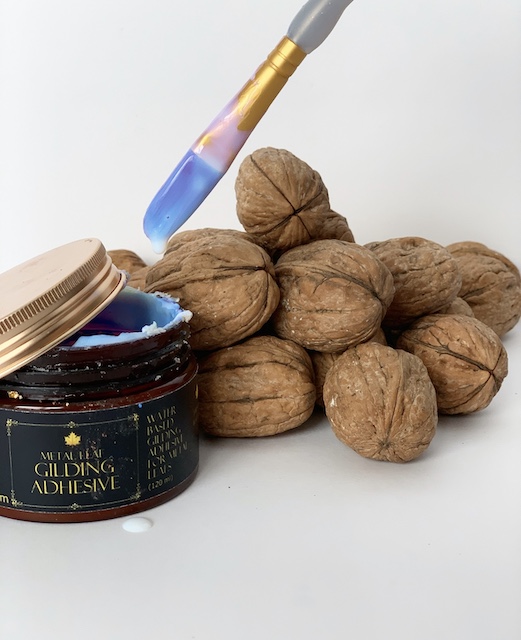
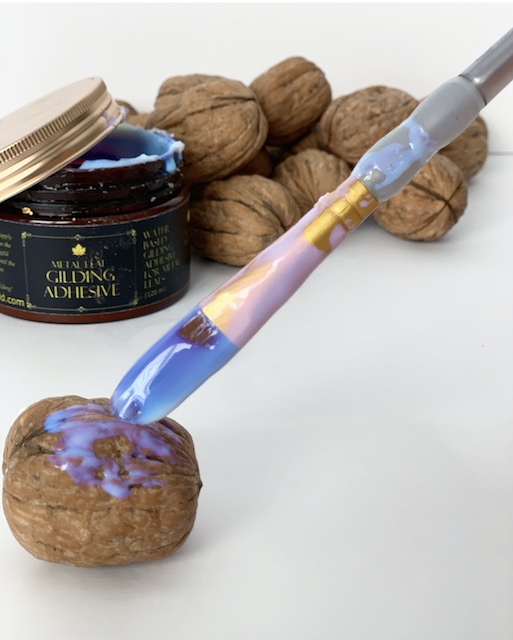
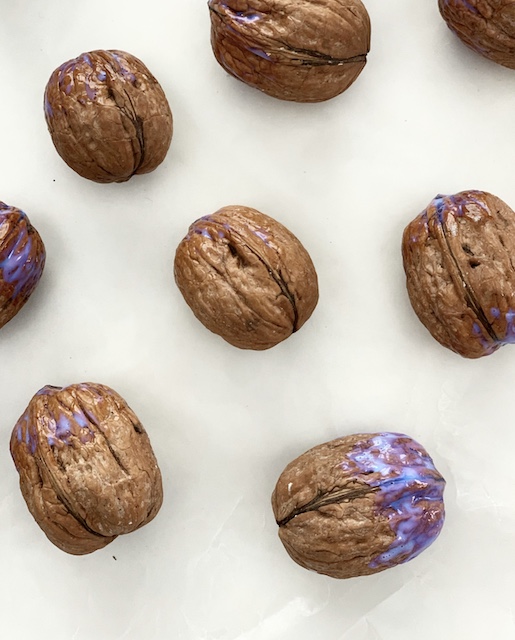
There is no right or wrong way to do this. Just brush the adhesive on using an old brush and have fun with it. I used this adhesive. The adhesive has a blue tint to it so you will be able to see it as you paint it on. Be careful to avoid getting it on your fingers because it is very sticky and it will make working with the gold leaf very difficult in the next step.
allow the adhesive to dry
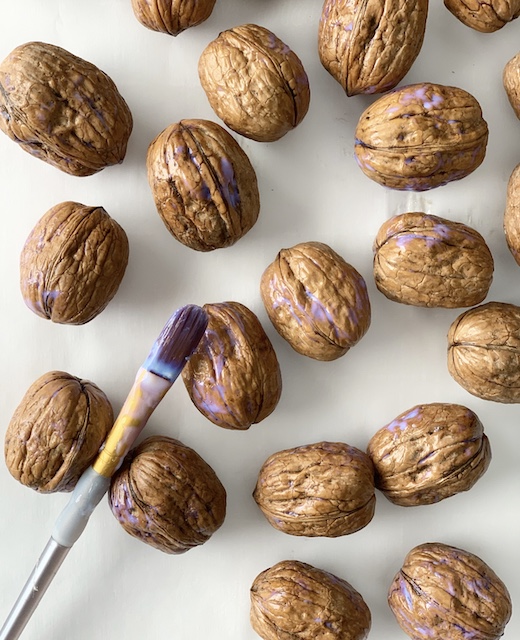
Make sure to allow time for the adhesive to dry a bit. This process only takes around 15-30 minutes – but it is an important step. You want the adhesive to ‘dry’ a bit so that it will be easier to work with the gold leaf. If the adhesive is too ‘wet’ the leaf won’t go on well.
apply the leaf
Once the adhesive is ‘dry’ go ahead and begin applying the leaf. I used this gold leaf. Because the walnuts are smaller than the gold leaf sheets and because the sheets are very fragile, I decided that the easiest thing to do was to carefully wrapped each walnut in one gold sheet at a time. Almost like you would wrap a burrito! I used a piece of wax paper wrapped around my finger to bear down and ‘press’ the gold leaf into the crevices of the walnut to secure it.
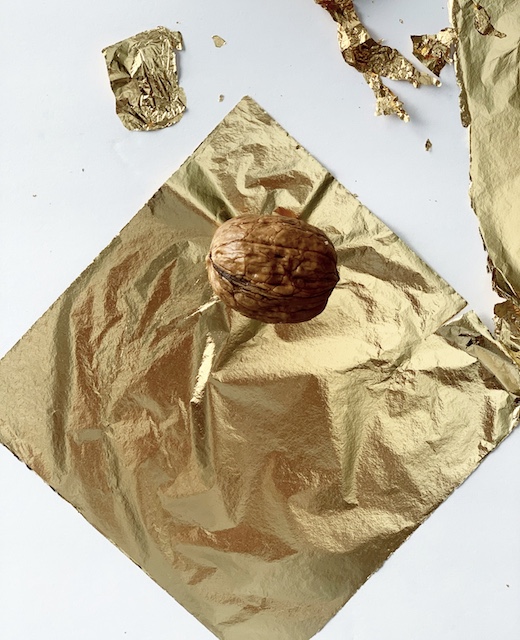
place on top of gold leaf 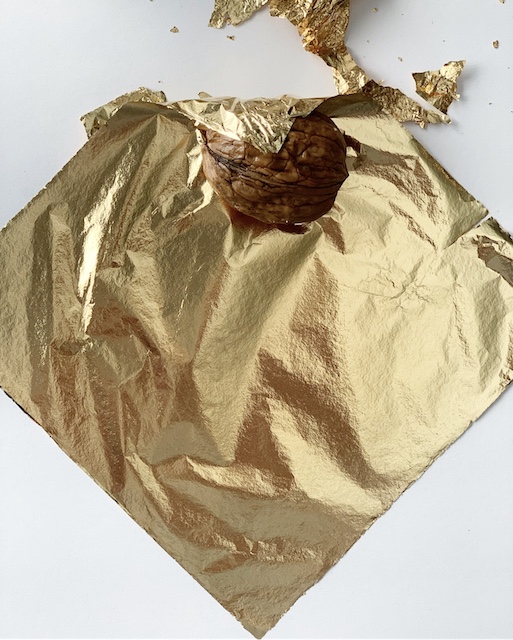
begin rolling from corner 
cover walnut completely
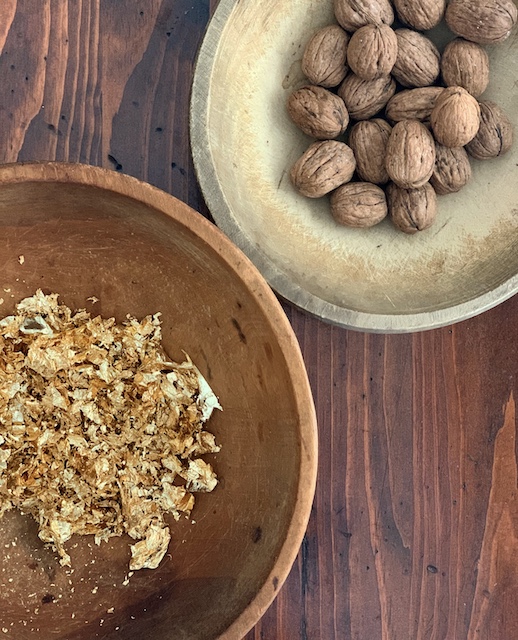
TIP: It is important to note that the leaf sheets ate very fragile and will break easily. Little ‘bits’ of leaf may ‘fly away’ while you are working. For this reason, I recommend doing this step outside or over a large bowl.
fill in any gaps
Because the surface of the walnuts are so uneven, there may be gaps in your gold leaf. I didn’t mind that look at all but if you want a more cohesive look then just apply an extra piece of the gilding sheet to your walnut where there are gaps. Using pressure, apply and smooth out any bear spots you may want to cover up.

brush off the extra bits
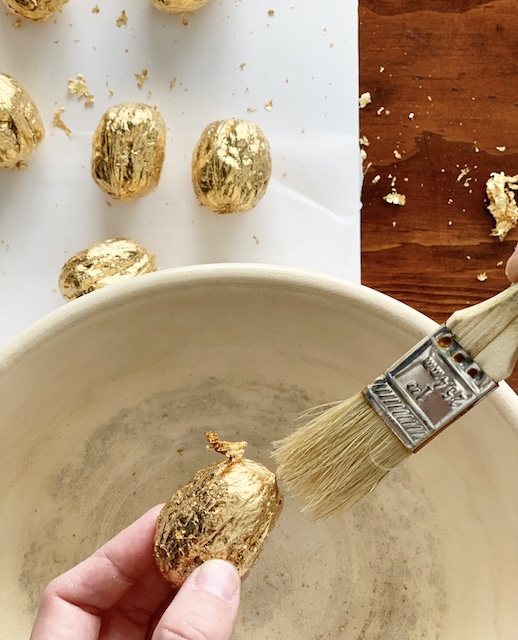
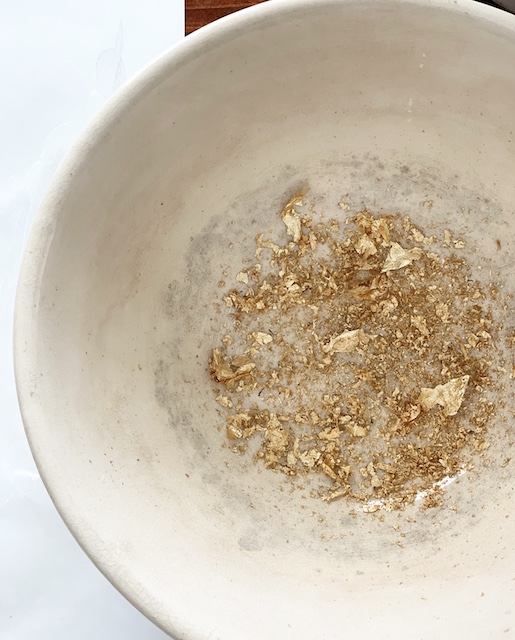
I found there seemed to be extra raised bits and pieces of the gold leaf that didn’t quite stick to the walnuts. All I did was to take a dry paint brush to knock off those pesky little pieces. This process helped to give the walnuts a super clean look! I did this over a large bowl and the ‘pieces’ just fell right in!
try It A Different Way
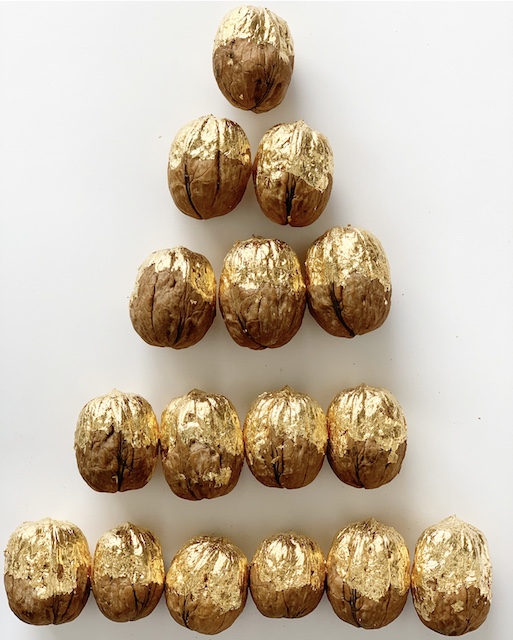
While I love the walnuts that are totally covered in gold leaf, I also wanted to try a ‘different look.’ Just like the pumpkins, I wanted to give a few walnuts a ‘golden kiss.” I like the way these all turned out as well.
style your gilded walnuts
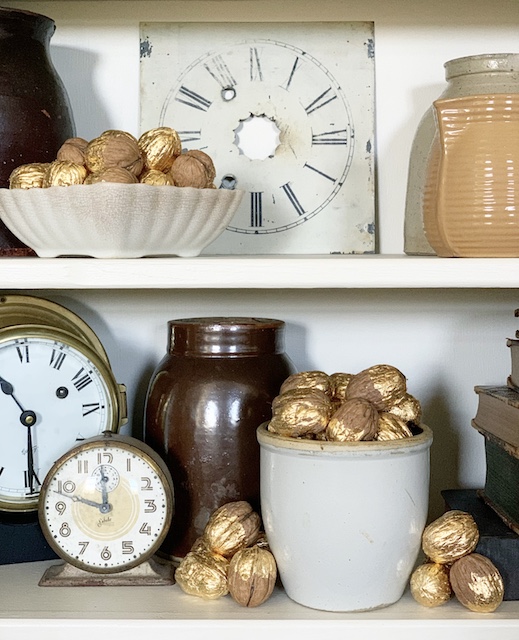
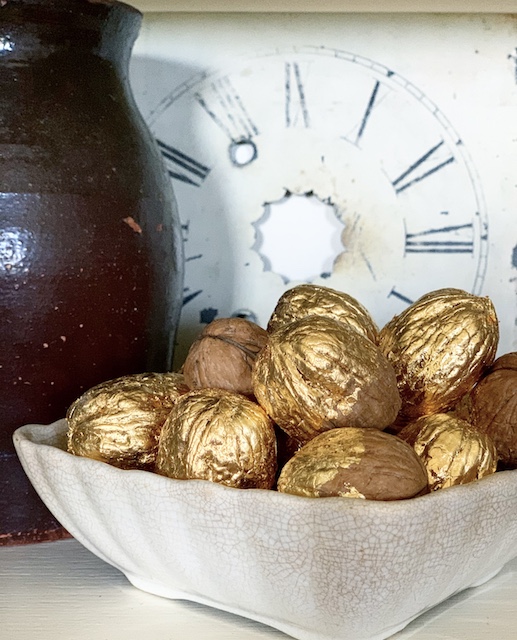
This is always my favorite party of any DIY! I decided to use a mix of both the completely covered gilded walnuts and the ‘kissed’ nuts. I love the way the mix look together.
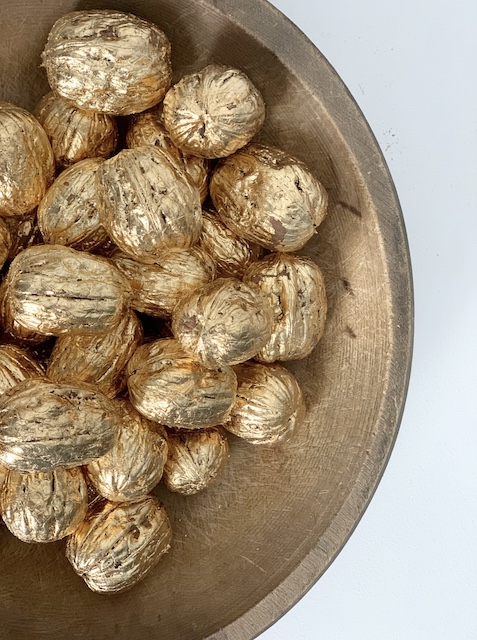
Totally covered 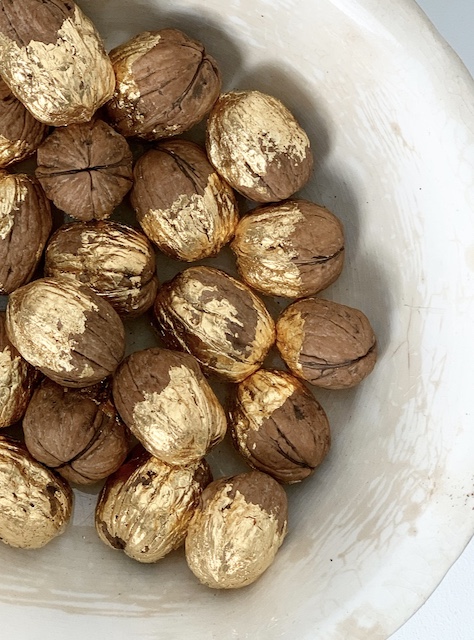
Sun kissed
These little gilded walnuts were both very easy and quick to make! Best of all, they will work well for both Thanksgiving and Christmas! Toss them in a bowl or place a few here and there on a shelf. I feel that they add just a little pop of sophistication and warmth. Stay tuned too – because I plan to give these little walnuts a fresh look for the Christmas season!

Storage
It is important to note that if I do choose to keep these to use in 2021 or beyond, I will need to store them with care. These walnuts still have their nuts inside and also have natural small holes and crack in them. I will need to wrap them in tissue and store them in a tight box with cedar chips to keep any potential critters away.

 Nostalgic Santa Display
 Vintage Christmas Tins: Easy Styling Tips and Tricks
 Rustic Christmas Mantel With Honeycomb Ornaments
 Vintage Pinecone Elves For Christmas

