It is so easy to give your Christmas ornaments a vintage feel with this simple DIY. Come see how distressing ornaments can be both quick and fun!
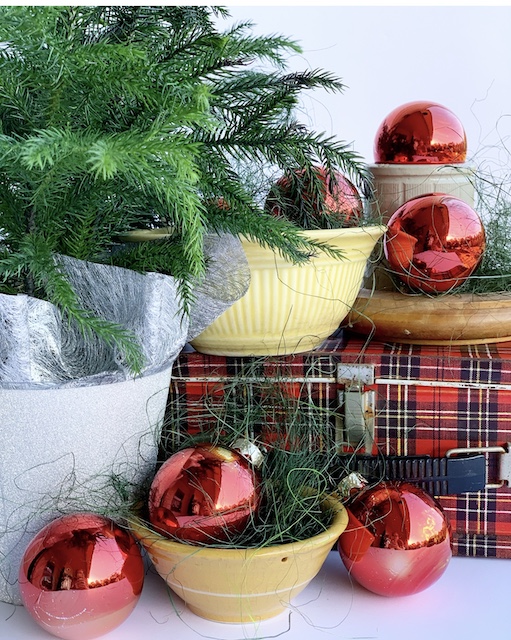
There is just something charming about the look of old ornaments. Don’t you agree? I have always been drawn to their imperfections and the story that they tell. I have several from my grandmother and I also have been collecting them for a long time. My collection is large and I cherish every single one.
Like many of you, I love to incorporate old ornaments into my Christmas Decor every year! Even with my large collection, I have found that I don’t always have what I need on hand. With this in mind – and with the motto
“sometimes you have to create your own vision” – I am so excited to share my process for distressing ornaments. In the past I have easily worked these DIY distressed ornaments in with my authentic vintage ones and you can hardly tell – except for the hook!
Today I am going to explain how to distress new ornaments as well as how to distress older ornaments. I realize that the idea of distressing older ornaments may not make a lot of sense, but I promise they really turn out to be pretty cool!
New Ornaments:
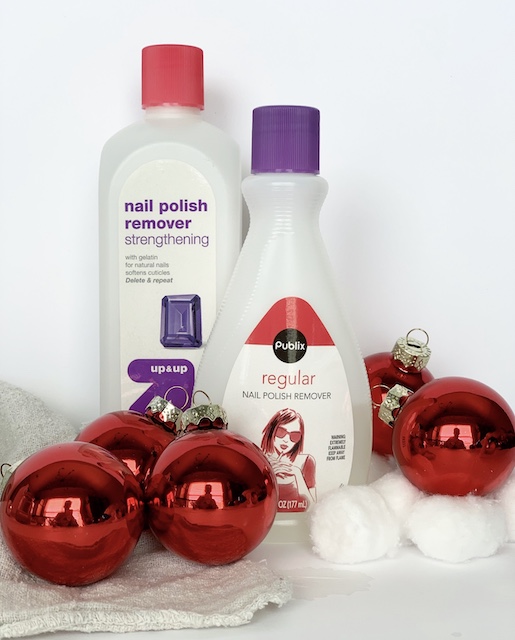
Supplies:
New Glass Ornaments
Nail Polish Remover
Cotton Balls
Rag
The Process:
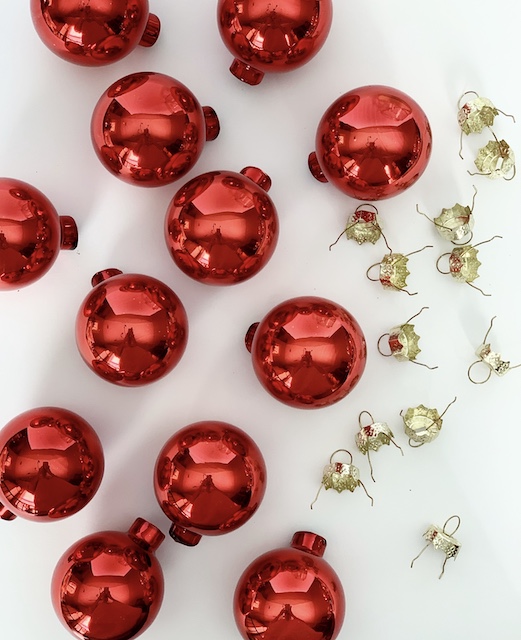
- The first step is to remove the hardware from the ornament.
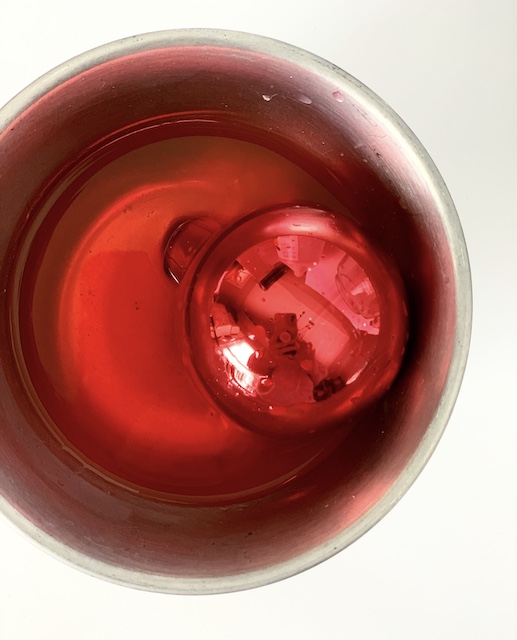
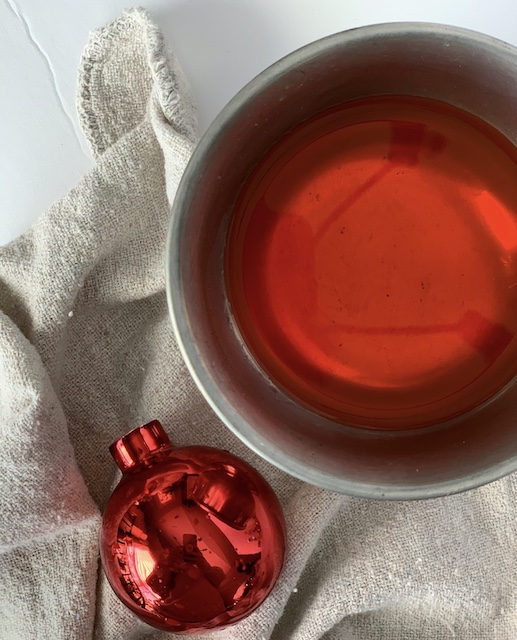
2. After a bit of trial and error, I found that the most effective way to distress new ornaments was to pour some nail polish remover into a basin and dunk the ornaments into the remover. I found that the distressing is more ‘even’ if you spin your ornament around while it is soaking. I just used my fingers for this.
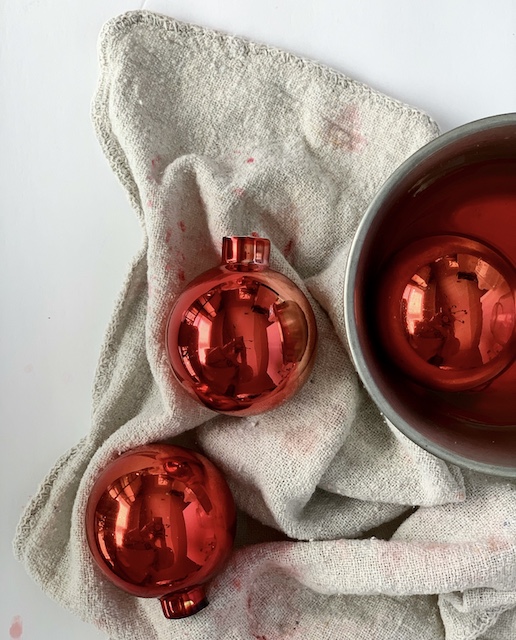
3. After about a minute, remove the ornament form the liquid and then rub it dry with a few cotton balls or a clean rag. I found that I needed to use a little bit of force when rubbing the ornament to actually distress the color.
4. Let them dry completely before moving them around because they will ‘drip.’
Note: I also found that I needed to repeat these steps a few times to really give each ornament a true distressed look.
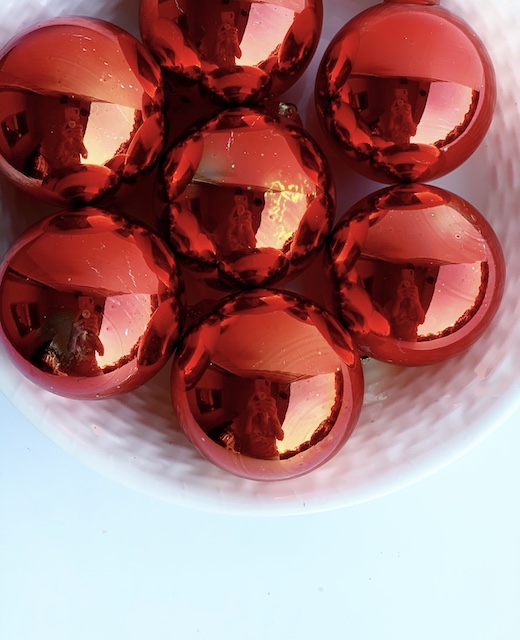
Results: Although it is subtle, you can absolutely see a difference in these red ornaments. They are not as bright as the original red and they each have charming areas where the color as been worn and removed and ‘chipped’ off.
Old Ornaments:
There have been so many times when I have found a great batch of solid color ‘older’ ornaments. I usually find these at estate sales and thrift stores. I wanted to see what would happen if I tried to distress these. I used a different process for these oldies and I am very pleased with the results!
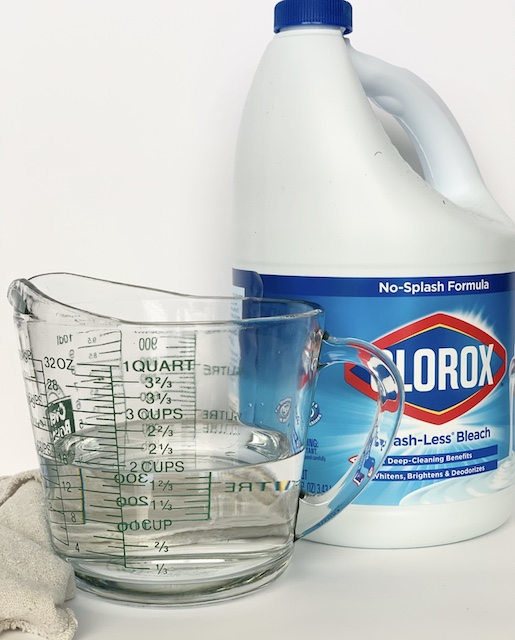
Supplies:
Glass Ornaments
Bleach
Dropper
The Process:
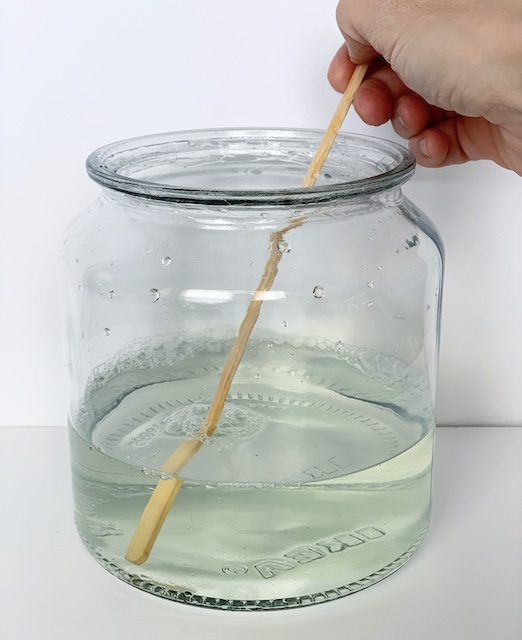
- First, you will need to create the mixture. To do that, simply use 2 parts water and 1 part bleach. Be sure to mix the two throughly. Bleach is more dense than water and because it is thicker the mixture will need a really good stir.
2. Next, you will need to remove the hardware from the ornaments and set the pieces aside.
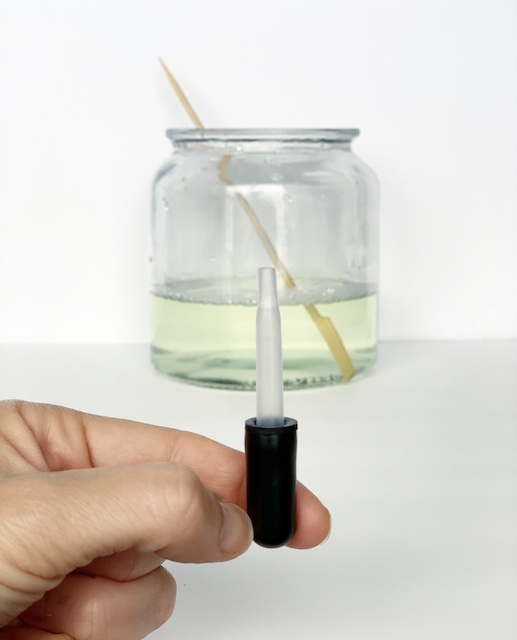
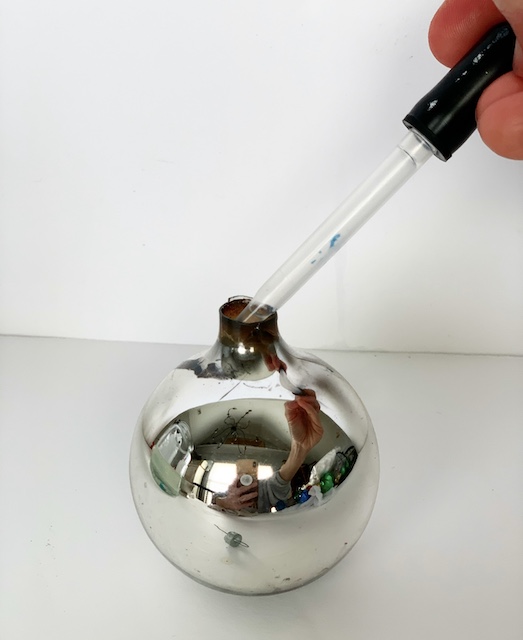
3. Take the eyedropper and suck up some of the bleach mixture. With care, squirt the bleach mixture inside the ornament. Squirt enough into the ornament so that when you give it a swirl it will cover the entire inside of the ornament. I used between 8 and 10 squirts for a standard sized ornament. Make sure not to fill it up too much though. You want to be able to swirl it all around.

4. Swirl it for just a few seconds. You will see the color of the ornament changing before your eyes.
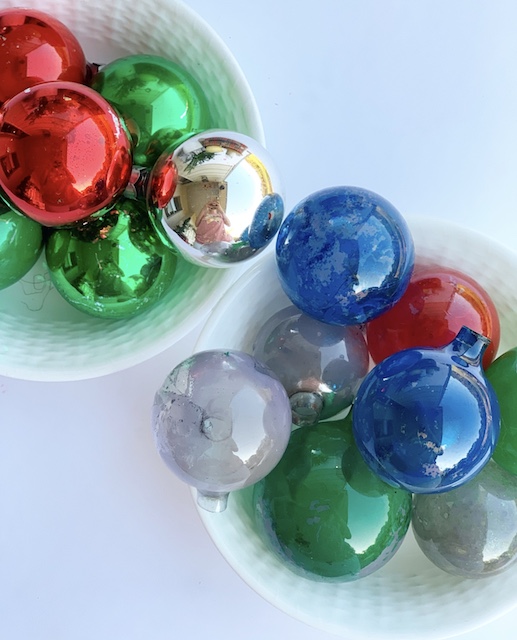
5. Then, dump out the mixture and let the ornament dry on a rag or paper towel.
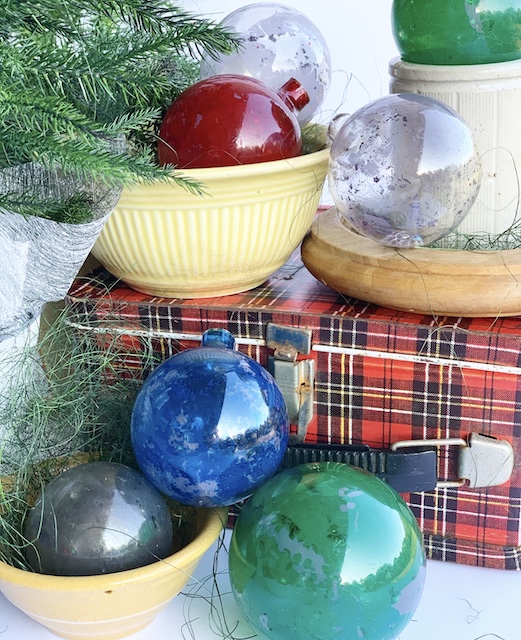
Results: Using the bleach mixture on these ornaments ‘distressed’ them almost instantly. It was an easy process and I am very pleased with the muted colors!
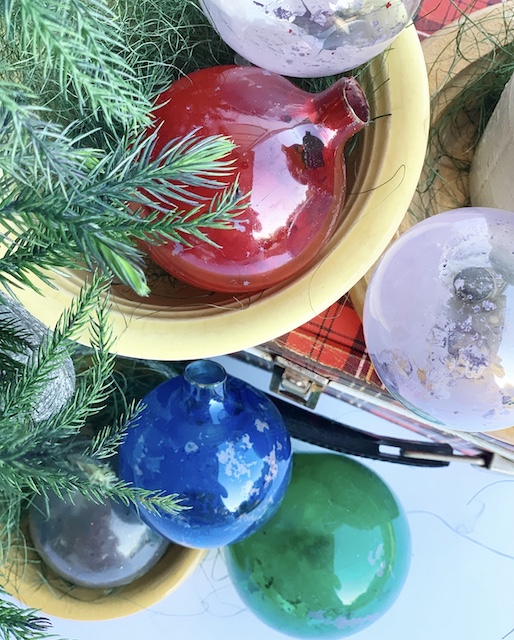
Note: I would not try this process on any expensive ornament. There are some really pricy older ornaments out there so be careful not to try and distress a rare one. Also, I tried this process on the new ornaments but it did NOT work. I assume that the new ornaments may have some sort of ‘coating’ that they older ones don’t have.
To Wrap It Up
This process was defiantly trial and error – especially for the new ornaments. I had to try a few different things to achieve a distressed look for the new red ornaments. But I am very happy with the subtle aged look that I achieved with the nail polish.
I was really happy with the way the old ornaments turned out. It was so much fun to watch them change color right before my eyes. I am so very please with the end result.
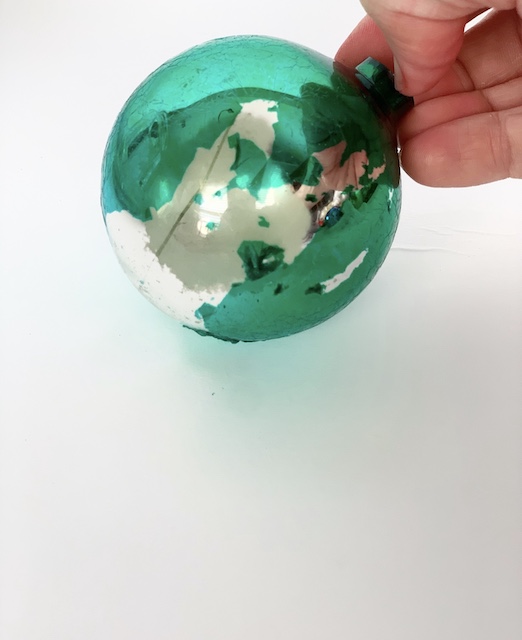
It is important to note, while I did find that distressing ornaments that were new was much easier, I did discovered that you have to be really careful. The bleach mixture actually ruined a few ornaments. It took the paint right off of this green one. Luckily, I had a few to spare.
This DIY has come in handy for me several times over the years. There have been situations when I didn’t want to risk breaking an important vintage ornament and these distressed ones were a perfect substitute. I hope you enjoyed this DIY for distressing ornaments. If you do try this please let me know how it goes! Cheers to imperfections!
 Nostalgic Santa Display
 Vintage Christmas Tins: Easy Styling Tips and Tricks
 Rustic Christmas Mantel With Honeycomb Ornaments
 A Folky Christmas Music Playlist

