Are you tired of your lackluster staircase? Here I am sharing how to paint a stair railing to give your staircase a fresh, new look! The best thing – it is super easy and will not take long to accomplish!
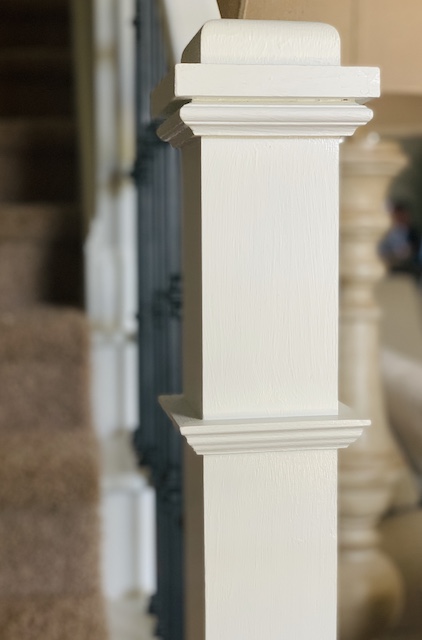
Over the years I have found that there are small ways to make big changes in your home! Using paint is certainly one of those ways. We have wanted to make a BIG change to the handrails on our staircase for a while now, but we have been nervous to do it because it is such a high traffic area! After a trail run, we decided to go for it!
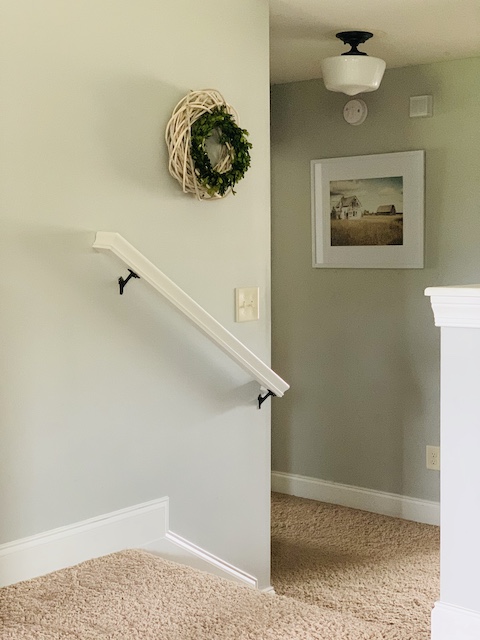
Last year, while working on building a reading nook, we painted two short stair railings in our upstairs living area – WHITE. The railings were a ‘honey color’ initially and we wanted to test the white color up there since we were not sure how it would look. We also were worried that painting the railing white would be a mistake with 3 kids. Would the white paint hold up? Would it get dirty? After about 6 months of testing it out, we discovered that it does work and – more importantly – it does look great!
Like most two story homes, we have a long stair handrail that leads from the first floor up to the second floor. That railing in addition to the newel post and the trim of the stairs were becoming an eyesore for us. After giving all the rooms in our home a fresh coat of paint painting (See some of the colors that we have used here), we realized that the railings, with their honey stained wood finish, did not really match the rest of the house. So, with confidence, we decided to paint our main stair handrails … WHITE! Today, we are are sharing all the details of how we did it! Below you will find all the tips on how to paint a stair railing! Trust me, it is super easy and will make a big difference!
Prep Work
The first step of this project was to clean. The banister and railing are high touch areas. Our kids on constantly running up and down the stairs. Cleaning them was a priority. We washed them first to get the dirt and grime completely off the surfaces.
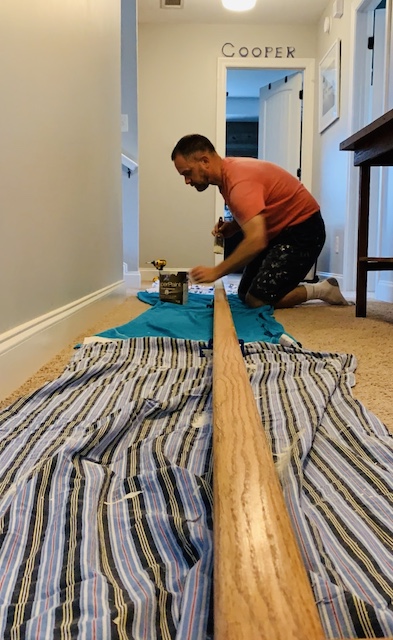
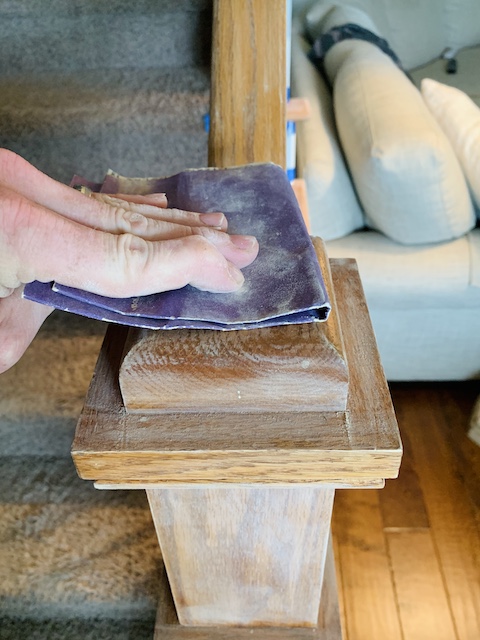
Next up was sanding. Mark removed the long railing from the left side of the staircase by removing the screws and brackets from the bottom of the railing. Doing so made it easier to sand the very long piece. We simply worked on it on the floor in our hallway. We used 220 grit paper with the intention of removing the polyurethane finish on the stain.
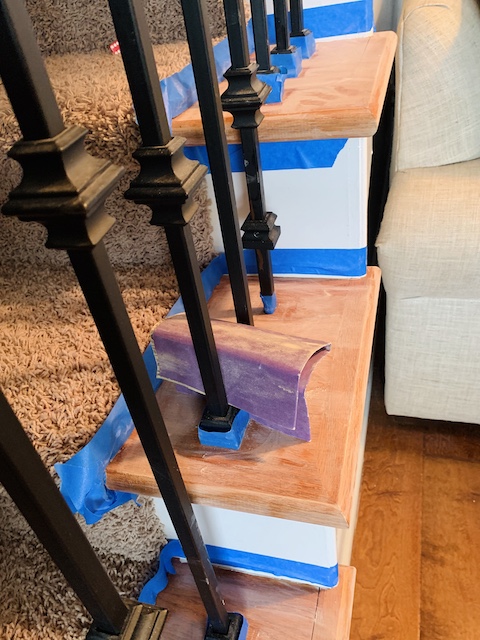
The right side of the stairway was a little more difficult. There was a little more work necessary since we have iron pieces that we needed to work around.
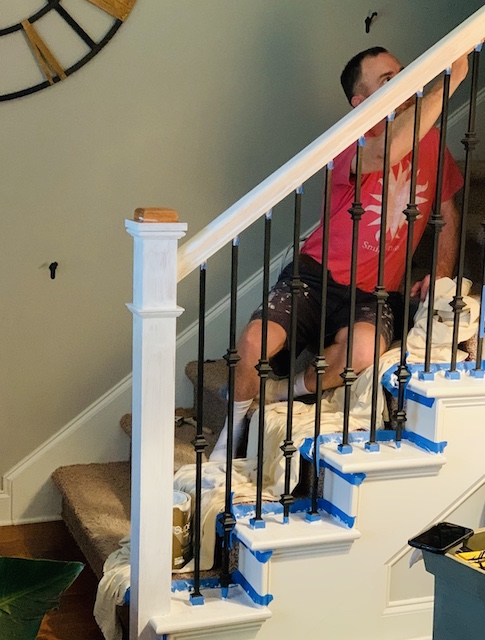
Once sanding was complete, we wiped off the dust and started taping off the iron pieces and places were the banister tied into the wall. While our steps are almost completely covered with carpet, the ends of our steps are not carpeted, so we sanded and taped off the carpet in preparation for painting that area as well.
Painting

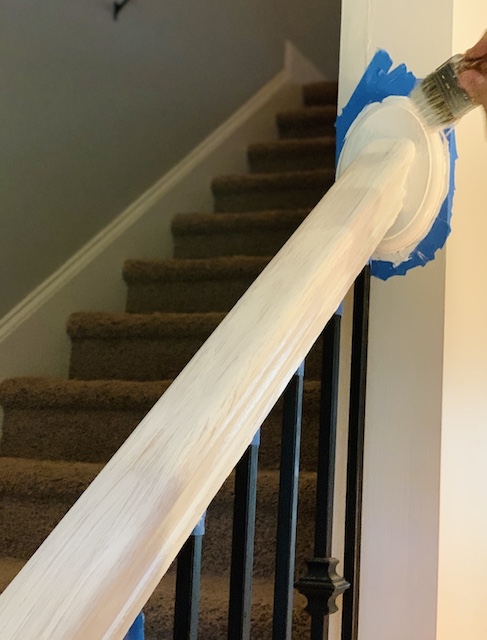
We used a gloss white paint (Sherwin Williams Super White) on the trim of our main living area and as luck would have it, we have about ½ gallon remaining. The paint was easy enough to apply but we did find that the polyurethane finish didn’t come off in all areas after we sanded. (Note to self – spending a little extra time sanding will save time on painting!) Because of this, and the fact that the railing and banister are high touch areas, we put on two coats of paint. We wanted to make sure the white sealed the wood held up to the abuse it would no doubt receive.
After the paint dried, we applied this top coat sealer to the paint. The tough coat is something that we have used in other places (on railings and furniture) since it holds up well and allows for easy cleaning. Also, we use this sealer on our white paint since it’s guaranteed not to yellow like some polyurethane finishes can over time. We only used the sealer over railings and banister top since those are the areas with the most contact.
Finishing
After letting the paint and tough coat dry, it was time to put everything back together. Re-hanging the railing was easy enough – just attach the bracket and screws. Since we painted the railing in our hallway, there was no taping involved. The banister did have lots of tape that had to be removed. We recommend using a razor blade to make sure the tape doesn’t pull the paint off the wood.
Wrap Up
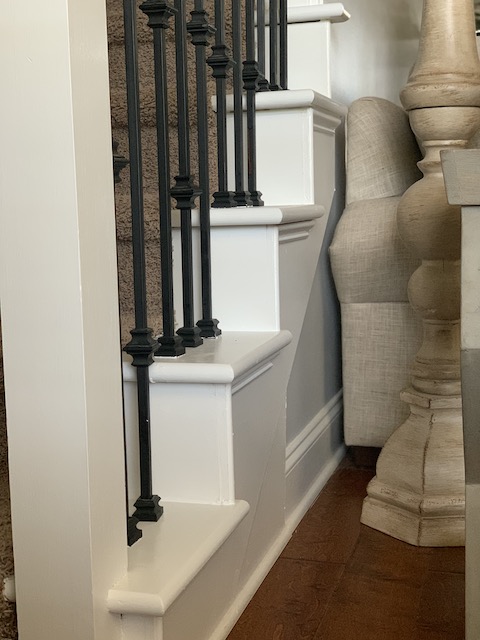
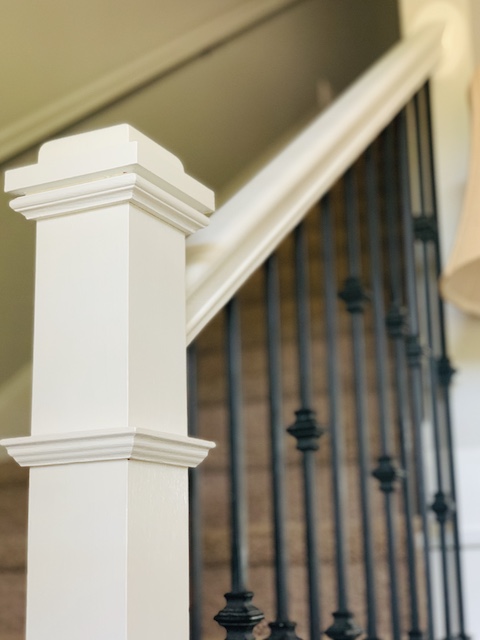
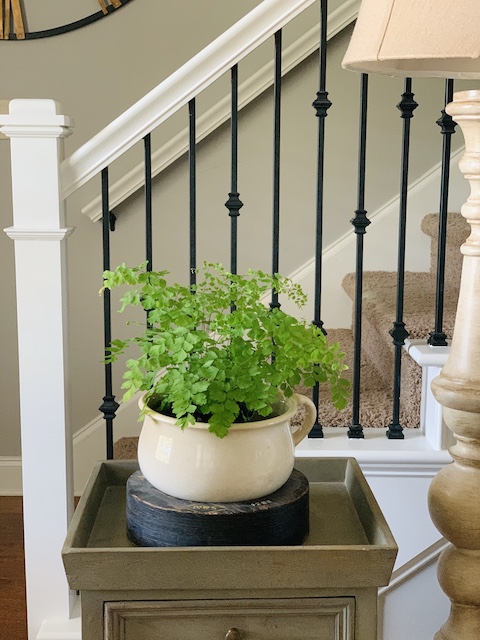
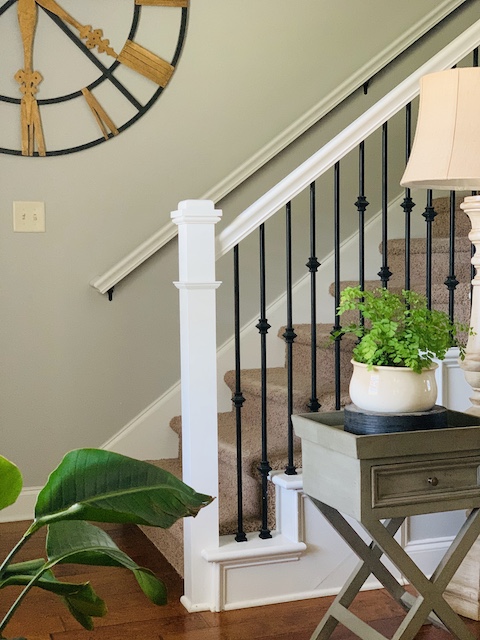
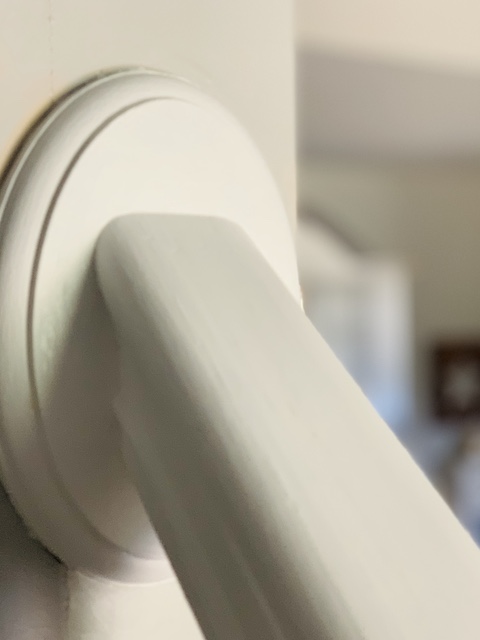
This was a small change that had an immediate impact. Not only did painting the railing and banister help them to match the rest of our living area, but the white also brightened the area. Our steps are in a corner of our first floor which doesn’t get much natural light and after we finished, we noticed how the corner is now a little more open and more brighter. This simple change took just a few hours, most of it prep and waiting on paint to dry, but turned out so great. We hope you feel a little more confident know that you know how to paint a stair railing! It may seem a little scary at first, but I promise it is easy and will make a huge difference!
P.S.
If you enjoyed this post then you may enjoy reading how we hung the board and batten in our sons room!
*This post contains affiliate links
 How To Decorate With A Painting: And Make It Pop
 Fridays At 5:00: 5 Paints We Use In Our Home
 Dye A Hydrangea In 5 Easy Steps: Fridays At 5:00
 Rusty Plant Stand Makeover

