If you like petunias and unique vintage pieces then you may very well like this inviting vintage yellow vignette. I am also sharing some vignette building tips here too!
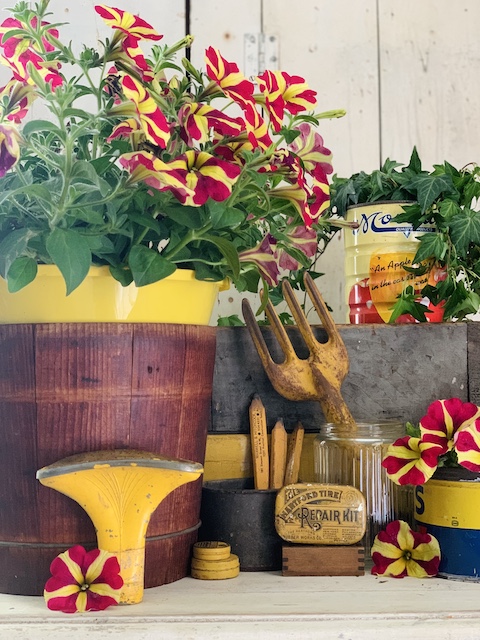
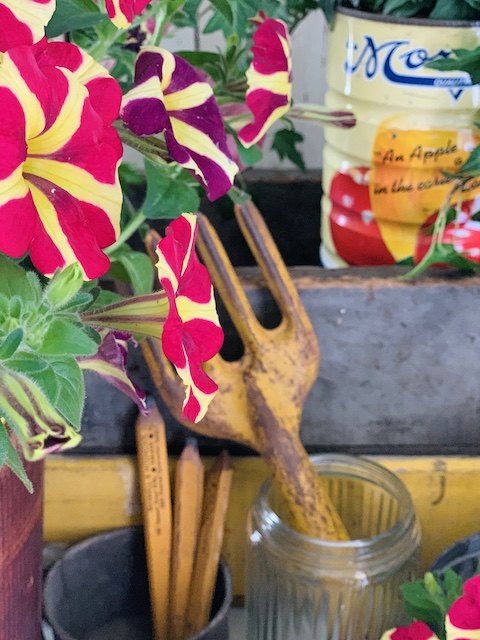
I have loved the color yellow for as long as I can remember. I bet many of you would agree, it is such a ‘happy’ color! The color yellow is unique in my opinion, because I like to use it during each of the four seasons. But during the spring and summer, it just reminds me of the sunshine! So, it should come as no surprise that when I stumbled upon this gorgeous trailing Petunia, I just had to have it! Now, Petunias are known for needing full sun, but I just knew I could keep this guy inside – near a window – and deck him out with a few of my favorite yellow vintage goodies! I have to tell ya, I sure do love the way this vintage yellow vignette turned out!
How I Created It
Focal Point
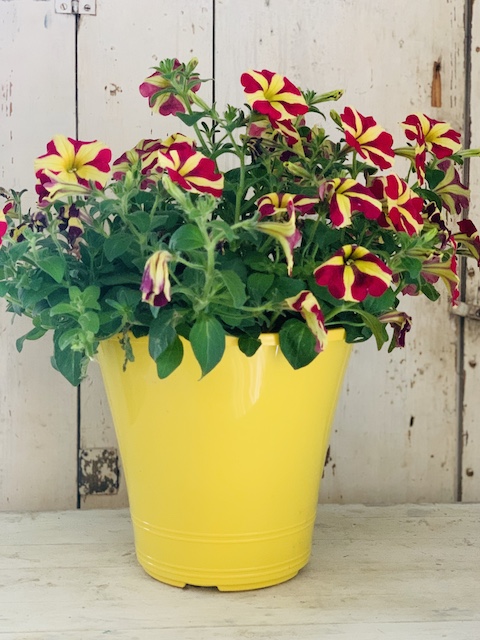
The very first thing I did was decided that I wanted to create a space that really highlighted this amazing red and yellow Petunia – which stopped me dead in my tracks at Walmart yesterday. In my opinion, the colors of this flower were so pretty and vibrant. For $12.88, I felt like this Petunia was a great little investment!
Accent Pieces
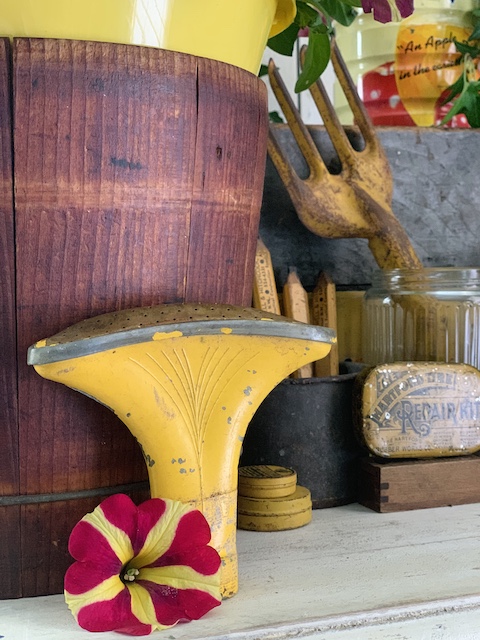
The next step I did was to decide what accent pieces to use around the plant. Since we are really in the summer spirit around here, I decided to continue on with cheerful garden type items. We are highlighting a plant here, so I felt that was appropriate. I also wanted to really focus on the color yellow here (since that is what drew me to the plant to begin with) so that helped me to narrow down the things that I was going to be working with. I chose other things with more muted colors like gray and browns that I felt would not fight with the color yellow!
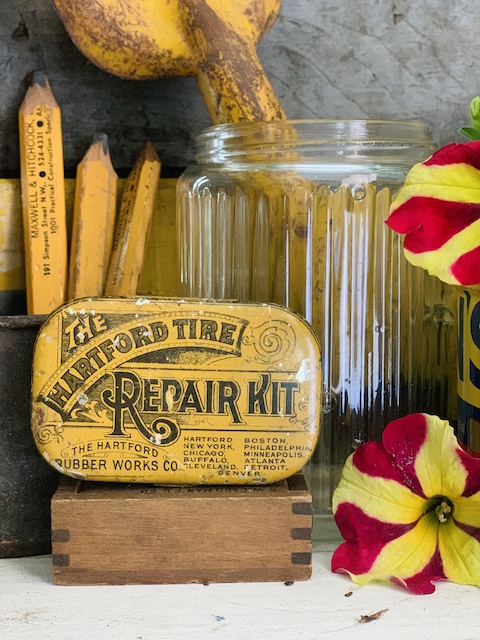
As you may know, I really like to use old pieces in and around my home, so I was sure to choose some old vintage pieces that not only made sense for this space but that also had a lot of character. For example, among other things I used:
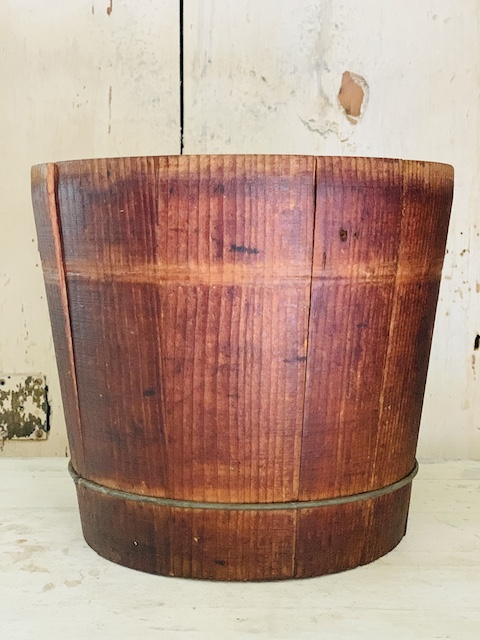
This Bucket
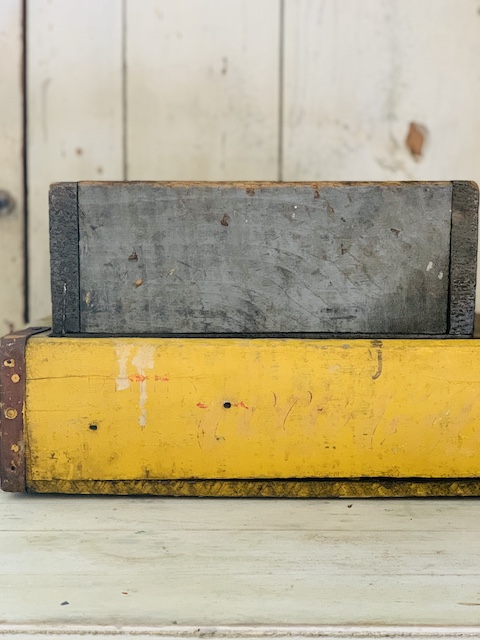
These Crates/Boxes
These Containers
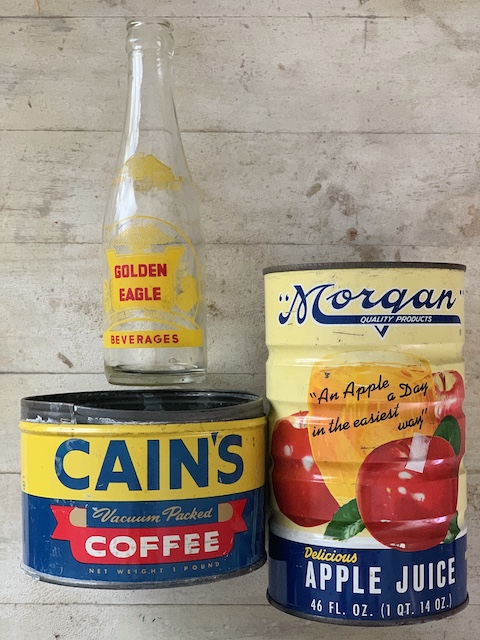
These Garden Items
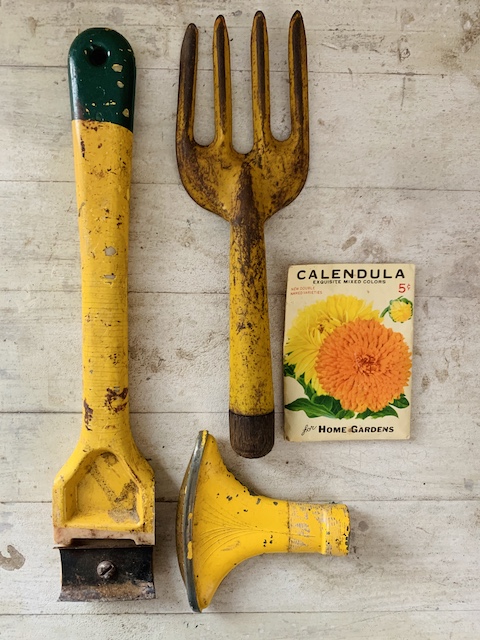
These Old ‘Shop” Items
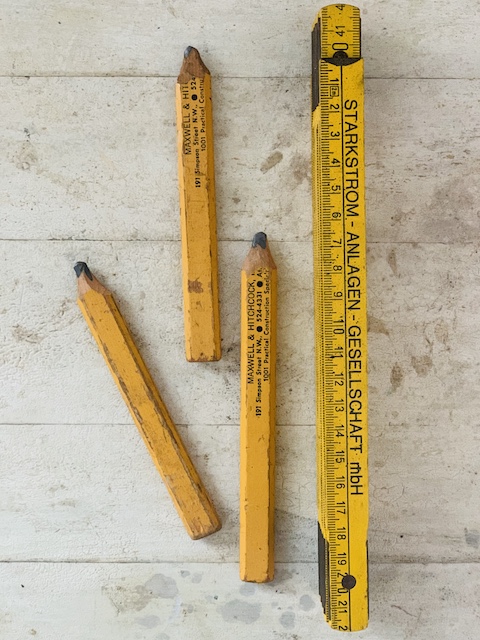
These Small Tins
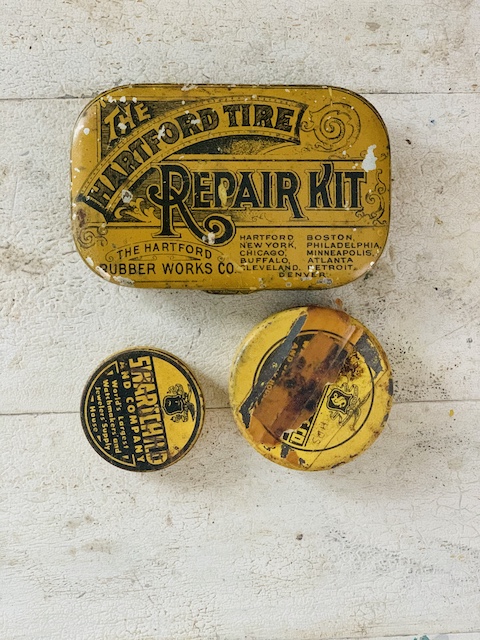
*I carefully chose items that I felt mixed well together in terms of color and subject matter!
Assemble All The Big Pieces
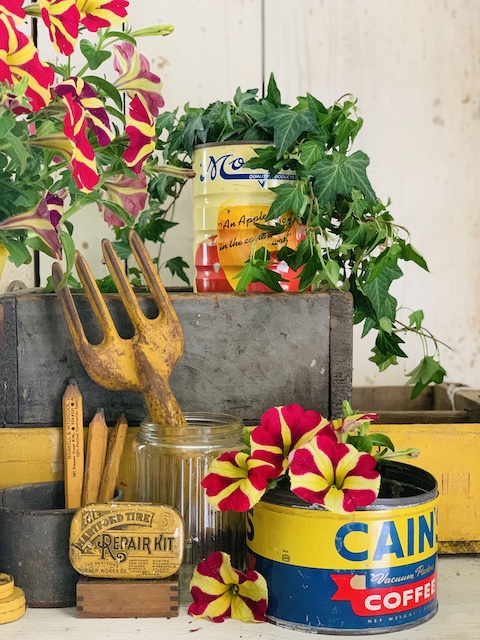
The first step is to locate a spot that works well for your vignette. I chose a plain white table – which was perfect because it really helped the colors of the Petunia to POP! In the background, I have my antique white cabinet. I wanted to make sure the background didn’t take away from the vignette.
Next, I decided to choose a vessel for my plant to sit in. The wooden sugar bucket was the perfect choice. I loved it because the height of the bucket still allowed for a little bit of the yellow plastic pot to show! I was sure to put in a plastic liner at the bottom of the wooden bucket though – to catch all of the water that drains out when watering the Petunia. I do not want to sugar bucket to mold or break.
After that I wanted to add height to the opposite side of the area so I stacked a yellow crate and an old gray wooden box on top of each other. I then filled an old apple juice container with a trailing ivy plant – that pop of green helped to add some balance out the entire space for sure.
Add In The Small Details
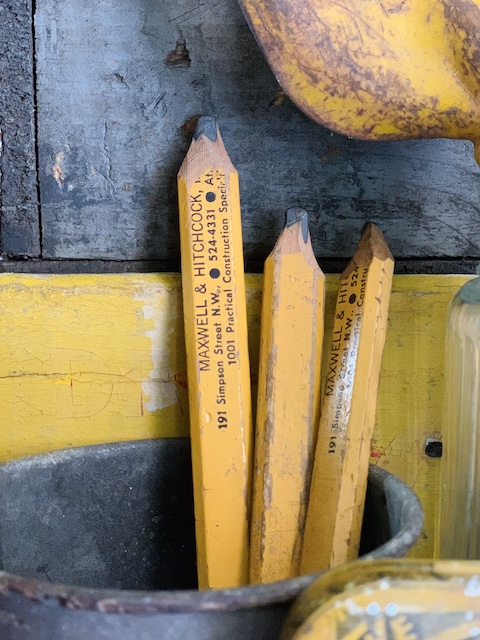
After establishing where all of the larger pieces were going, it was then time to layer in all of the little extra pieces. This is always my favorite part. I had already pulled out all of the items that I wanted to use, so it was very easy just to play around with them for a bit – until I got them just the way I wanted! This part usually takes me several minutes because I like to move the smalls around a lot! Over time I have learned that I must trust the process (and my gut) and just play around with the pieces that I have until I get it just right! It always comes together!
Reminder: Don’t feel like you have to use all of the pieces (big or small) that you pull out. For example, if you look above you will see that I didn’t actually use the glass bottle or a few of the other things that I thought that I would. That’s okay – sometimes less is more!
Edit Your Space

It is always a good idea to stand back and really edit your space. You may find you need to make a few small changes such as shifting a piece to the right or left. You may find that you need to make a big change such as removing a piece all together. The main idea here is to step back and make sure the ‘final product’ works. I like to make sure that all of the pieces are visible and that they make sense to who ever is looking at the space.
Wrap Up
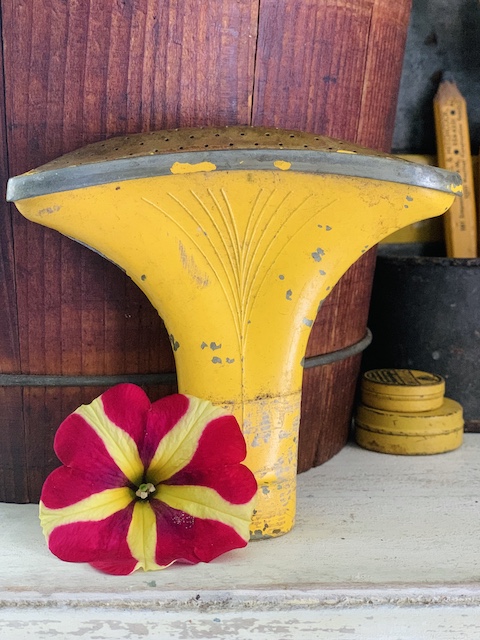
I hope this vintage yellow vignette post inspires you to BUY THE COOL PLANT when you see it! And then, when you buy it, bring it home and decorate around it… even if only for as short while! I love to create unique and fun spaces based around things that make happy – and that is just what this Petunia did! AND – these ‘vignette’ building tips will work for most anything! I promise, apply them to your next vignette and watch your spaces come alive!

*If you like this post then you may also like this spring vignette post and this shelf styling post!
Recreate The Look
You can shop this post for similar items in this vintage yellow vignette by scrolling the pictures below! Just tap the arrows to see all of the options and tap the pictures to see the details of each item! Happy Shopping!

 Nostalgic Santa Display
 Vintage Fall Shelf Styling In Yellow
 Organizing A Vignette By Color – With Country Sampler Magazine
 Vintage Candy Boxes: Why You Need One

