We are sharing the process of painting our dark kitchen cabinets white and how it all came together for us. Oh what a difference a little paint makes!
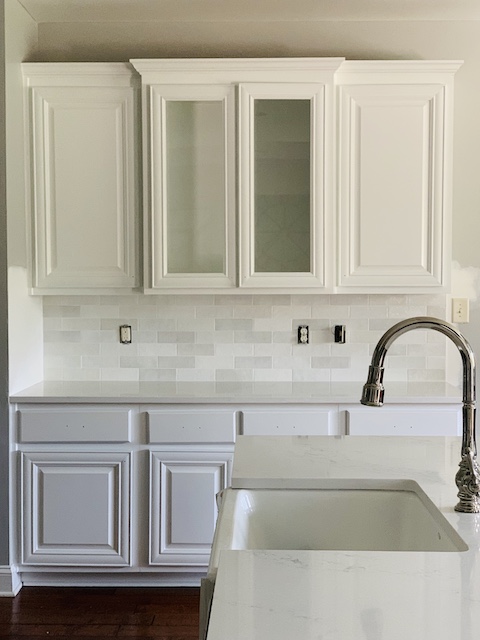
I am so excited to finally be sharing all about the process of painting our dark kitchen cabinets. As you all know, we are nearing the finish line of our kitchen remodel and today I want to share all of the details about how our dark cabinets were transformed. So far I have shared all about our new counters (click here to read all about those) and all about our new backsplash (click here to read all about that) and so on … but I feel that the painting the dark kitchen cabinets maybe made the biggest impact of all!

The Color
Mark and I have lived with the new kitchen cabinet color now for several days and I can honestly say that we LOVE it. Mark and I ended up going with BM Chantilly Lace and we chose to go with a satin finish. I feel like it is the perfect color for our new kitchen! Let me share the process of how we ended up with this color.
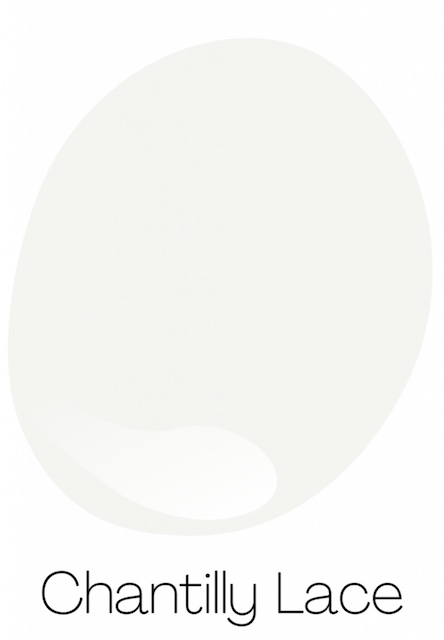
First of all, I want to explain that the whole point of our entire kitchen remodel was to lighten the entire space up. There is not a lot of natural light in our kitchen at all and so the main goal of the remodel was to make it lighter and brighter! With that in mind, we knew that we would be choosing a white for sure! But, as you probably know, not all whites are created equal. Mark and I searched and searched for the perfect white and narrowed it down to two that we loved – simple white and chantilly lace. What helped us make our final decision was the fact that we ordered a custom vent hood in white. Once we received it in the mail, we decided to go with the white that best matched the hood. Chantilly Lace was basically the perfect match and luckily we love the color.
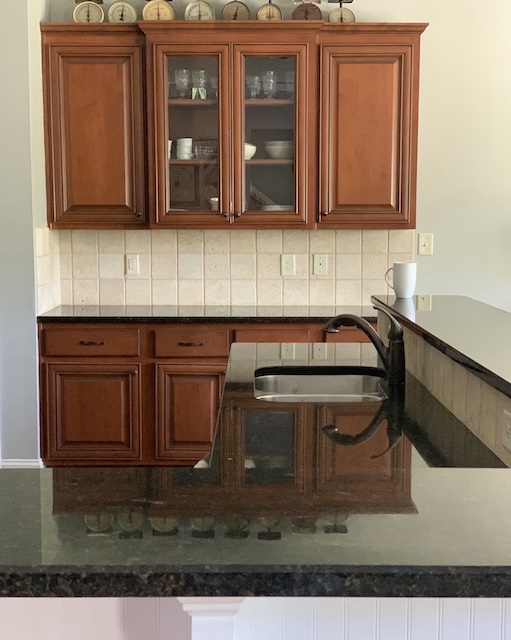
The Process Of Painting Dark Kitchen Cabinets
While Mark and I have painted many rooms (and many pieces of furniture) in our time, we decided to hire this job out. I wanted to make sure that the cabinets didn’t ‘look’ painted and so I called around for quotes and such. We ended up hiring Mr. Bill, the sweetest gentleman who painted the cabinets right in our home.
Type of Paint
He explained to me that he only uses oil-based paint when painting kitchen cabinets. Mr. Bill says that using oil-based paint is the key to ensuring that the paint will last with the wear and tear that happens to cabinets over the years. Not only is oil-base paint sort of ‘self leveling’ as you apply it but it also has a hard finish that helps to eliminate the sticking that often happens with latex paints. That is good for things like cabinet doors!
Label The Doors and Drawers
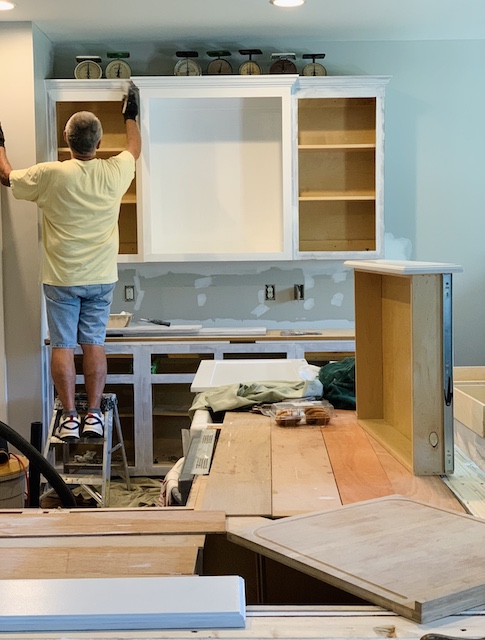
Mr. Bill started by taking off all of the doors (and drawers). He was sure to label each door/drawer as he went along so that he could easily put each one back in the correct spot. He then set up saw horses with long boards in our kitchen area and created a work space in order to be able to paint. He chose to paint inside because we were expected to get rain on the days that he was working.
Time for A Quick Coat Of Primer
After setting up his work space and removing the doors, he gave everything a light sanding and then primed every surface that was going to be painted. Mr. Bill used Zinsser primer which was needed to help hide the dark wood and also prepare the cabinets for the oil paint that was going on next.
And Now It Is Time For Paint
Mr. Bill did a combination of painting with a brush and a roller. He picked up the ProClassic oil based paint at Sherwin Williams. It was amazing to watch him work! He has been painting for about 45 years, so he is very skilled at it. Again, the best part is that the oil-based paint that he uses is self-leveling, so there are no real paint brush or roller marks at all. And, the oil-based paint dries to a really nice hard finish and there is no need for top-coat like other softer paints may require. Mr. Bill ended up doing three coats of the oil-based paint on all of the surfaces. And, he is coming back in a few day to do any touch ups that need to be done.
When It All Comes Together
We waited 36 hours to allow the last coat of paint to cure really well before we reattached the cabinet doors and put the drawers back it. We will still continue to be very careful as while we are in the kitchen for the few weeks as well – just to be on the safe side.
Wrap Up
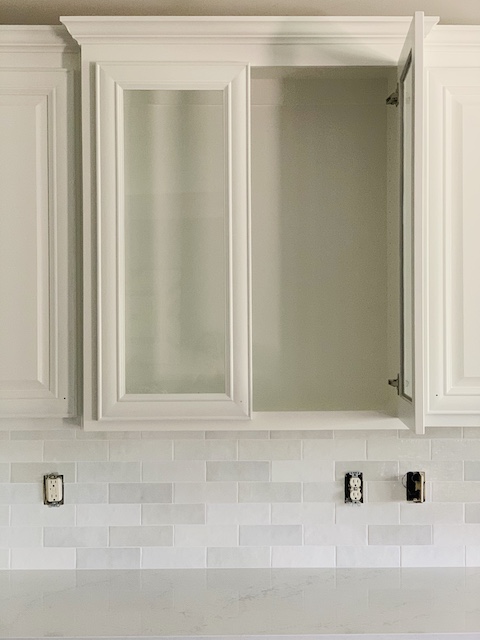
I was most excited to see my entire kitchen get lighter and brighter as the painting process was happening. The true icing on the cake was when we finally put the doors on the cabinets and I could see the whole space painted. It really is an amazing transformation and I am so glad that we did it. Painting dark kitchen cabinets a nice bright white really did the trick for us and really has made such a huge difference in our kitchen area.
To-Dos
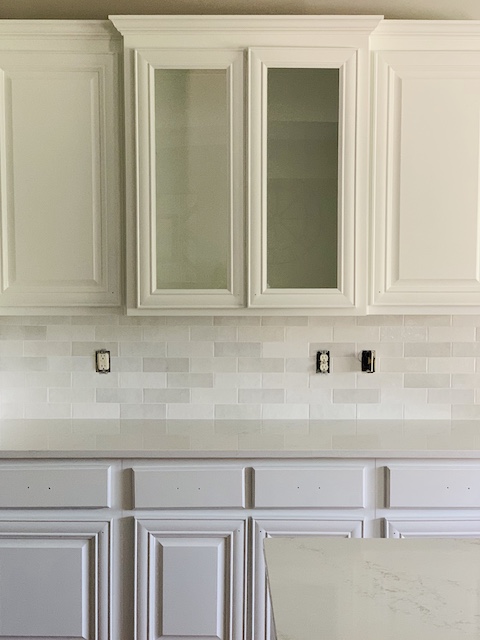
We still have a few more steps to go before we are all set with the kitchen! Specifically, we still need to add the pulls and knobs for the cabinets and drawers. The tile still needs to be completed and is on hold until our contractor gets home from his summer vacation. We still need to decide on the possibility of adding in a floating shelf or two. We still need to order bar stools. We still need to finish the trim work under the bar. You get the idea – Smile! But we are getting close!
Feel free to follow along on Instagram to see these final touches come together!
 Kitchen Counter Fall Decor: Simple & Warm Additions
 Valentine’s Day Cupboard And A Love Story
 6 Simple Valentine’s Day Decor Ideas For The Kitchen
 Mailbox Makeover & Ways to Prevent The Birds From Taking Over


Your kitchen looks fab! Luv your new painted caninets!
Sally – thank you so very much! I am happy that we are nearing the end of the process but I am so happy that we did it! Thanks for following along!
I want to paint my dark kitchen cabinets too. Thank you for all the product names and color choices. Your kitchen now matches your style. It really looks good and the traffic pattern is better.