Come see what a difference bleaching wood furniture can make. I used this technique on an old children’s chest and I love the way that it turned out! Come see how you too can easily (and pretty quickly) change a piece of wood furniture with this simple household product!
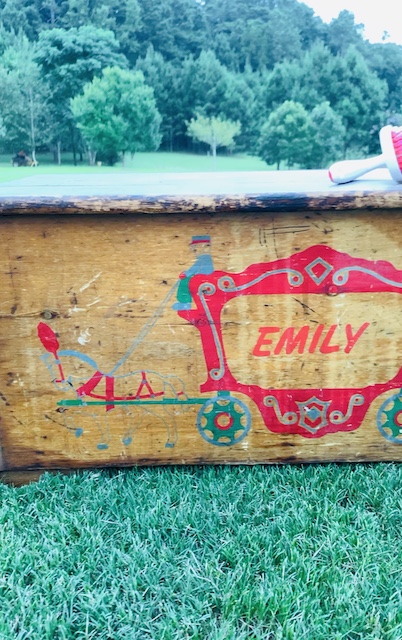
A few years ago I was gifted an old toy chest. A friend (who is a true picker) bought it for me – because it had my name in it – EMILY! I was so touched by the gift, but I instantly knew that I would eventually have to give this little piece some attention. It is a great size, but I was not a fan of the dark color nor was I a fan of clown either. I recently decided that I am in the need of some storage (paperwork) and I remembered that I had this little guy on hand! I was excited to get creative with this little chest and in the end I decided to try the ‘bleaching wood furniture’ technique. I am excited with the way it turned out.
Washing
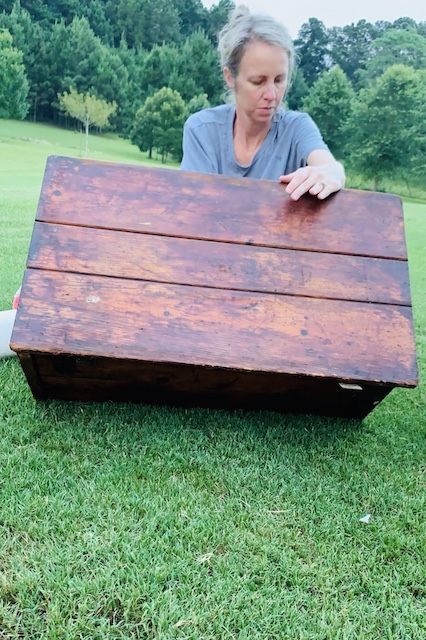
I started out by scrubbing the chest off with plain soap and water. It was full of cobwebs and grime. That’s what happens when you old furniture sits in your garage! All I used for this was a little dish soap and a scrub brush!
Sanding
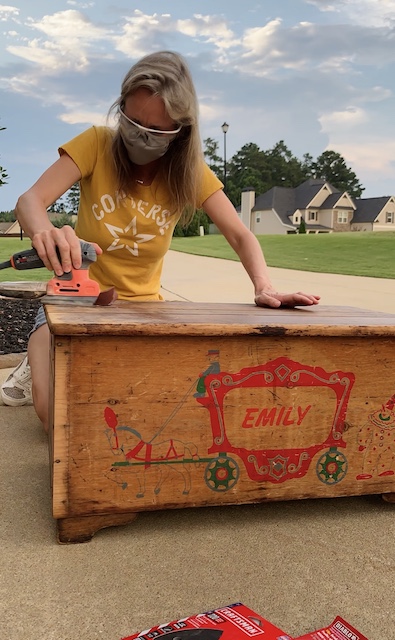
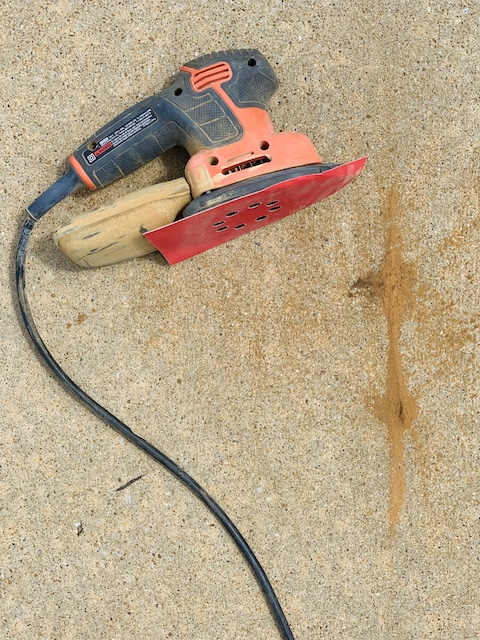
Next, I began sanding this sweet little chest. My goal with sanding it down was not only to remove the dark stain that I didn’t really like but I also wanted to remove the paint on the front. Again, I felt like all the painted graphics on the front made this chest a bit too childish for me. (Also, did I mention that I do NOT like clowns.) Using my hand sander, I began with 180 grit and realized that while it did remove the dark stain, it did not really do much to remove the painted areas. I was eventually able to life the paint, but under the paint there was still the ‘shadow’ of all of the graphics. It was very strange, all the graphics were still completely visible – but just ‘white.’
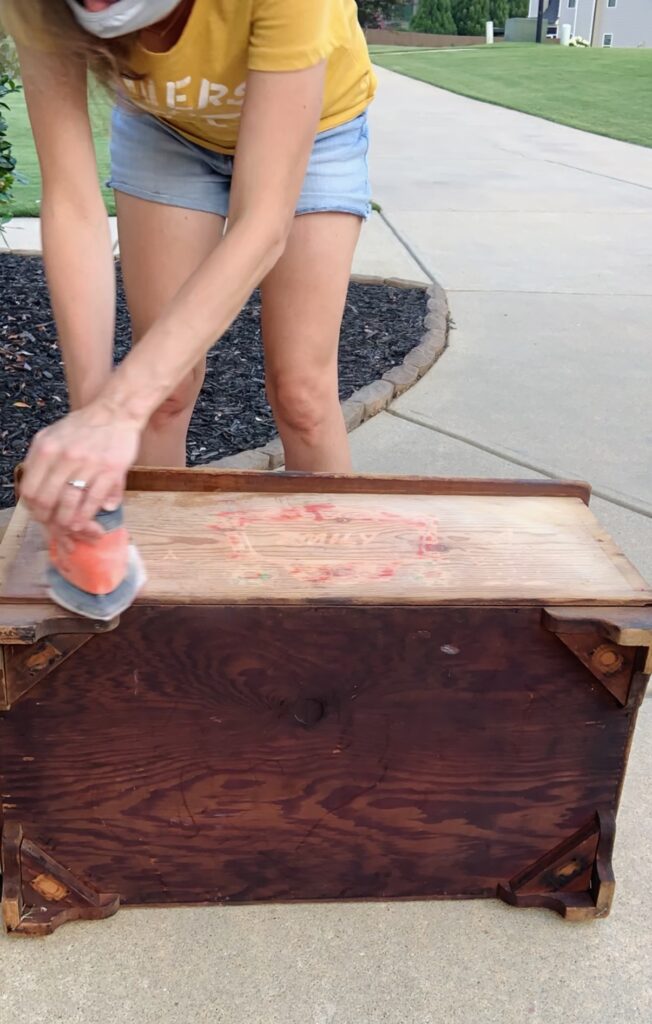
I really had to push down hard on the sander to get the results I was looking for. 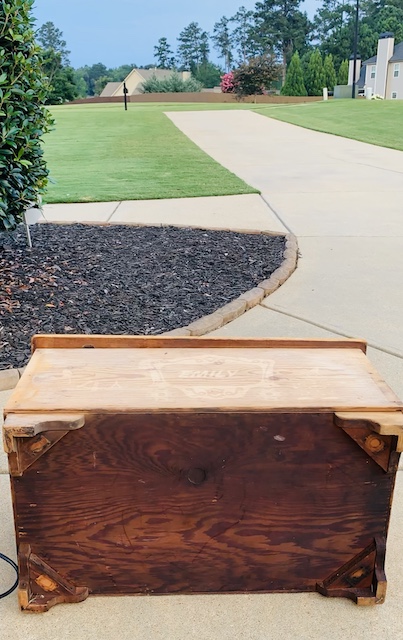
You can see here just how dark this chest was to begin with.
I then decided to go down to a very low grit of sand paper. You have to remember to be very careful with low grit sand paper because it can really chew up wood. Luckily, I love primitive furniture and crude pieces – so roughing this little chest up a bit was alright by me. I used 80 grit and really pressed down on the painted areas. After sanding those areas many times with 80 grit, I finally began seeing some results. Then, I took 60 grit sandpaper and went over the areas by hand. After spending a lot of time carefully working on those spots, the whited out areas were gone, for the most part. I did decide to leave my name, Emily, faintly on the front.
The next issue that I decided to tackle was trying to remove the stain in the deep grooves that were on the sides and top of this little chest. The hand sander wasn’t able to get into those grooves at all. I simply took the 60 grit sand paper and folded it in half and then used that to get into those tight spots. Again, the 60 grit roughed up (and sanded down) the grooves, but I was very happy with the ‘worn’ look that the rough sand paper created. After working inside each groove for several minutes, I was able to lift most, if not all of the stain.
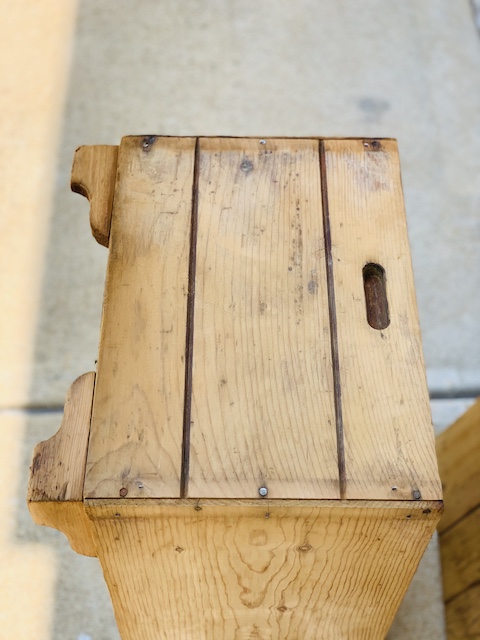
Here, both grooves are still stained. 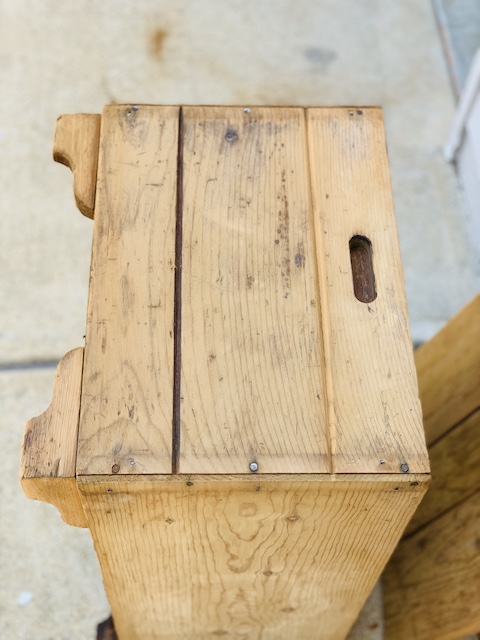
Here, one groove is sanded. 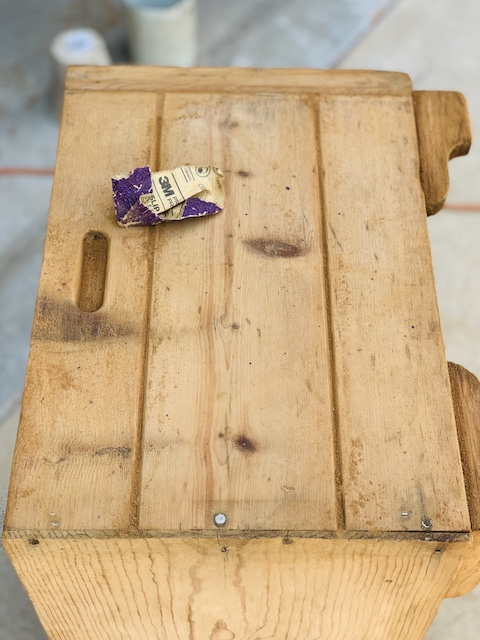
Here, both grooves are sanded.
Bleaching
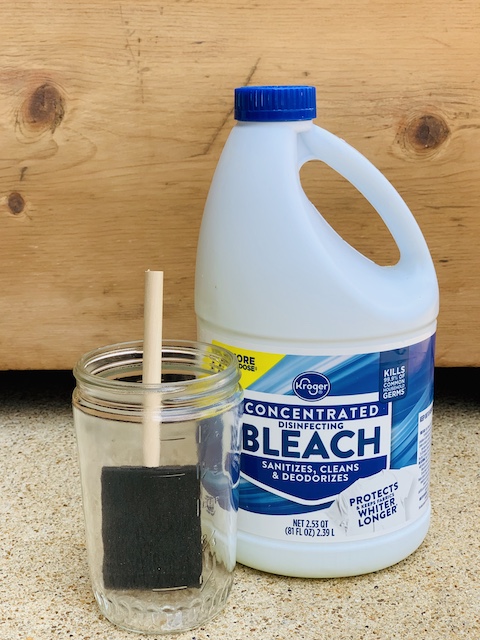
After I was finished sanding, I then got to bleaching. While there are many different ways to bleach wood, for this bleaching wood furniture DIY, I only used these few simple supplies:
- Bleach – I just use regular old household bleach for this project
- An old jar (not one that we do not use for food) to hold the bleach
- A Foam Brush – I only had a foam one on hand so that is what I am using for this project
- Paper Towels – I use them to soak up any “bleach puddles”
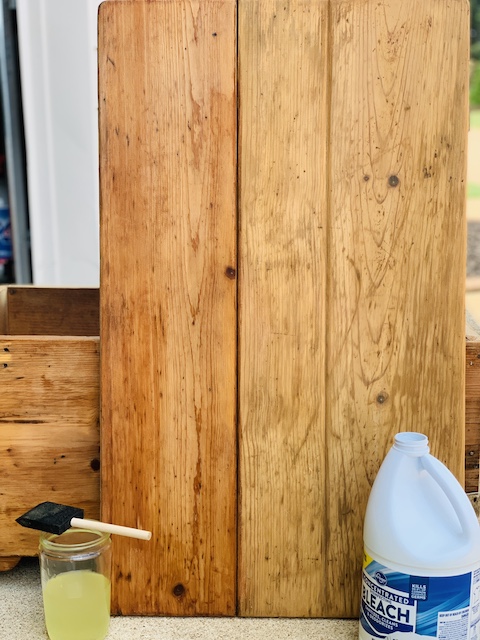
I decided to bleach just the one board on the left of the top (and one side of the chest) to see if it made a difference! 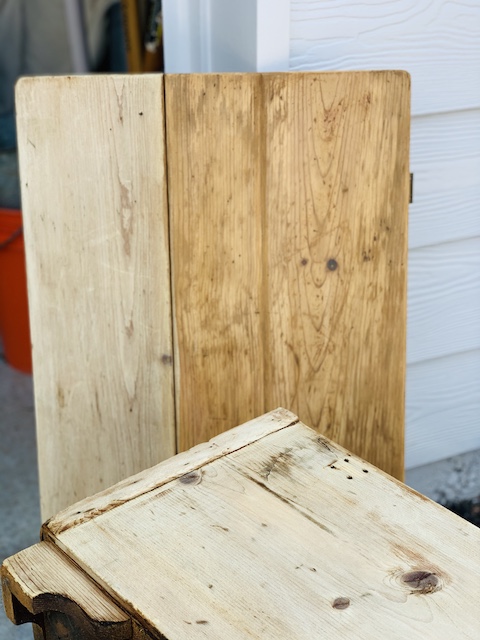
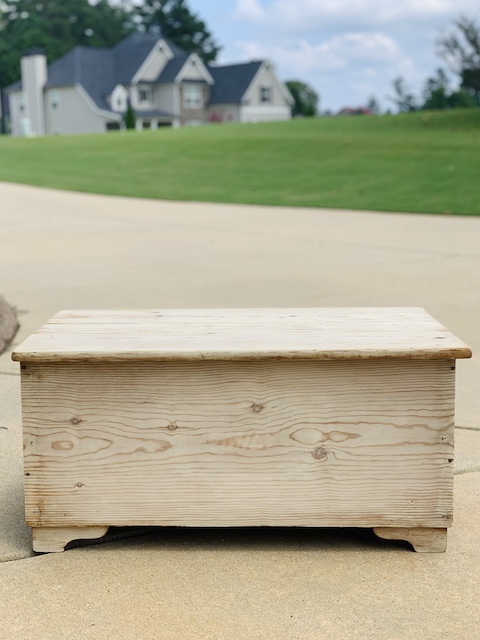
This is the result of just one coat of bleach after it is fully dried. I think it is safe to say that there is a difference indeed!
All I did was pour a little bleach into my jar and then I used my foam brush to wipe it on. It was as simple as that. I applied the first coat of bleach and I used my paper towel to soak up any excess bleach as I went. Then, I let it sit outside in the shade to dry. After it was completely dry, I added on a second coat of bleach. After only two coats, I felt my little piece was the perfect color. However, you may want to do more coats of bleach depending on what type of wood you are bleaching and what “final” shade of wood you are trying to reach.
A few things to remember before bleaching furniture:
- You want to make sure that you have removed any stain so that the beach can penetrate the wood. Also, I would suggest trying ta little test spot!
- Try the bleach out on an inconspicuous spot first to see how the piece looks before applying it all over. You do not want to have any regrets!
- Some people suggest wiping down your piece with water in between coats, but I didn’t do that this time. I have done both of those methods in the past, but I did not this time.
- Be aware that bleaching the wood does dry it out a bit.
- Bleaching wood furniture is not hard at all, but I would recommend doing it outside where there is good ventilation. You may even still decided to use proper protection from the harsh chemicals by using goggles, gloves, and a mask.
At first I was only going to do the outside of the little chest, but I then decided to work on the inside and bottom of the chest as well. I sure am glad that I did.
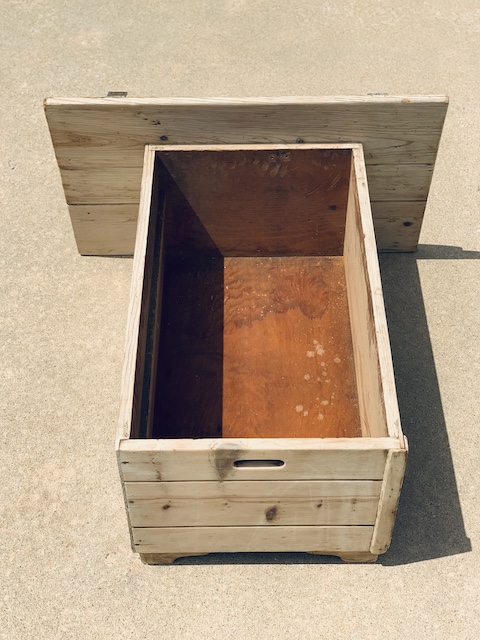
Before 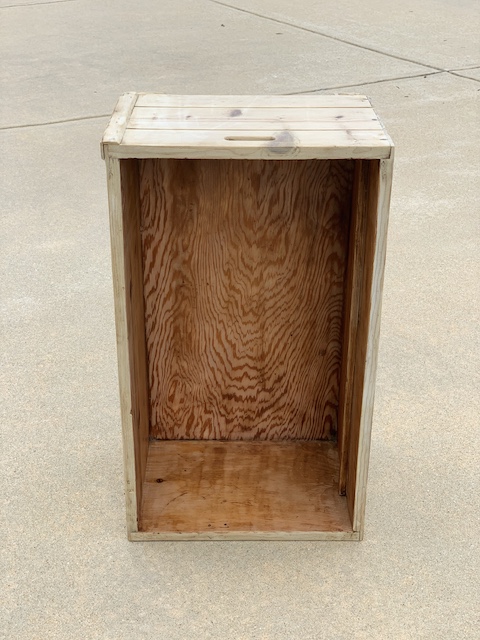
During 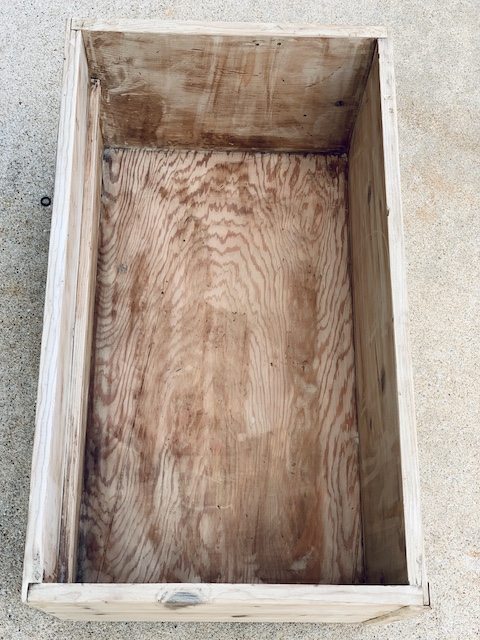
After
A quick reminder – I always try to pour only the amount of bleach that I feel I might need. If you have any excess bleach, the best way to dispose of it is to dilute it with plenty of water and then flush it down the toilet or wash it down the down a drain.
Top Coat
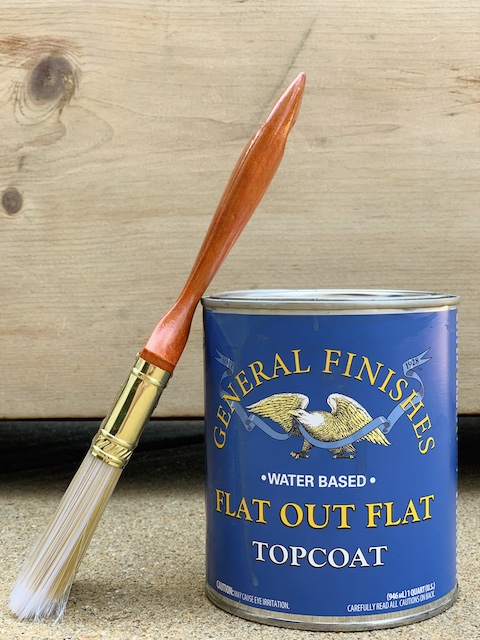
After allowing the bleach to fully dry, the final step was to add a top coat to just seal it all up. For this project, I decided to use General Finishes Flat Out Flat Topcoat. I loved the raw wood look of the chest but I did want to give it a little bit of protection. This matte topcoat barely, barley, barely altered the color of the raw wood and added durability. I used a synthetic paint brush to apply it! Remember – alway try out your topcoat of choice in an inconspicuous spot just to make sure you like the way that it dries on YOUR piece before you apply it all over!
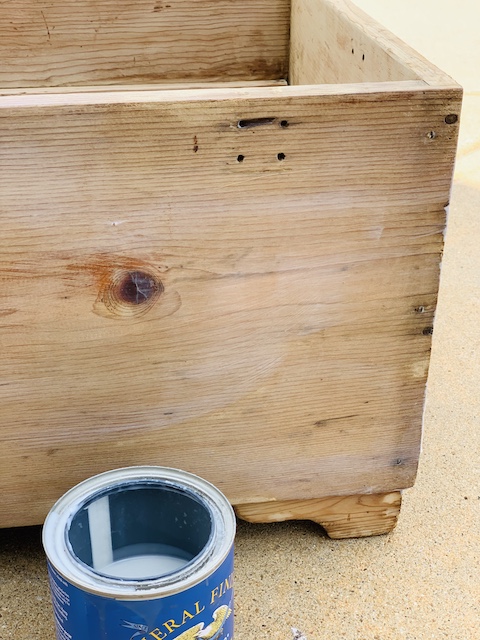
The Last Step
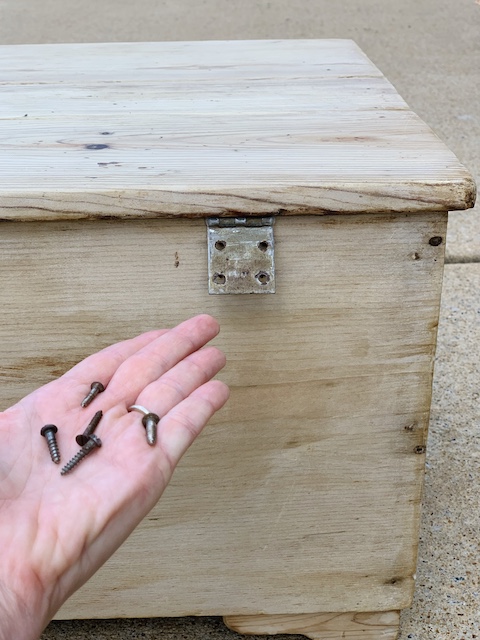
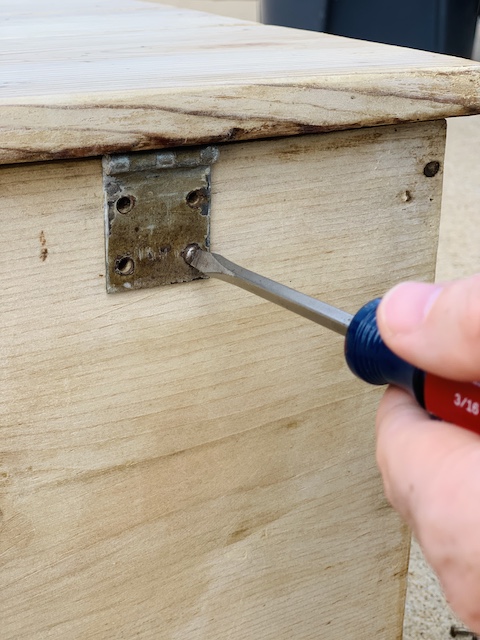
Before bringing the little bleached chest inside, Mark and I just screwed the top back on. There were only 4 screws holding in one hinge when I got it, so we had to use a few new screws. They really stand out – but luckily this will be sitting against a wall and the new screws will not be seen. Maybe I will go back and age them one day soon!
Wrap Up
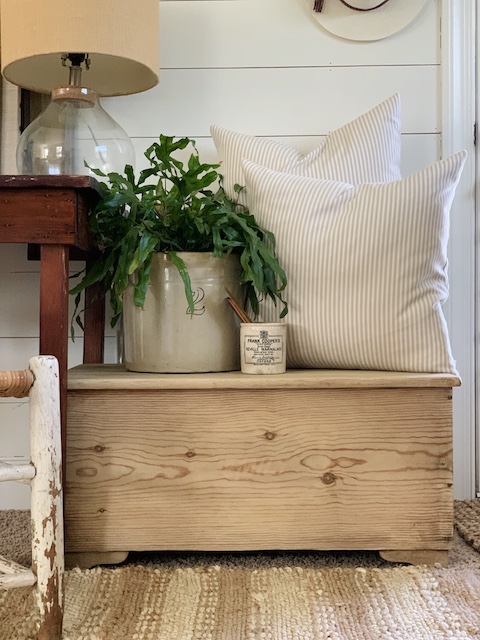
That is it! That is all that I did to change this dark, children’s chest into a light and bright storage chest (for my paperwork) for my bedroom! I wasn’t really sure how this little guy would turn out, but I am just smitten with this transformation. And, I love that I didn’t need to buy any products at all to make this happen – just a little bleach and some elbow grease! Remember, bleaching old furniture is easy – but also you want to make sure that you apply each coat with care and take your time. You do not want to ‘over bleach’ it!
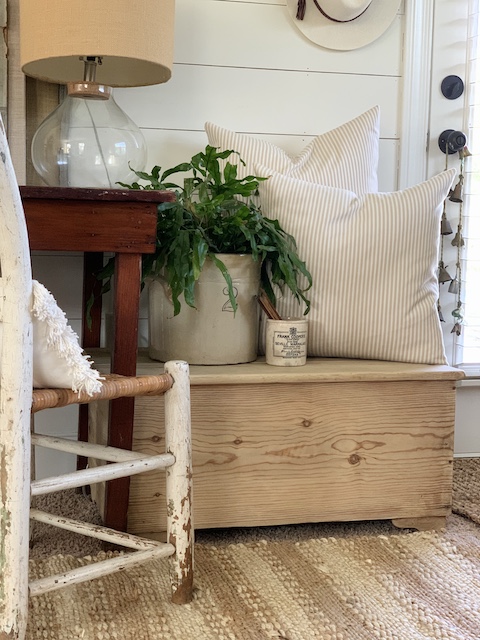
One more thing – you’ll be happy to know that the smell of the bleach DOES disappear after only a short time – especially if you have your piece outside sitting in the breeze!
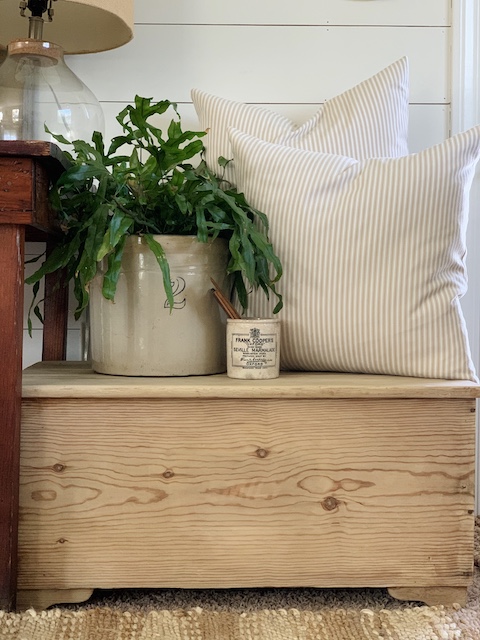
I can not wait for you to try this process – and let me know how bleaching wood furniture goes if you decide to do it! Oh, and if you enjoyed this post then you might like to read up on the products that I like to use to clean my antiques (click here) and you might also like to read up on how I clean old bottles (click here). Thanks so much for taking a moment to read this post!
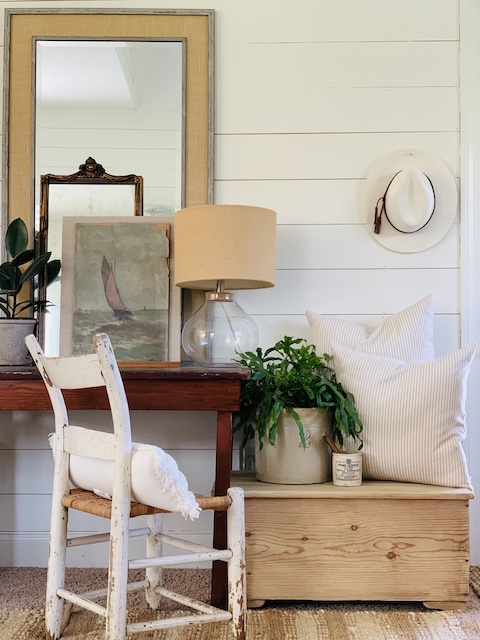
Feel Free to Pin these images for later!
 Simple Dollar Tree Ghost Transformation
 How To Build A Birdhouse With Scrap Wood
 Top 5 Blog Posts Of 2021: Fridays At 5:00
 DIY Heart Using Buttons


The chest turned out beautiful.
Lots of hard work but well worth it!
thank you so so much for following along!
I like the new look! Great tutorial.
thank you so so much