After a strong breeze ripped the door off of our new vintage cabinet I was in tears. But, after pulling myself together Mark and I figured out how to fix it! Below I am sharing the process and I want you to know how to repair a cabinet door if this ever happens to you!
As many of you have seen on IG, I love to go pickin’. If there is an old barn, estate sale or antique shop, I can’t miss the opportunity to find a new treasure. Most of the time, I find treasures that I love sharing with you, like this piece that we put upstairs. Once I get these pieces home, I enjoy them around the house or I bring them to my antique booth to share with the rest of the world. This is my passion and I hope you enjoy it too.
I’m not the only one that loves pickin’. I have many friends both in my local area and in the IG community that share my passion too. We all love to share the treasures we find and it’s so fun to see what everyone picks. And, every once in a while, I will get a message form a friend who has found just the right piece – for me!
And that’s is just how this story whole “broken cabinet door” thing started.
You see, we recently remodeled our kitchen. It was more of a refresh really, but regardless, I wanted a new piece by our garage door to serve as a “drop zone/mud room” type piece for all of the kids school items. The space by the garage door is tight and we had a small bench in the space before but after we extended our countertops during the kitchen remodel, the area just felt a little tight. I knew I would need a narrow piece, but one that we could also use for storage. I happened to mention this to my friend Rob and during one of his pickin’ trips he found just what I was looking for!
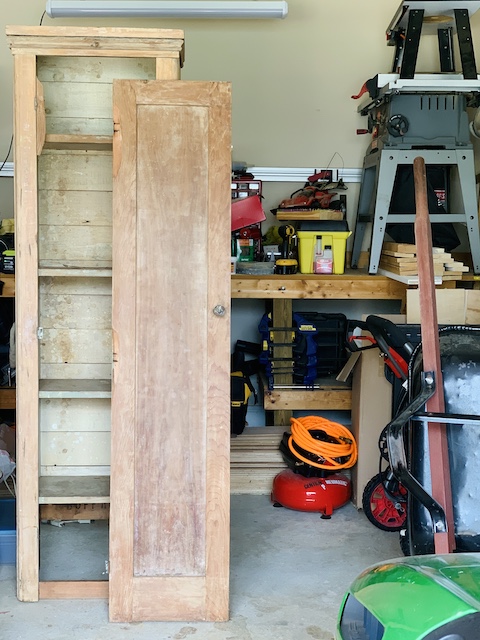
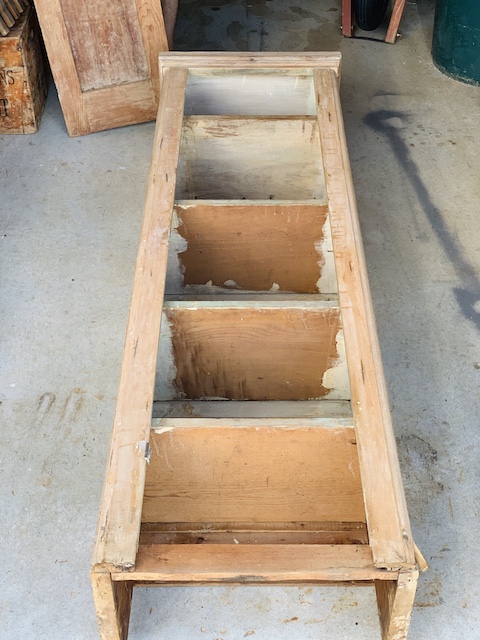
The piece is a wooden cabinet, almost like an old school locker. It’s narrow – good for the tight space it needed to fit into, and tall – good for storage so my counters will stay clear!! The paint finish had been removed somewhere along the line and the wood grain, nail holes and paint remnants were just what I wanted. To make it even better, the entire back of the cabinet was crafted of old boards from shipping/storage crates. The piece screamed “my weathered home”!!!
Now, this next part is the part of the story that shows how a strong breeze can cause a big problem.
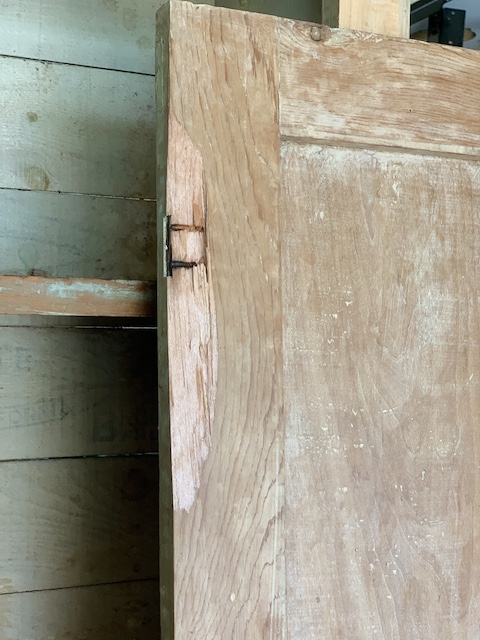
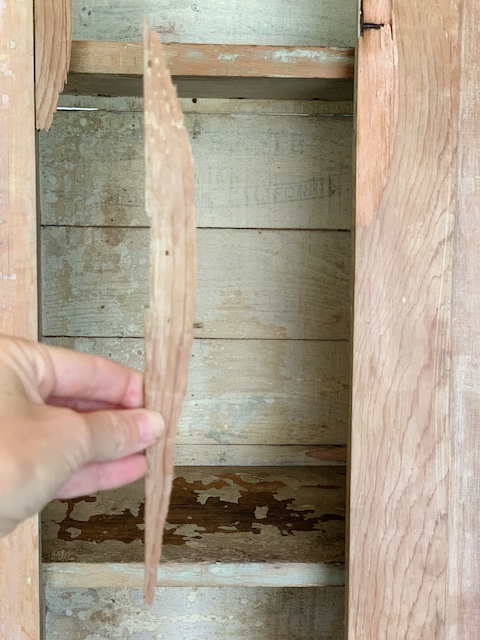
As I always do with new treasures, I wanted to wash it before it came into our house. There was certainly dust but also lots of webs and I did not want to bring that into our home. Brace yourself, because this is where things went wrong…. I put the cabinet in the grass and went to gather the cleaning supplies. A storm was coming in so I wanted to make sure I could clean it quickly and move it back into the garage out of the rain. I stepped away for just a second and a strong breeze blew the cabinet onto it’s back. The door was open and the force of the fall caused the door to break off the cabinet!! Not only did it break off, but the wood surrounding the hinge screws actually split! The lovely piece for my kitchen was now in pieces … and I was in tears!!
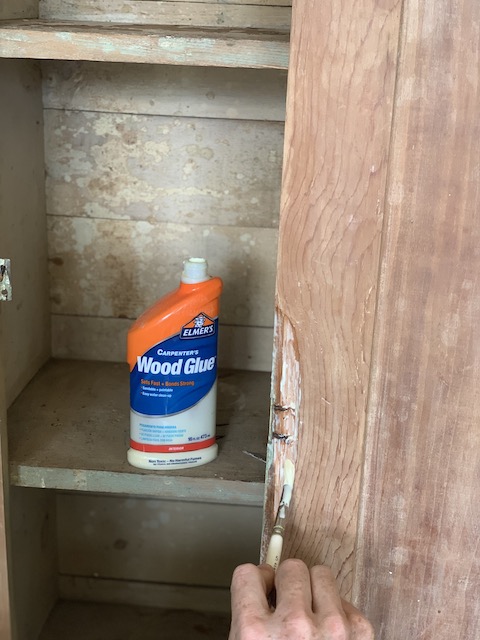
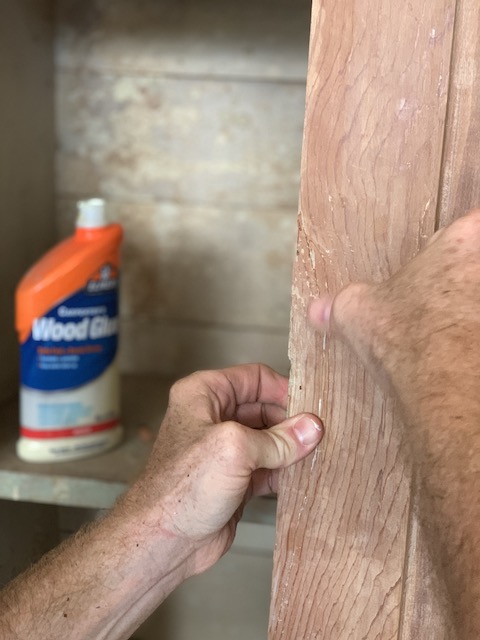
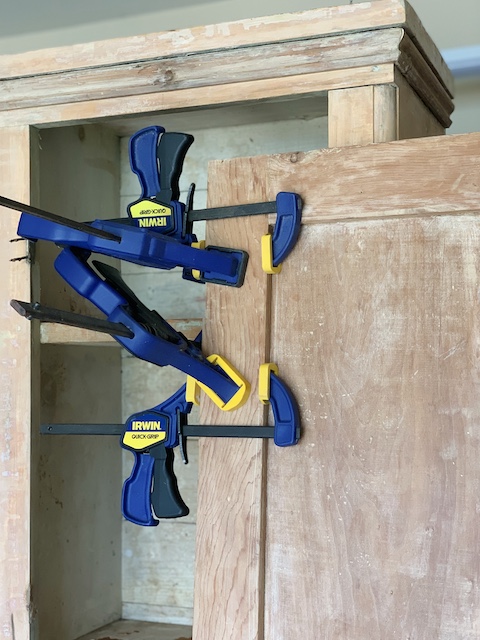
I spent a few moment sulking and then began to hatch my next move! Mark and I came up with a plan on how to fix it. Initially, we were going to simply glue the broken pieces back into place and then flip the door around and attach the hinges on the other side of the door. Since the wood had split right where the hinge screws went into the door, we didn’t think wood glue alone would support it. I didn’t want the door to break off again. Putting the hinges on the other side was going to be some work – but I felt it would look a little more ‘weathered’ with the cracks and grooves. At that point Mark and I felt flipping the door would be the best way to support the door on the hinges.
So … I was sharing all this entire process in my IG stories – Initially I wanted to share my treasure and show how this would fit into my house. So when the door broke, I had to share the sad news with everyone. But my IG friends came up with an even better solution. Instead of flipping the door over, someone recommended using an epoxy in the screw holes. Epoxy is stronger than glue and will adhere to most surfaces making it an ideal solution for our split wood. We had already used wood glue to put the split wood back together but if we put epoxy into the screw holes and where the hinges attached to the door, it should give us the additional strength we needed in the damaged areas.

Off to the local hardware store I went! I found several epoxy options but decided to use the JB Weld Kwik Weld since it offered the strongest bond. The product comes in two tubes that you mix together in equal portions. Once mixed, you have just minutes to apply so Mark quickly pushed as much as he could into the screw holes and the area for the hinge. We let this set for a couple minutes and then put the screws and hinges on the door. Our hope was the epoxy would bond to the wood, screws and hinge to give us the best chance of keeping everything together.
We waited a couple days before putting the door back on the cabinet, just to make sure there was no stress on the split wood or new epoxy. Once we were comfortable with the epoxy, we slowly, carefully, gently, put the door back on the cabinet.
Guess what?! It worked!!! The wood glue helped to hold the split pieces in place, so much so that you can barely see where the wood split. And the strength of the epoxy is holding the wood and screws together, making sure the door won’t come off the cabinet.

I am so thankful for my IG community and their willingness to help. This solution also saved Mark from having re-engineer the door to hold the hinges on the other side. He was thrilled to say the least!

If you ever have a new treasure with some splits or cracks, I recommend giving the epoxy a try. It saved the new piece for our kitchen so it might help save a treasure for your home as well. And – if you ever have a cabinet door fly off, I hope this blog post will help you a bit – now we all know how to repair a cabinet door! Cheers to saving all the old pieces out there!


*this post contains affiliate links



 Nostalgic Santa Display
 Simple Fall Cabinet Styling
 How To Decorate With A Painting: And Make It Pop
 Gurley Flower Candles On Display For Spring

