Come see how I created this easy centerpiece with plants – it is fast and simple and will be sure to warm up your home this winter!
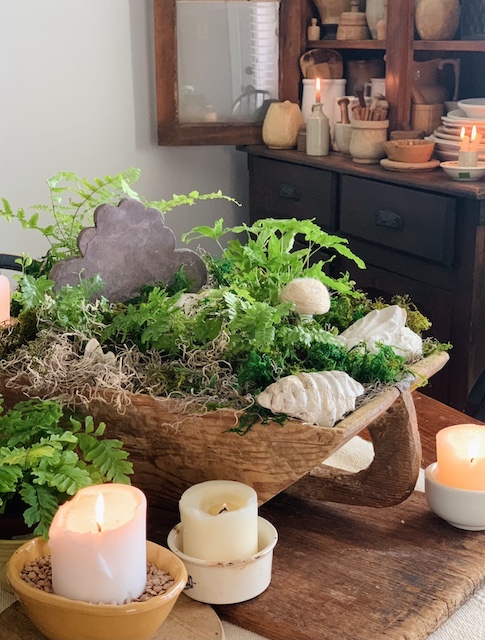
A few days ago, my good friend Robyn asked me to join her on Instagram to share a tablescape. You see, my friend Robyn is a PRO at all things “TABLE” and she is amazing at her craft! She shares all sorts of tablescape ideas weekly … I honestly am not quite sure how she does it! But me, I am NOT a master at tables. I don’t have a lot of practice under my belt, and I can own that! My immediate reaction was, “NO WAY – I am not really good at creating table top decor.
But then, Robyn said the magic words: she said that she wanted to share just a simple centerpiece. I instantly reconsidered after I heard those words come out of her mouth. I can do “SIMPLE,” right? I thought about it for a bit and decided I was up for the challenge. I knew that I could come up with a centerpiece that embraced “MY” style.
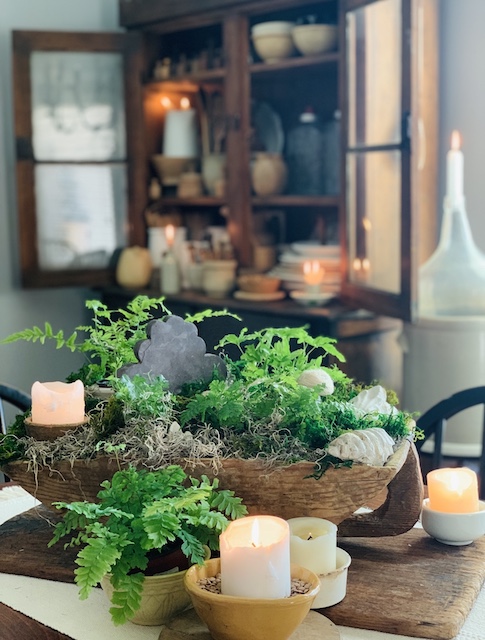
Like most people, we have two big tables in our home: one in the dining room and one in our kitchen. We use both of those tables daily, especially since my husband began working from home almost two years ago. We also use those tables to spread out and do homework after school. With that in mind, I knew that I wanted to create an easy centerpiece that I could move effortlessly.
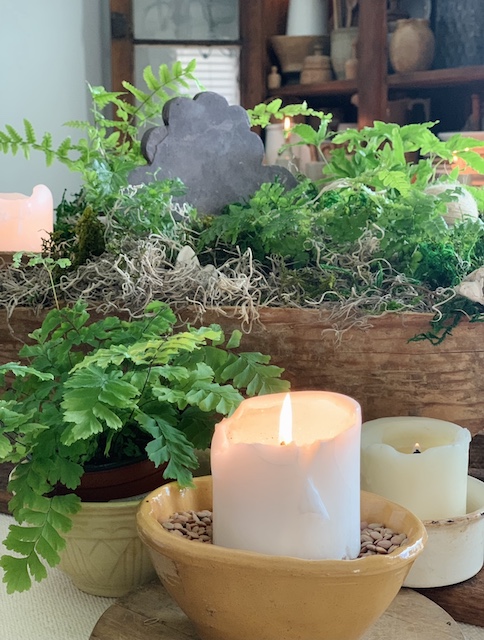
After contemplating my ‘design’ for a bit, I decided that I wanted to create an easy centerpiece with plants! Plants just add ‘life’ to this long cold month of January. I then thought about what vessel I wanted to use to put them in. I remembered that I had just purchased a dough bowl a few days back at an antique market. It has a handle and a flat bottom so I knew it would be perfect to use! Knowing that I had a plan in mind, I ran out to the store, grabbed my supplies, and got busy creating my centerpiece.
Materials
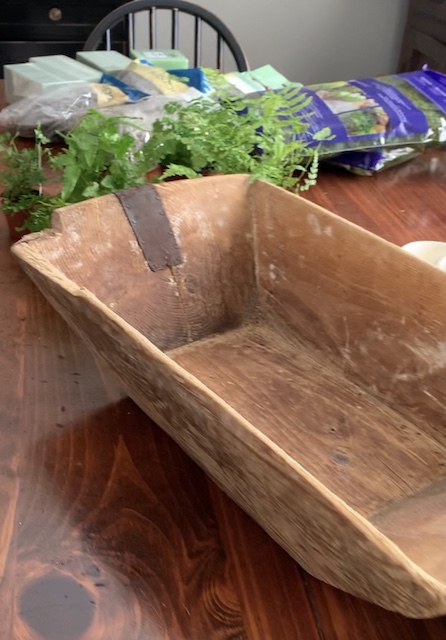
- Dough Bowl
- Floral Foam Blocks
- Spanish Moss
- Forest Moss
- Small Vessels: Coors Ironstone Mortars & Antique Potted Meats Pots
- Ferns – Various Sizes
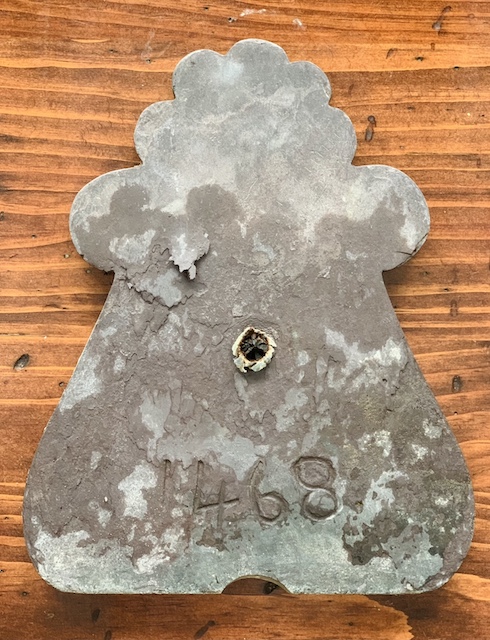
- Salvage Fragments
- Mushroom From A Garland
- Flat Antique Bread Board
- Small Cream Scatter Rug
- White And Cream Pillar Candles
Quick Explanation: I went to Pikes to grab the plants for this. After walking around for a bit, I decided to use ALL FERNS for my centerpiece. I deliberately chose to use different sizes and types of ferns because I felt that it would offer a cohesive look while also adding some variation – if that makes sense.
Steps:
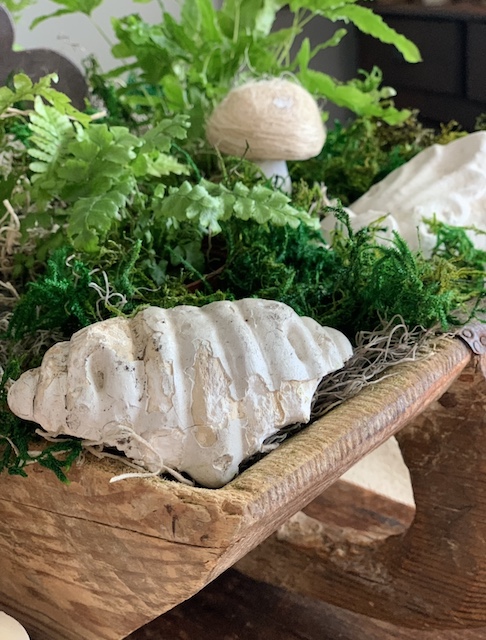
I loved putting this easy centerpiece together. Creating little ‘moments’ with vintage items is my very favorite thing to do.
Floral Foam
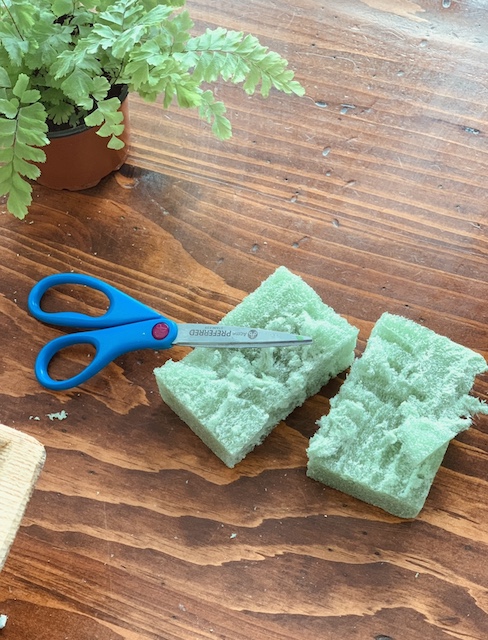
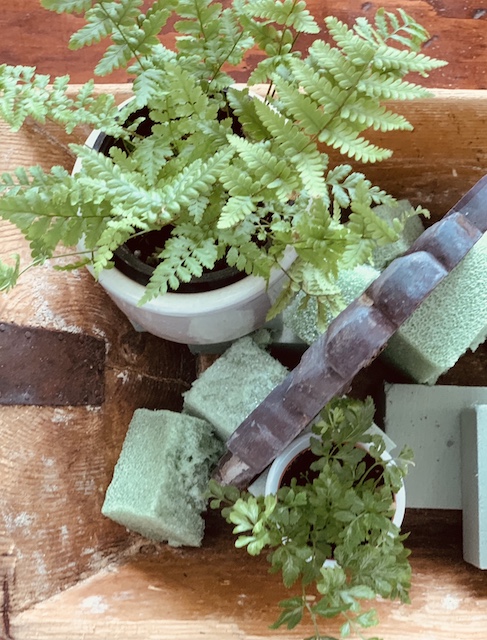
I started by taking my dough bowl and then I added in the floral foam blocks for height. These foam blocks were a cheap and easy way to make sure my plants would be ‘seen” because I didn’t want them to sit down really low in the bowl. The bonus with them too was that they wouldn’t add much weight to the centerpiece – which was important because I knew I would want to move it. At this point is when I also decided where I would place the ferns. I didn’t worry too much about making things “steady” quite yet because I knew that the moss would help that issue.
Fern Vessels To Catch Water
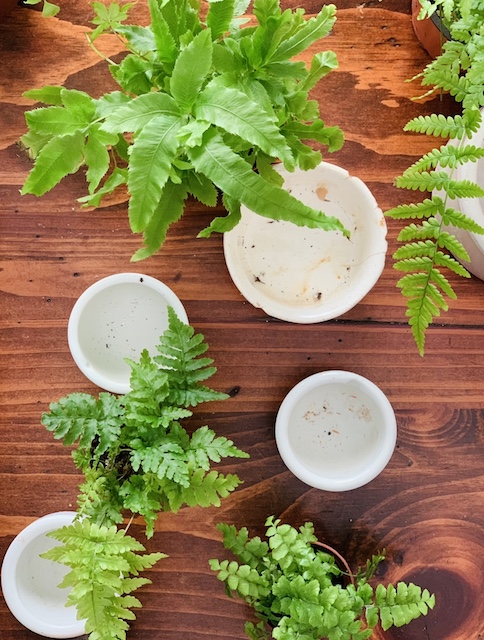
After figuring out where I wanted to put the ferns, I realized that I would need to put each plant into a ‘vessel’ so that when I watered them I wouldn’t ruin the dough bowl or create a mold issue. One of the benefits of being a vintage collector is that you have a lot of ‘things’ around so I dug through my stash of ironstone bowls and found the perfect little vessels. I used the small Coors mortars for the 2 inch ferns and I used an antique potted meats pot for the 4 inch fern. Now, I can pop each plant out easily to water them as needed without having to worry about water ruining the rest of the centerpiece.
Tall Salvage Addition
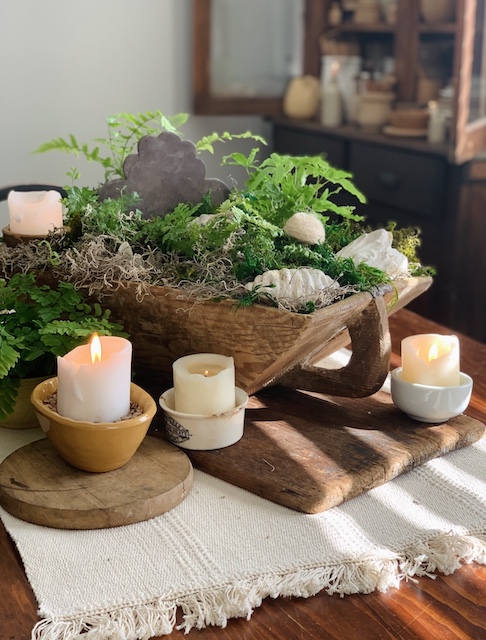
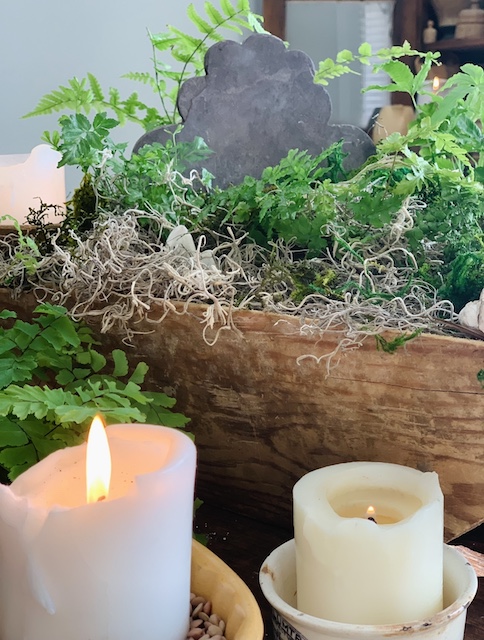
I realized that I wanted to add “something” else to this centerpiece to help make it unique. I thought about it a bit and remembered that I had grabbed a cool “flagstone’ salvage piece (with the coolest shape) the same day that I had bought the dough bowl. I grabbed that piece out of the garage and then added it in. I used a few extra foam blocks to help keep it upright!
Moss
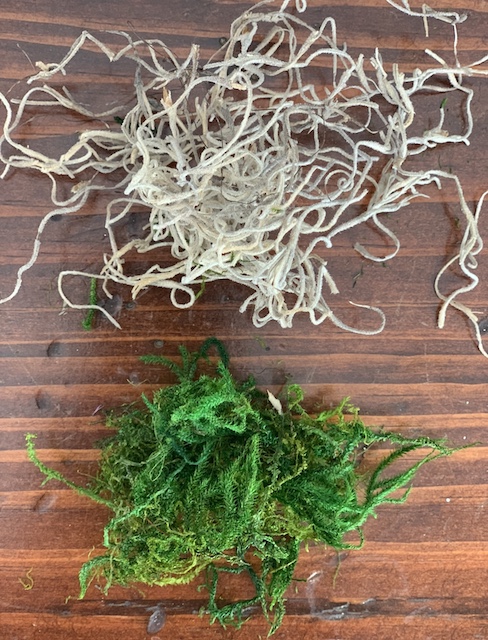
After placing that salvage piece in, and rearranging the ferns one last time, I got to work adding in the moss. For the first layer I used brown Spanish Moss and then I added in pops of green Forest Moss on top. I was careful to really pack the moss in so that it would hold all of the little plants (and salvage) in place! I tucked in so much moss in all the empty spots and luckily it did the trick and all of the pieces are secure!
Quick Explanation: I really like the look of the two colors of moss layered together and I did this intentionally. The brown and green mix reminds me that it is still winter and not everything yet is ALL GREEN outside. Our trees and grass here in GA are still bare and brown. It isn’t spring quite yet. The mix of colors reminds me that we are sill in winter but that spring is around the corner and soon everything will be green and full of new growth. Plus, the brown moss helps make the color of the ferns POP a bit!
Extra Touches
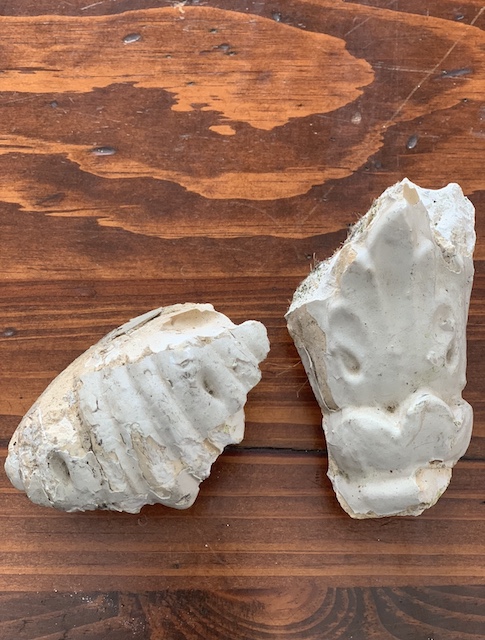
Once I was done packing in the moss I took a step back to admire my creation. I immediately felt something was missing. I loved it – but the only colors I was were green and brown. I needed to add in something else. I decided to go out to my garage to look around at what I had on hand. I noticed my collection of old cement fragments and I knew those would work well. They coordinated well (in terms of material) with the brown salvage piece I already had in there – but the white colors would be a good contrast. I didn’t have many small pieces but I grabbed what I had and tucked them in here and there throughout the centerpiece.
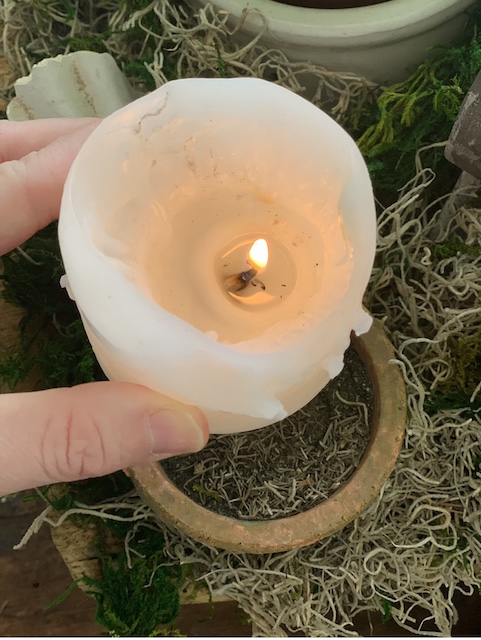
I also added in some warmth to the centerpiece by adding in some real candlelight. Over on one far corner – away from any ferns, I tucked in a mini terra-cotta pot that was the perfect size to fit a pillar candle. The glow of the candle really adds a lot to the whole look.
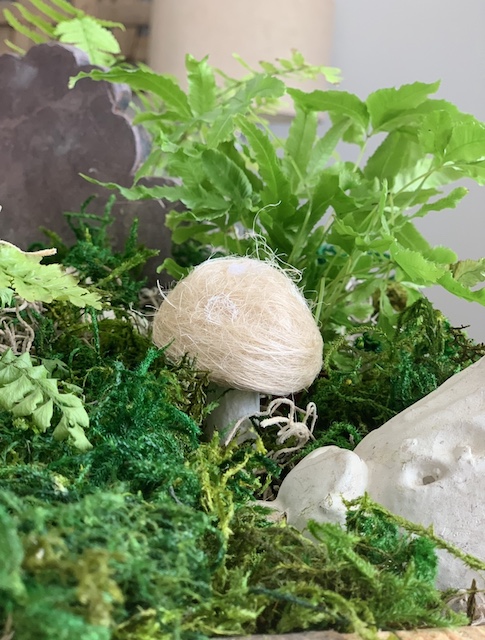
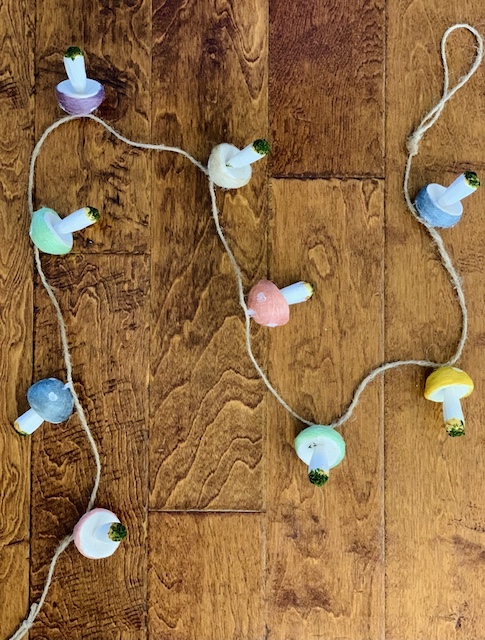
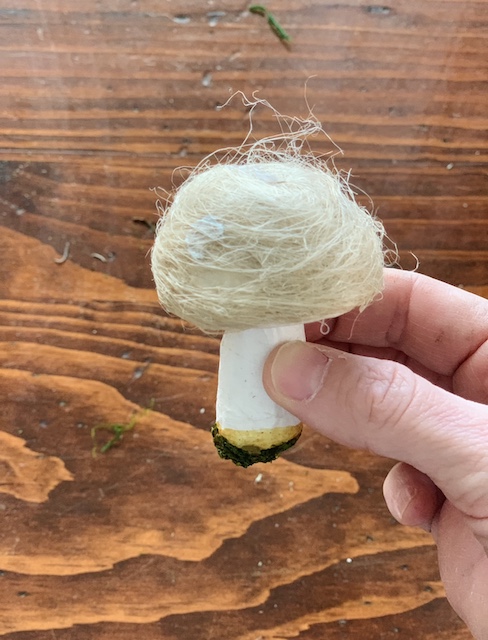
Lastly, I wanted to create just ONE MORE little fun and whimsical moment. After racking my brain, I remembered that I had purchased a mushroom garland from Michales last spring. This garland is full of what looks to be spun cotton topped mushrooms in various colors. I decided to snip a few of them from the garland and then settled on using JUST the brown one! I love that it is a little bit unexpected but yet still adds interest without being ‘too much.”
Layer It On The Table
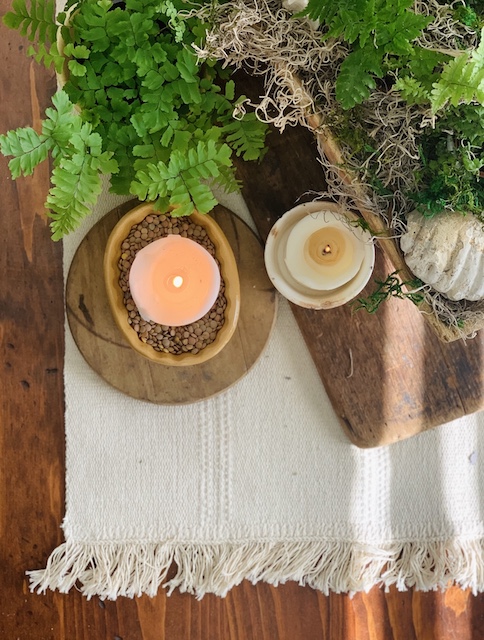
Knowing that I wanted to easily move this centerpiece, I decided to layer the dough bowl onto my cream scatter rug. I can easily pull that rug across the table and scoot the whole centerpiece off to the side if we need the table for homework, meals, crafts, etc….
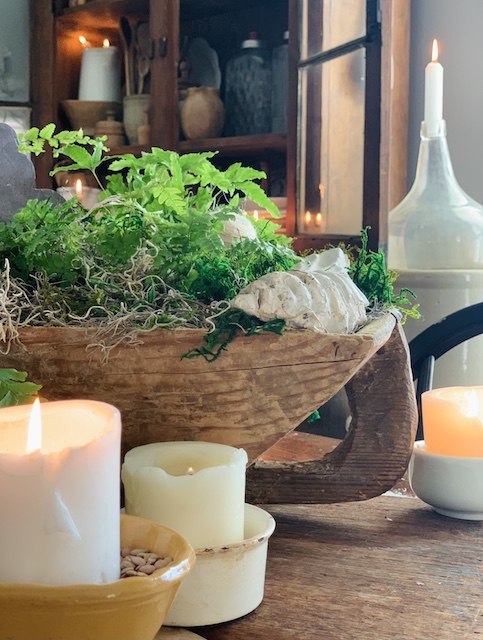
I then added an old antique board on top of the scatter rug and I put the dough bowl at an angle on top of the board. I placed a few candles around the bottom of the bowl and lastly added one extra fern below there too to help tie it all together. I love the way the little extra touches around the dough bowl help to tie it all together.
Want To ReCreate The Look
I have linked a few items that are similar to the items I used here for this easy centerpiece with plants. I can not link all the exact items I used because many are antiques and a few are no longer in stock or are not linkable. For example, the mushroom garland was seasonal and is no longer in stock – but I linked a few options below that look as though they would be perfect options! I also couldn’t find salvage pieces that were the same as the ones I used – so I included some other options that I would feel good about using. (I would personally stay away from wood salvage on the off chance there was any water to seep into the centerpiece. If you want to shop these items, simply click on each picture below! As always, please review all the measurements and such (as it is hard to tell the scale of an item without seeing it.)
Wrap Up
I am so glad that my friend Robyn asked me to do this. I really enjoyed the challenge and the process! I hope this not only inspires you to create your very own easy centerpiece with plants, but that it also encourages you to try new things – even when you think you might not be great at them! As soon as I decided to go for it – knowing that I wanted to create a centerpiece that was in my style – I had a blast! Thank you for taking a moment to take a look and for reading along!
If you enjoyed this post then you might also enjoy:
- this post about houseplants
*this post contains affiliate links

 Kitchen Counter Fall Decor: Simple & Warm Additions
 5 Easy Pinecone Decor Ideas
 6 Wonderful Ways To Celebrate Mom
 Simple Christmas Mantel With Greens And Gold

[…] Don’t be afraid to think “outside of the box” when it comes to decorating with salvaged treasures. Above you can see how I used some salvaged exterior pieces from an old home in a centerpiece vignette for my kitchen table. (You can read more about that centerpiece here.) […]