Looking for a simple DIY Mother’s Day gift? You’ll love these easy homemade bath bombs that only take a few ingredients to make ….and I sharing how to add your own vintage twist on these little gifts!
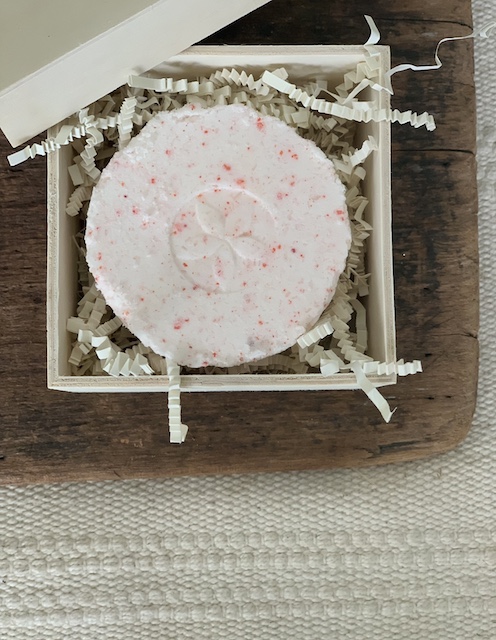
Who loves a good soak in the tub? In all honesty, I do NOT. I am a shower girl, and I have been since college. But, you know who does love a good soak? My mom! So, as I was racking my brain to come up with a Mother’s Day gift that she would actually enjoy and use, the idea of homemade bath bombs popped into my head. The very best part is that making them here at home allows me to create bath bombs scents that I know she will love as well as allows me to put my own little ‘vintage twist’ on them as well – stay tuned to see how I do that!
What You Will Need:
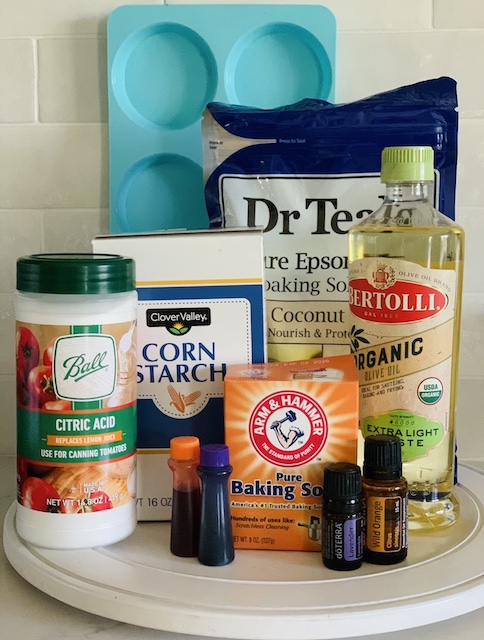
I have made homemade bath bombs a few times in the past and I have found that there are many, many different recipes out there that will work! Today, I am sharing a very simple recipe that I have found works really well and – the best part is – I bet you will have “almost” everything in your pantry for this recipe already!
Homemade Bath Bomb Recipe
- 1 Cup Baking Soda
- 1/2 Cup Citric Acid
- 1/2 Cup Corn Starch
- 1/2 Cup Epson Salt
- 2 Tablespoons Olive Oil
- 2 Teaspoons Essential Oil Scent Of Your Choice
- 3-4 Drops Food Coloring
- Bath Bomb Mold (Can also use Silicon Cookie/Candy Molds)
Quick Tip: I would recommend using Epson Salts that are unscented and that are fine.
The Process
My mom loves both lavender or orange and I was torn as to which scent to use for this blog post. In the end, I decided to go with orange! I think it will be a bit more unique than the lavender and I know she loves the refreshing smell of citrus! You can click here to find the perfect scent for YOUR mom! Now, let’s make these homemade bath bombs!
Step One: Mix Your Dry Ingredients
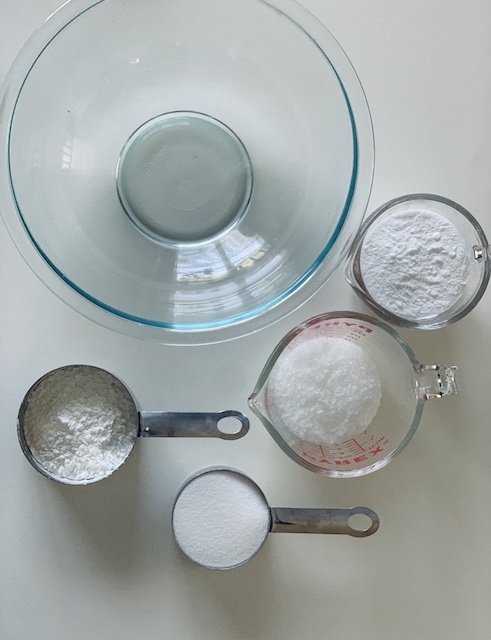
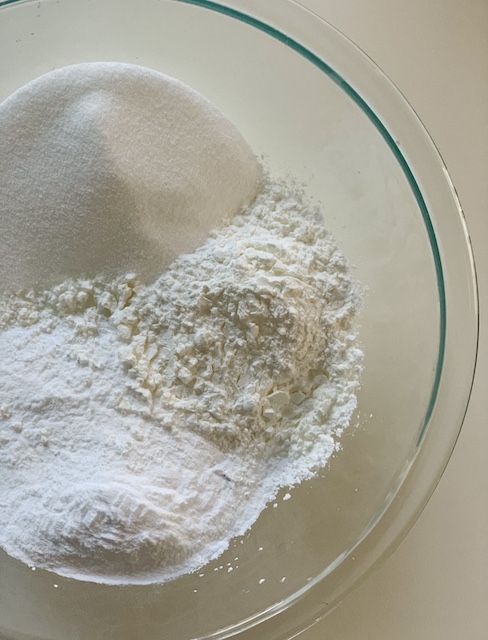
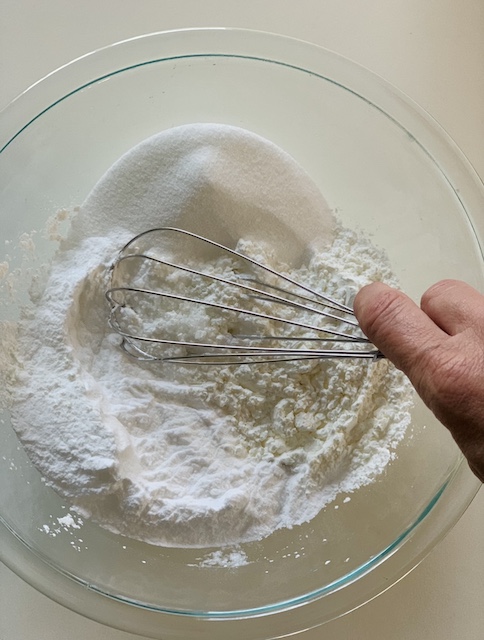
Simply measure out all of your dry ingredients and then mix them well in a large bowl. Make sure you whisk this mixture well because these ingredients can be full of clumps!
Step Two: Add Your Food Coloring
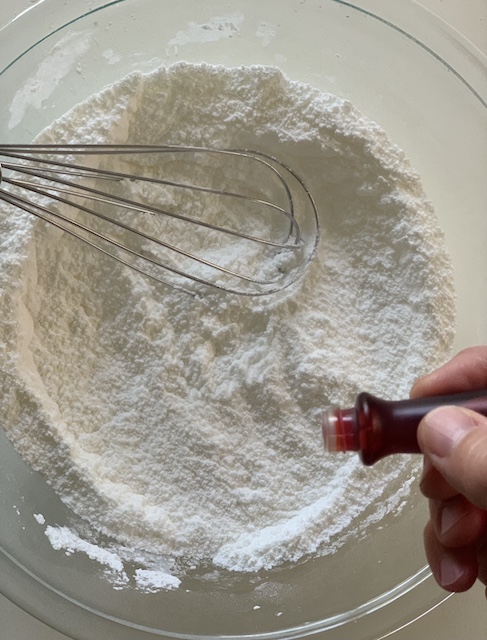
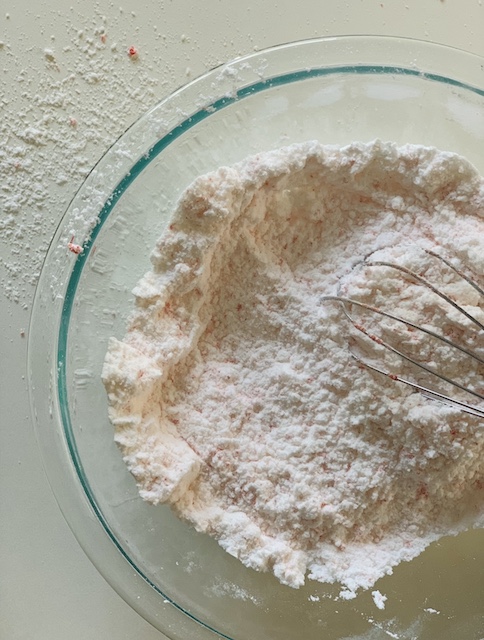
I added my food coloring to the dry ingredients first and then mixed well. At first I was nervous because the mixture didn’t appear to be ‘orange’ at all. But, as you will see below, the food coloring dies indeed work.
Step Three: Add The Essential Oil
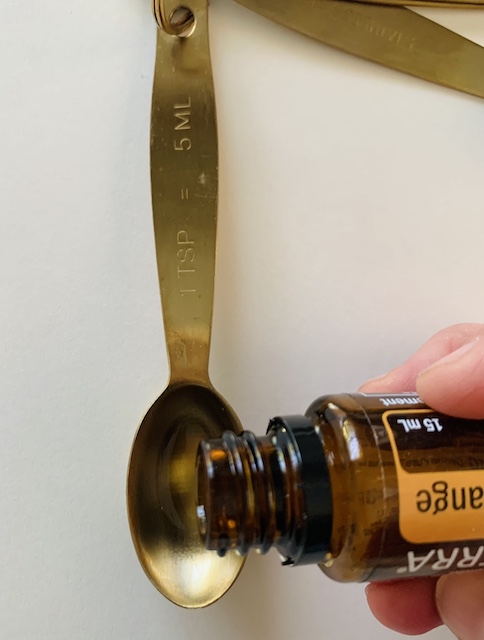
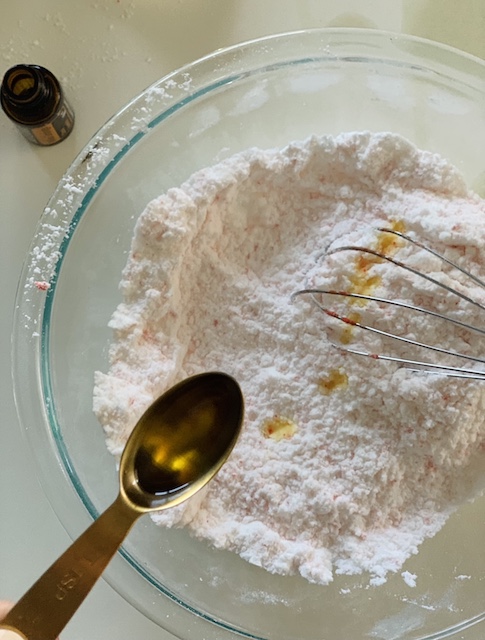
I carefully measured out the essential oil and mixed it using the whisk.
Step Four: Add The Oil & Combine All Ingredients
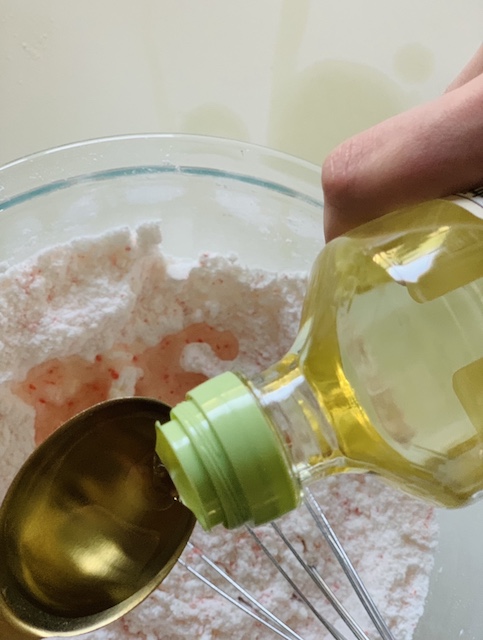
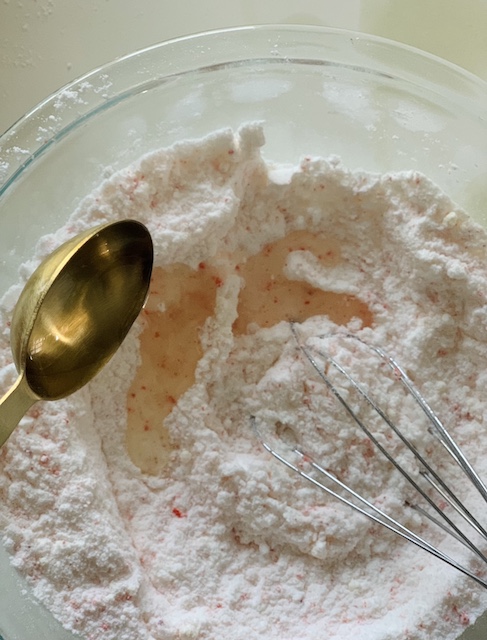
I then added in the olive oil and mixed all of the ingredients really well. At this point, before you fill your silicone mold, you want to make sure (as best you can) that the ingredients will all stick together. To check, all you have to do is take a little of the mixture and squeeze it in your hands! It should easily stick together but if is seems to be falling apart (too powdery) try adding a very small amount of water until it does stick together into a clump. (For reference, to me it felt very similar to the kinetic sand that my kids use to play with.)
Step Five: Prepare Your Mold
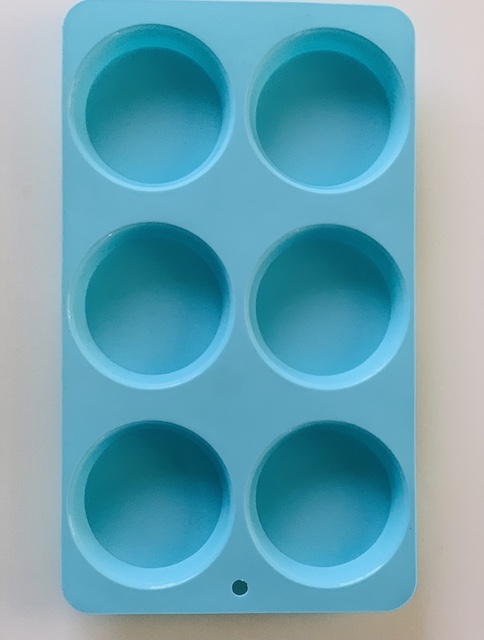
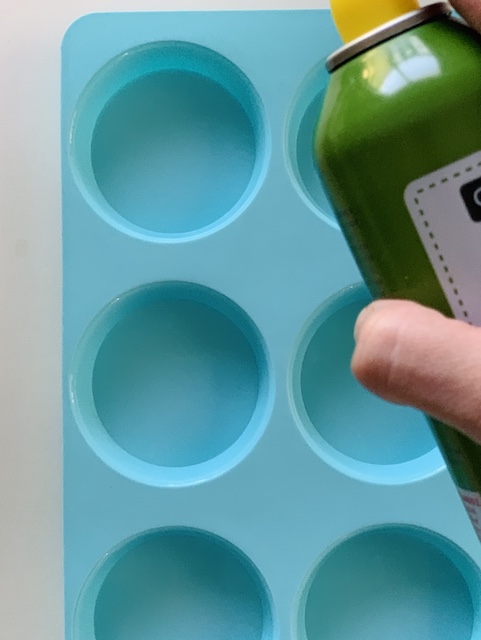
Because I wanted to use the butter mold on my bath bombs for my mom, I did NOT use the traditional bath bomb mold that many people use. I wanted a bath bomb with flat surface so that you could really see the old butter mold patter. After a lot of searching, I decided to use this exact silicone mold. This mold isn’t for bath bombs specially- but it worked. I did use a few little squirts of olive oil as well to help the bombs slide out more easily!
Step Six: Fill The Mold
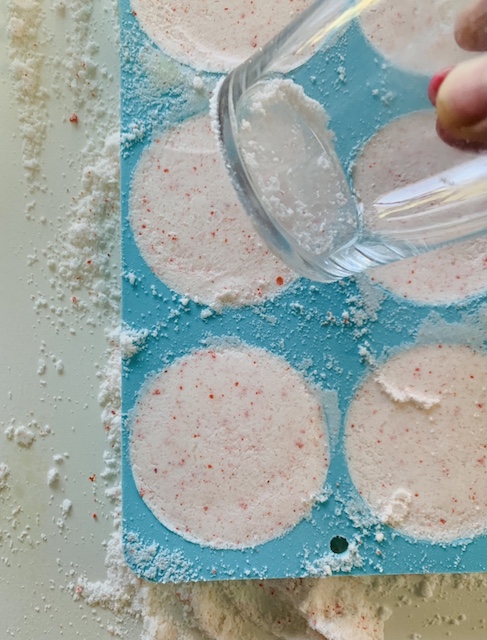
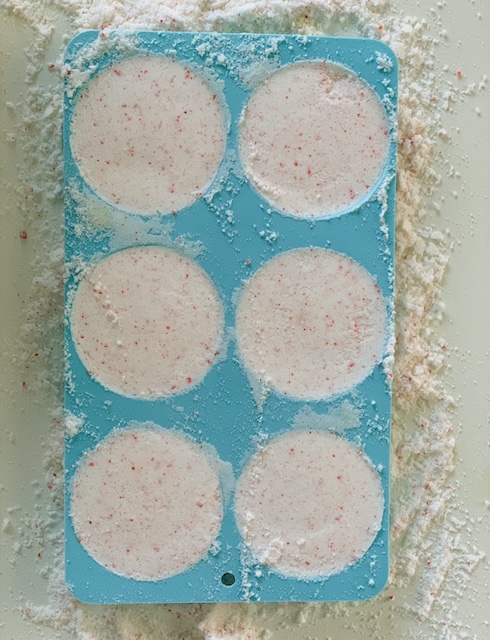
I just filled each section of the mold by hand and then used the bottom of a glass to pack the bath bomb mixture in tight and to smooth out and rough spots on top! This recipe was enough to fill all of the sections of the mold that I used and I had a little left over too!
At this point, you could be done preparing your homemade bath bombs and just let them dry. However, I wanted to add a little “vintage twist” to mine! Read on to see what I used ….
Add A Vintage Twist
As you know, there are a million and one bath bomb blog posts out there and I really wanted to come up with a way to put my personal touch on this bath bomb post! I wanted to somehow make these bath bombs unique to my personal style and …. I wanted my mom to look at these homemade bath bombs and think of me. After racking my brain for a way to do this …. an idea finally hit me!
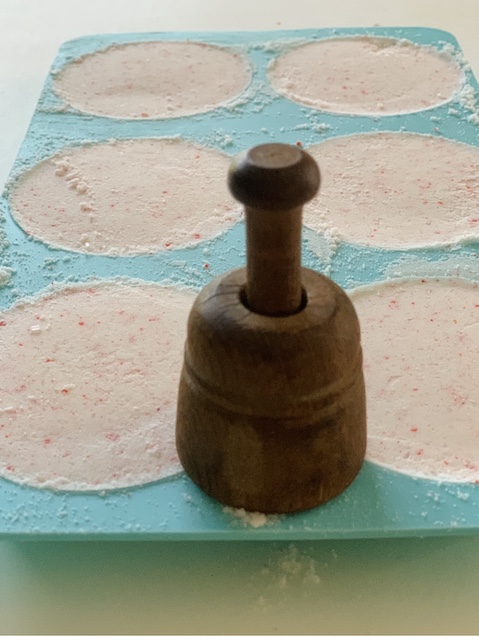
By now you might know that I love old butter molds. (You can read a bit about their history and see a few from my collection here!). With that in mind, I thought it would be a fun idea to put a butter mold stamp on top of them!
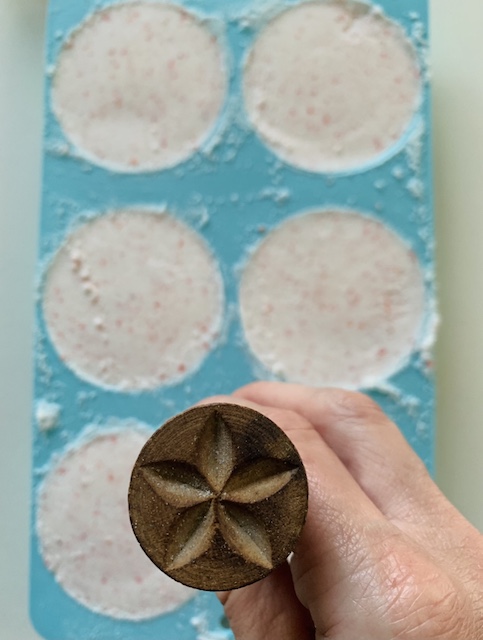
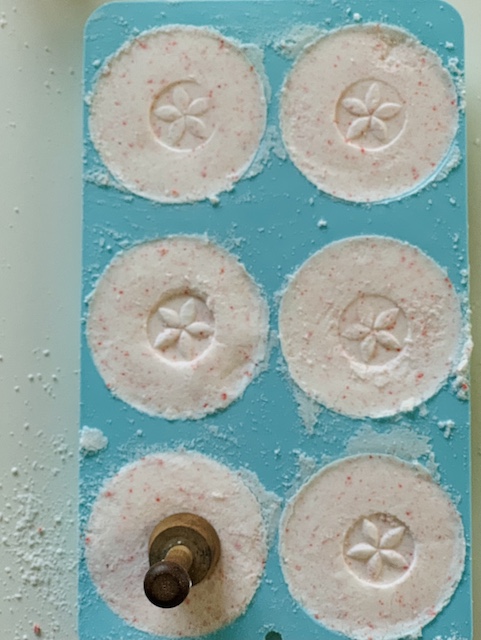
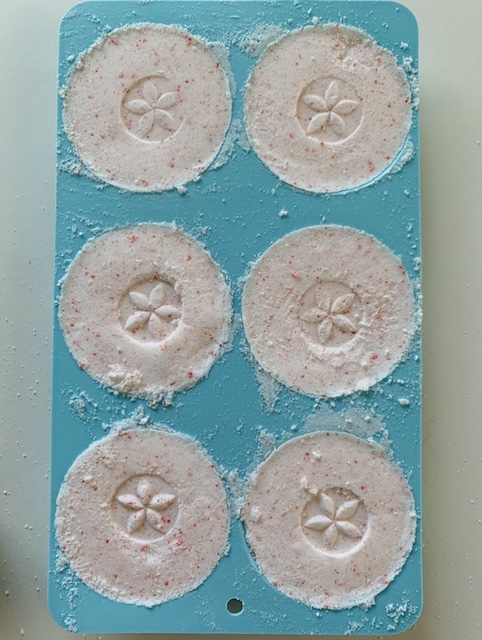
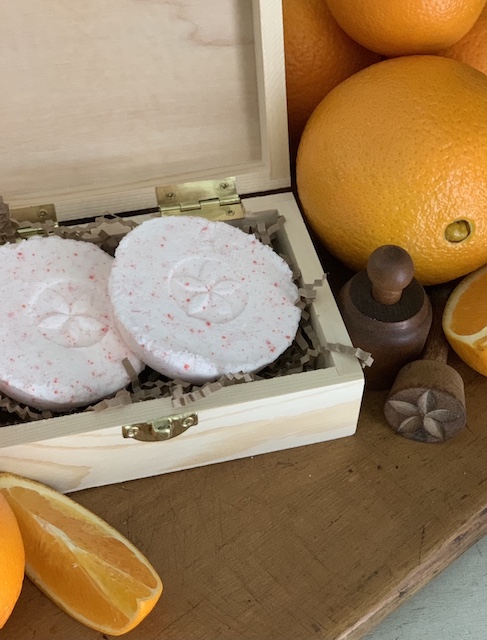
You will want to use your butter molds as soon as you are done packing the bath bomb mixture into the molds – before the ingreduents have time to ‘set’ and harden. Also, I decided to use one of my small butter mold (this doesn’t even measure an inch) because I wasn’t sure how they would turn out. I felt that I would have better results using the small one. I went with this simple star pattern, but you could use any pattern that you have on hand!
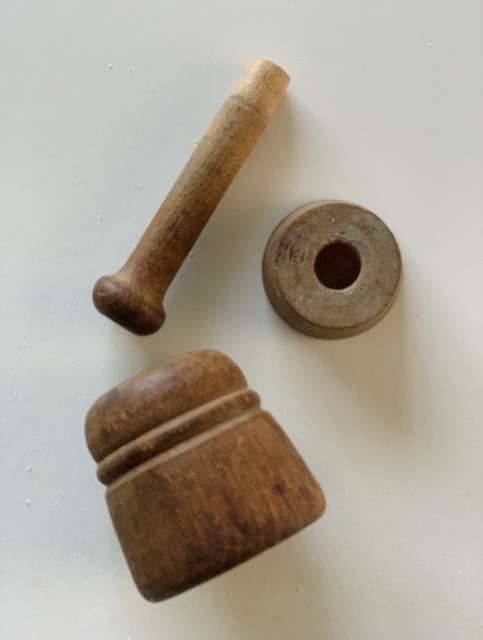
A Few Quick Tips: I did take apart the butter mold so that the outer circular part wasn’t in the way as I stamped the bath bombs. Also, I did find that it was a little hard to get the stamp directly in the center. But, I decided that it was alright if they were not all perfect. I also learned that you do have to press pretty hard to make a nice, visible imprint with the butter mold. But, there is a bit of a balance to it because I found that if you push too hard then your homemade bath bomb will crumble within the mold.
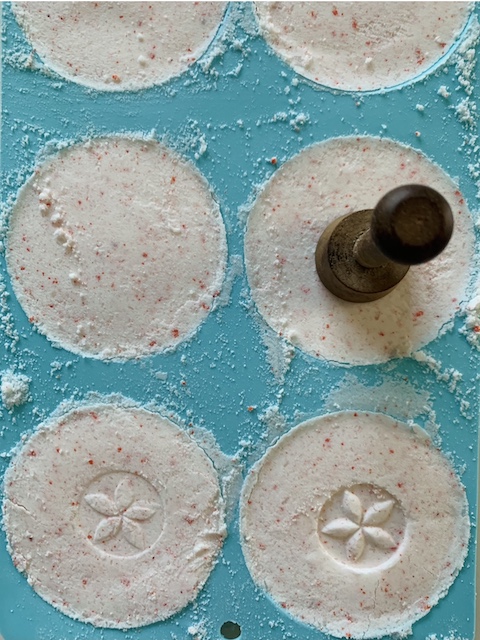
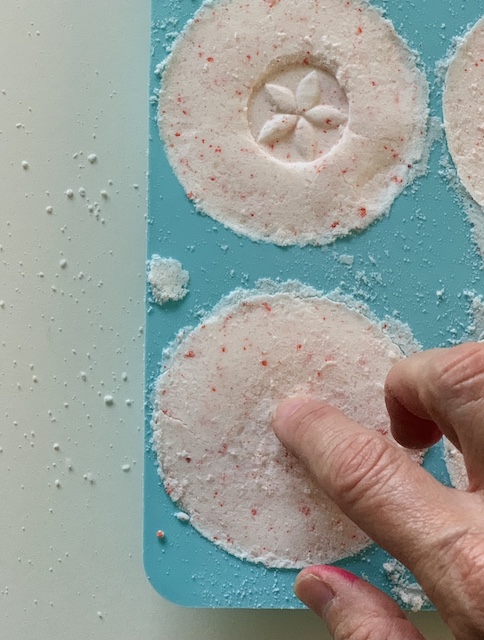
I also learned that if are really unhappy with the outcome of one of your stamps, then you can use your finger to smooth out the top of the bath bomb and try again!
Now ….. Let Them Dry
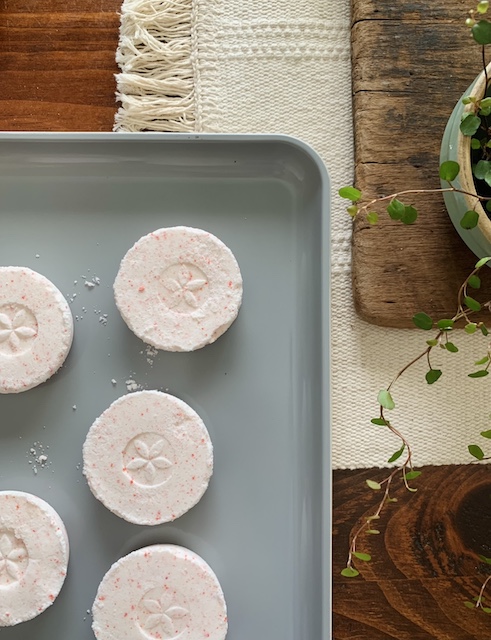
After I used the butter molds to stamp the tops of my bath bombs, I simply left them to dry (in the mold) in a safe place for about a day and a half. I wanted to be sure to give them enough time to really harden. To remove them from the molds, I just used two cookie sheets and gently flipped them over and carefully lifted the mold up and over each bath bomb. I was nervous that they would crumble and break – but luckily I only had one casualty.
Nothing Goes To Waste:
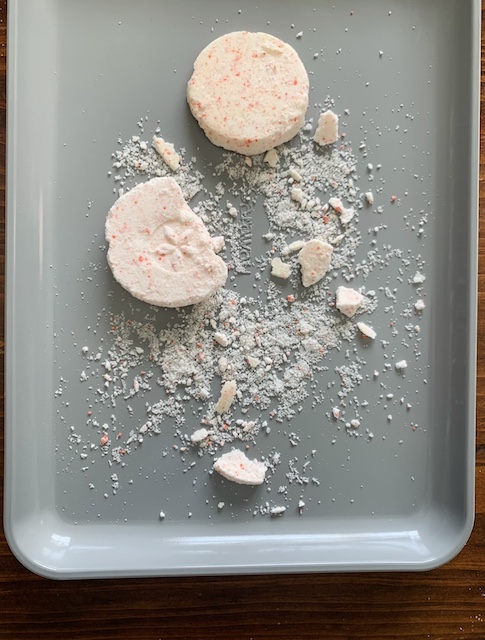
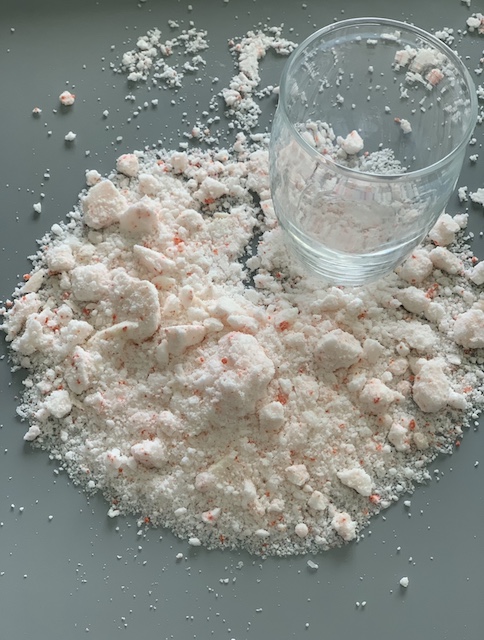
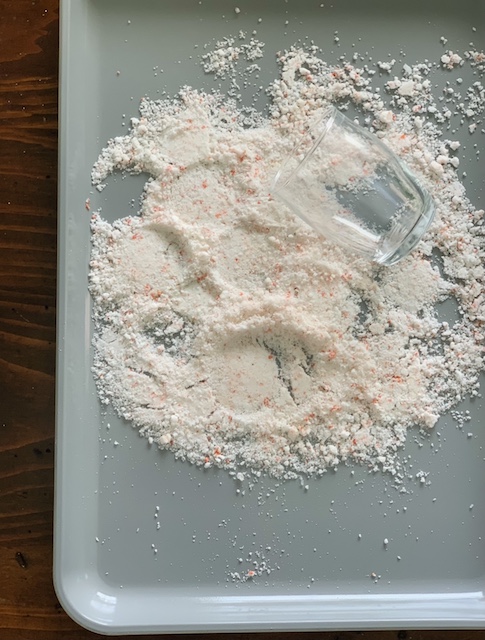
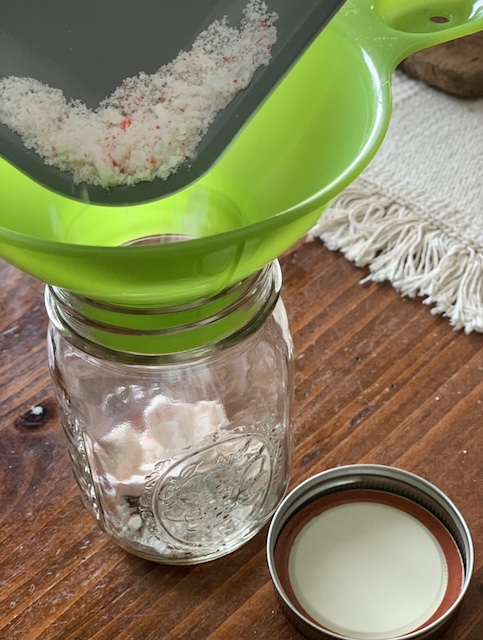
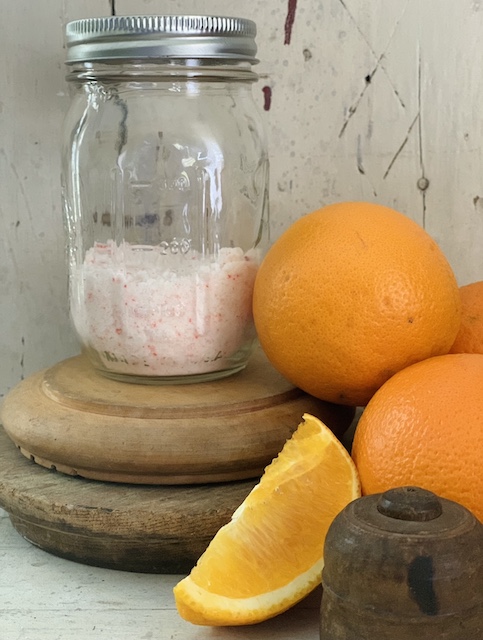

What happens if there is a casualty? If there is – then it’s not the end of the world! There is a possibility that one (or more) of your homemade bath bombs will break when you are trying to remove it from the silicone mold. That’s ok …. just don’t throw it away! Simply use the bottom of a glass (or something similar) to crush the broken bath bomb back into a powder consistency and then store it in a jar. Now you have a little bath bomb (in powder form) for yourself! I plan to let my kiddos sprinkle a little into their baths!
How Do They Work
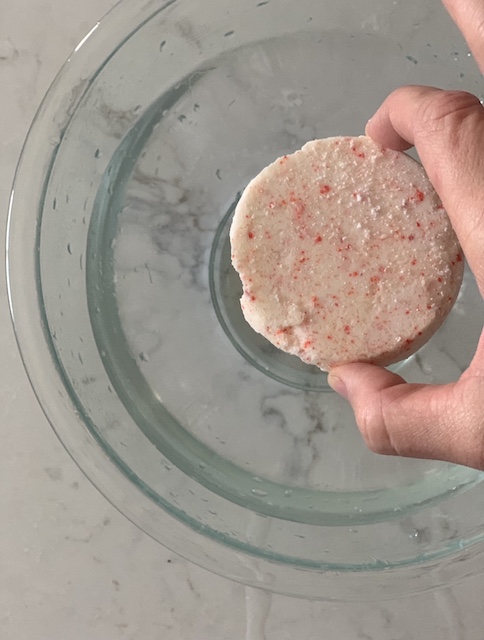
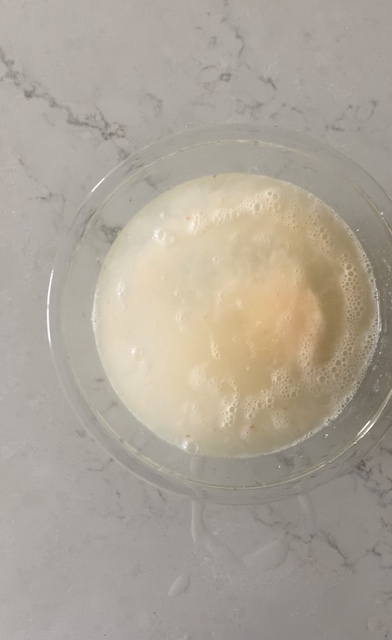
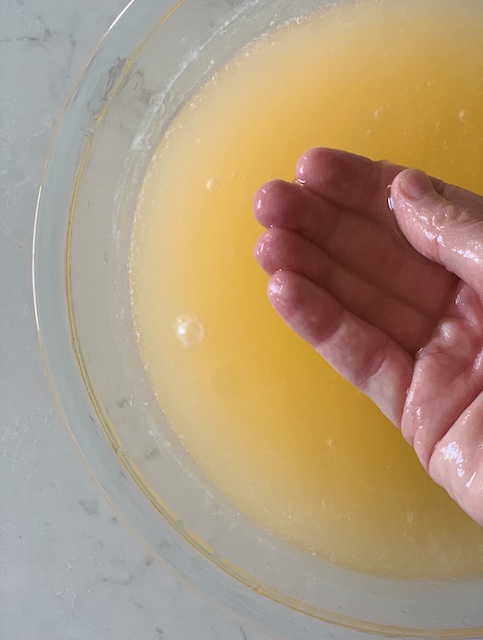
I wanted to try them out and see if these homemade bath bombs really worked! To my delight, they fizzed up perfectly! Also, you can really see their orange color at this point too! I loved the way that they turned out!
I do want to note that I felt that my hands were very slippery so if you make this, please be careful and do not slip in the tub!
Wrap Them Up For Mom
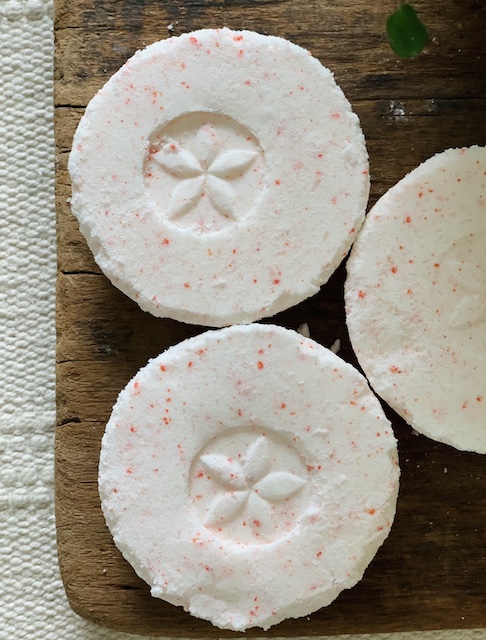
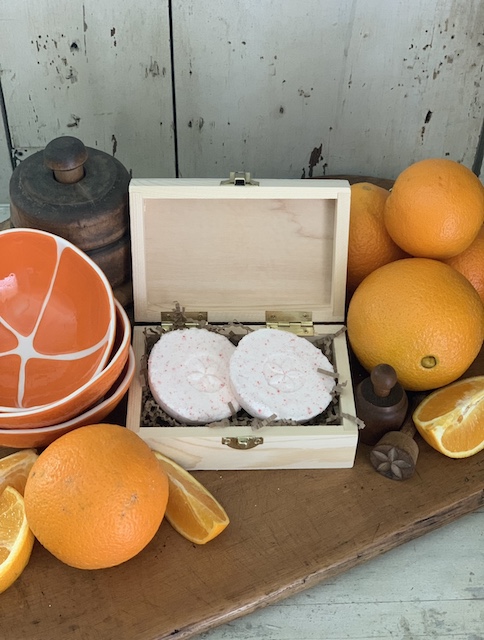
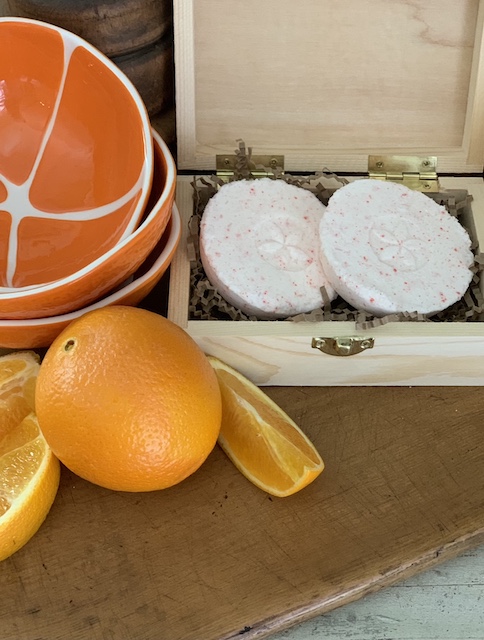
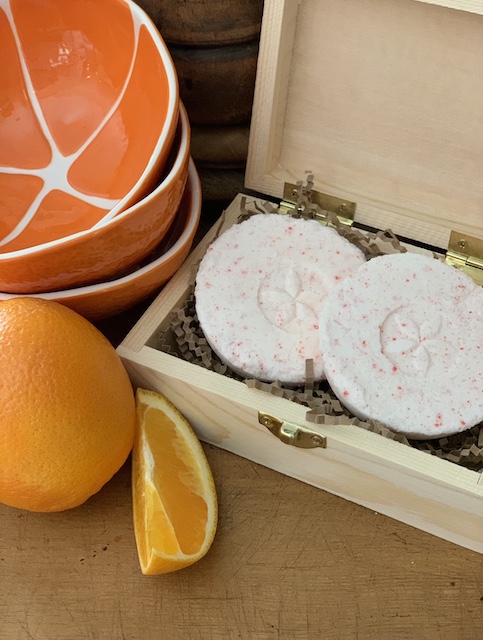
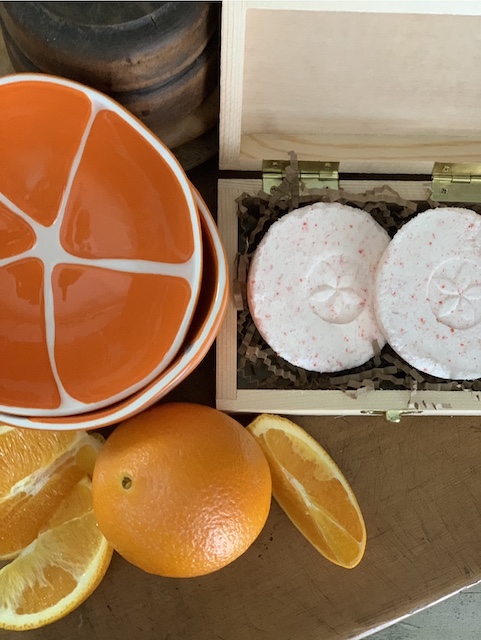
Now that I know that these homemade bath bombs work well, it is time to wrap them up for mom for Mother’s Day. I used this small wooden box (you can find a variety of them these boxes here) and I filled the box with a little bit of craft paper filler to cushion the bath bombs. Now, they will be well protected when I give them to her.
Wrap Up:
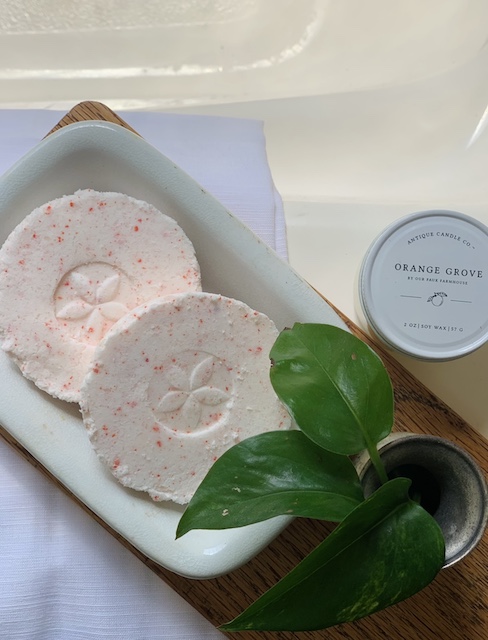
I really hope that enjoyed this little homemade bath bomb tutorial – and I hope that this gives you an idea for a quick an easy gift that you can make for you mom for Mother’s Day. And, the added bonus for me is that they were actually fun to make and made the house smell so so good! If you aren’t the crafty type then you can always just order nice bath bombs like these …. but, while these homemade bath bombs may not be perfect, I think the idea of taking time to make a gift by hand and adding a personal touch (like using the vintage butter molds) makes any gift a little more special. Right?! Oh, and if you liked this blog post then you (and your mom) may also enjoy this homemade lavender bath milk recipe.
I am wishing all you moms out there a very Happy Mother’s Day!
 Cozy Yarn Hearts: A How To Guide
 Easy Corn Husk Wreath
 Dye A Hydrangea In 5 Easy Steps: Fridays At 5:00
 New Kitchen Tile Backsplash Update

Love this idea! Can’t wait to try it-just to even give away as a gift to a friend or my daughter!!

Love the bath bomb gift idea which I have never done and going to give it a try!
Have you ever made a sugar scrub? That’s a fun one too!
Thank you so much for sharing your talent and knowledge!
I have been looking for this special gift recipe since before Christmas.
Thanks so much!
This is such a fun idea, Emily. I know I would love to receive a thoughtful gift like this. I’ve always wanted to try making my own bath bombs, but it seemed a bit intimidating Thanks for breaking it down and sharing how simple it is. I’ve pinned this to my inspiration board for the future.