Do you love summer flowers? I sure do and I am sharing how I created this cut flower garden in a raised bed just in time for flower season!
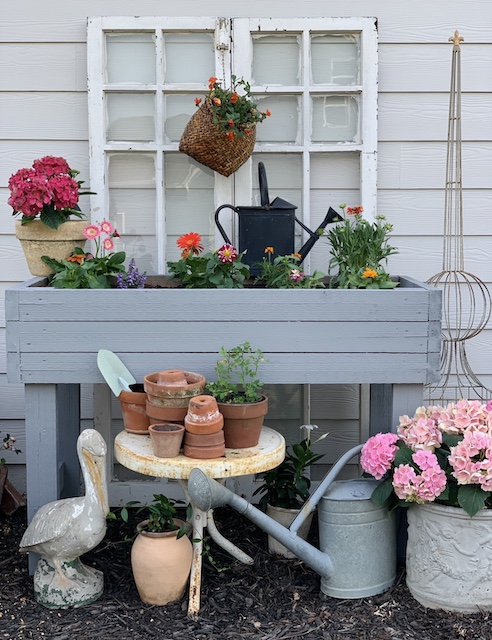
Do you know what I love this time of year …. I love flowers. All of the beautiful shapes and vibrant colors just really warm my heart. But, you know what doesn’t warm my heart – the deer that roam around our backyard at night that nibble on my flowers. Too many times, over the almost 11 years of living here have I woken up to discover that my sweet, dainty, beautiful flowers have been gobbled overnight. So, this year, Mark and I decided to try out hand at growing a cut flower garden in a raised bed.
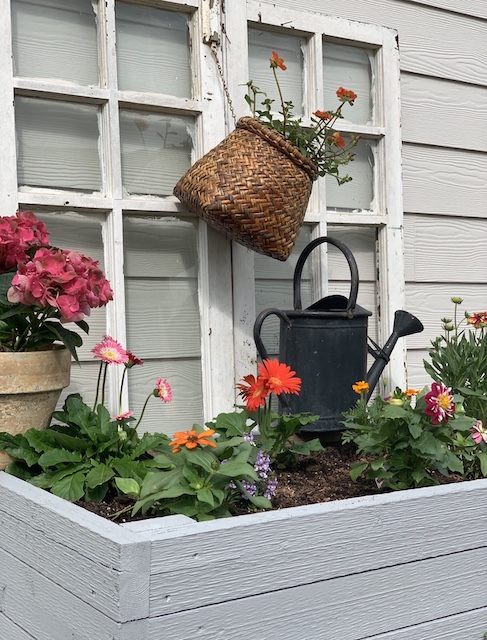
Last spring Mark and I decided to build a raised bed out of cedar – you can see how we did that here. We placed it in a “mulch area” right outside our back door and filled it with herbs. Things grew pretty well in it last spring but this year we decided to do something a bit different with the space.
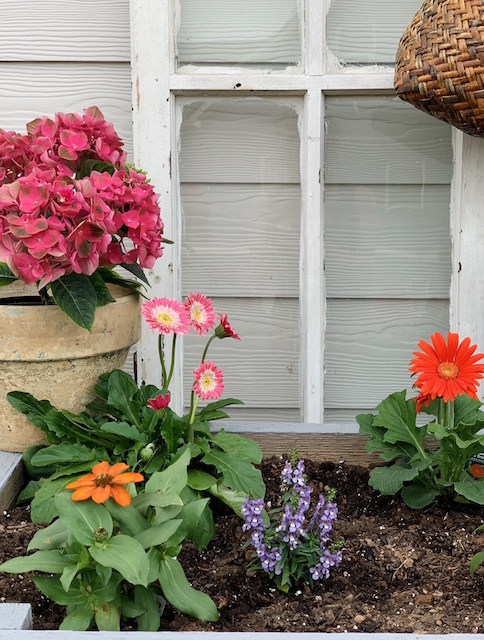
A few weeks ago we had a huge concrete back patio added onto the back of our home and so we decided to move the raised garden bed to the side of the house where it could safely sit in a new area with mulch. There it gets tons of morning sun but also gets a little shade in the afternoons which is good because it can get brutal here in Georgia during the summer months.
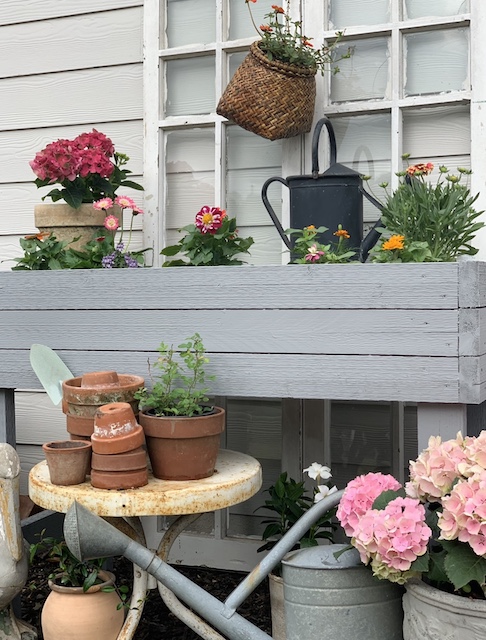
In addition to finding a new location for the raised bed, we also decided that it was time to give it a little face lift and so we decided to paint it. I used this exterior paint form Home Depot in Shark Fin Gray. I applied two generous coats and as soon as it was dry I was in love. The new color matches our home well.
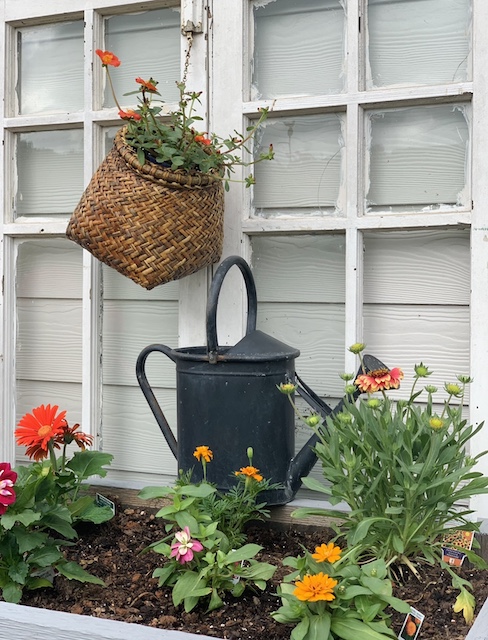
Once the bed was in its new location and the new paint had dried, I decided to clean out the old soil a bit. Last year I discovered that it takes a lot of soil to fill one of these raised bed. In an effort to use as much of the existing soil as possible, I gave it a good tilling and pulled out any old roots or stems from the herbs that were in there before. I then added in a little of this soil which is good for raised beds.
Tip: If you are just starting out and want to save a little money on soil then fill up the bottom of your bed with compostable materials such as sticks and mulch and leaves. Just make sure to fill the top 8-12 inches of the bed with good soil.
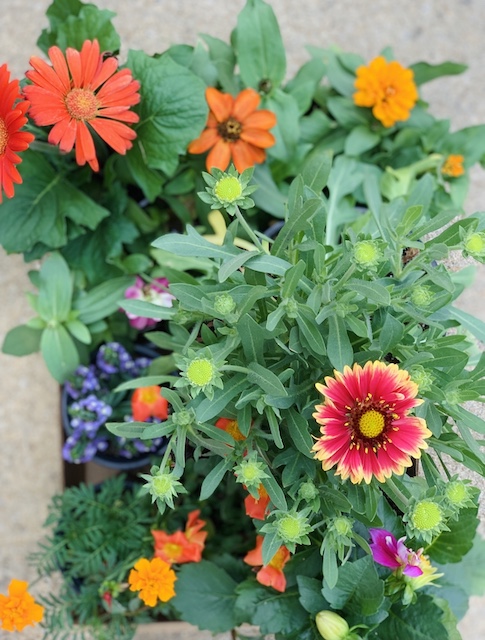
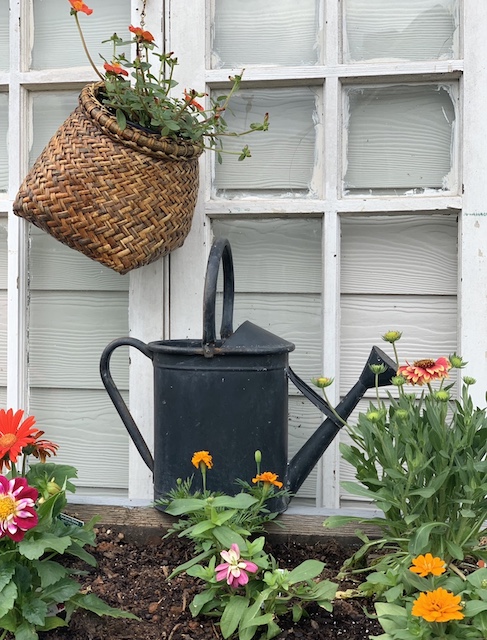
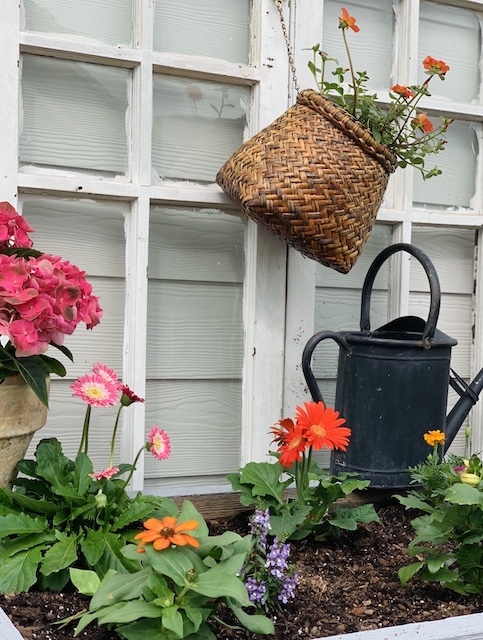
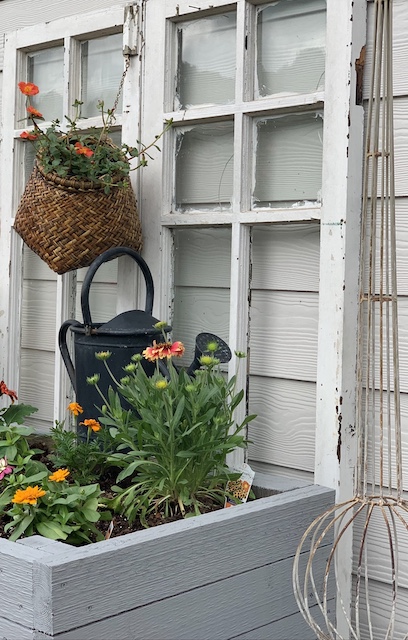
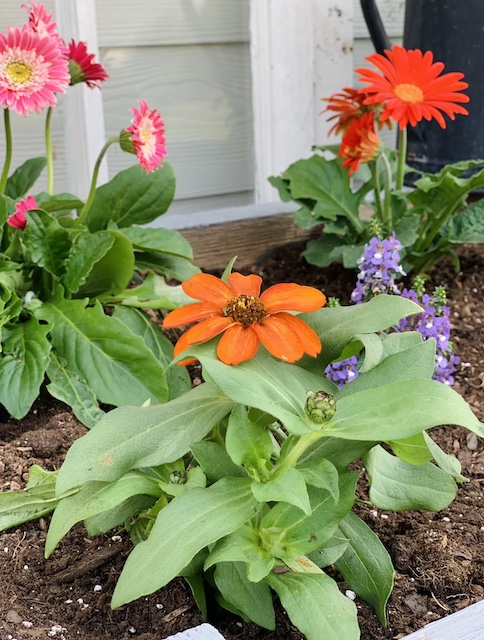
After the bed was ready I decided to add in my flowers that I picked up at our local garden center. I decided to use:
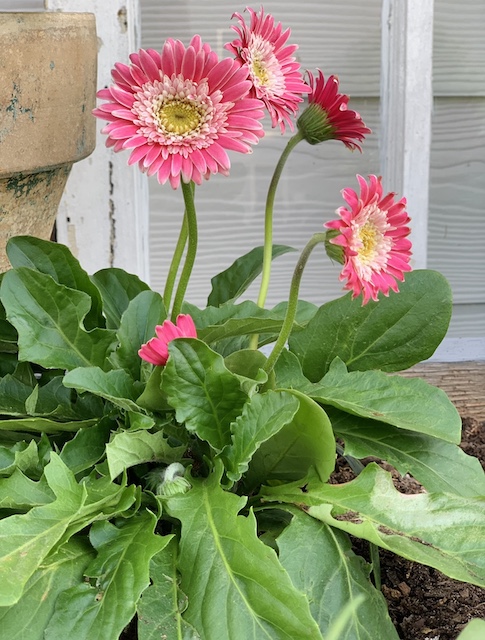
Adding in the flowers was the best part for sure. The bed is not very large and I do not have a lot of space to work with so I was sure to pick the flowers that I thought would do well here in Georgia and that would also give me the most bang for my buck! I also wanted to be sure to have a good mix of sizes and textures and colors! I do plan to add some Cosmos to this space – I just can not seem to find any at the moment!
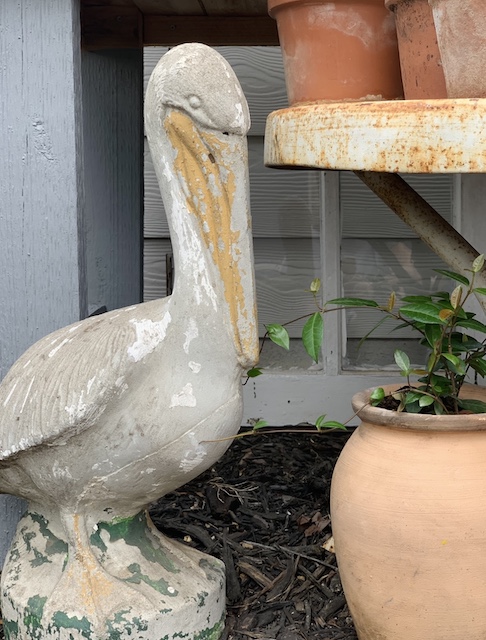
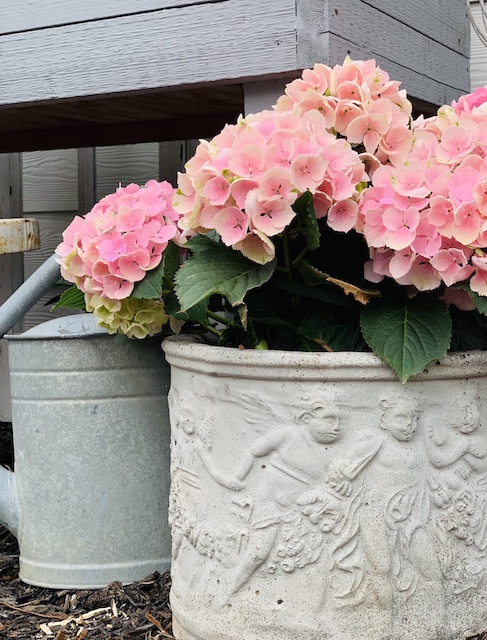
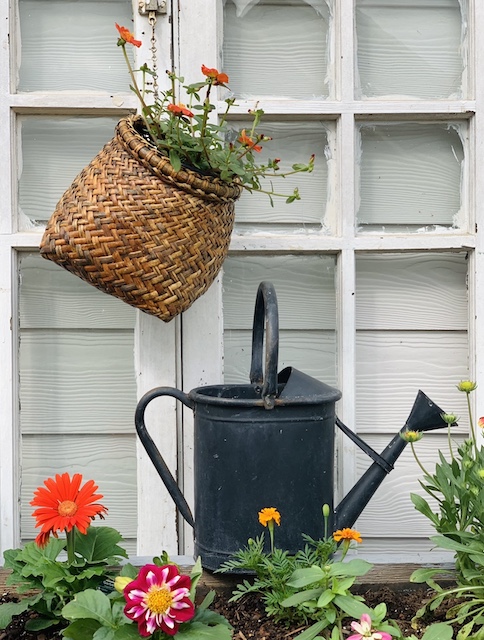
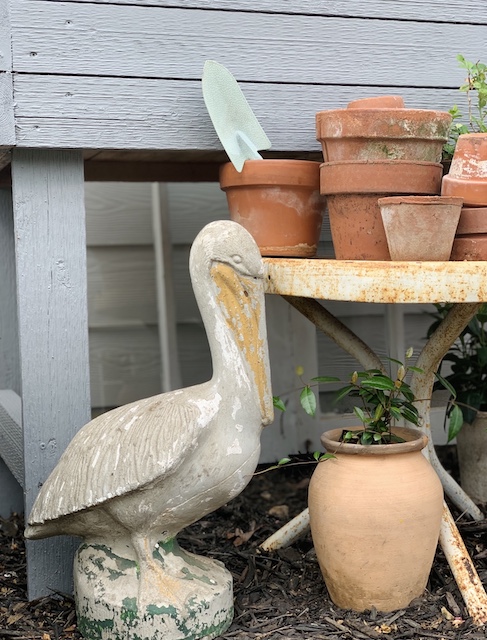
I finished off this little “Cut Flower Garden In A Raised Bed” space with some additional pieces that I love. I decided to place my favorite old glass windows behind the raised bed to add some interest in the back area and there in front I added in a few more potted flowers including hydrangeas and mandevilla. I also added the cutest chippy old cement pelican that I found at my antique shop to welcome in the summer. I sprinkled in some old pots and that was it! But, of all the things that I added, I think the vintage weathered watering cans are my favorite “extra” in this space!
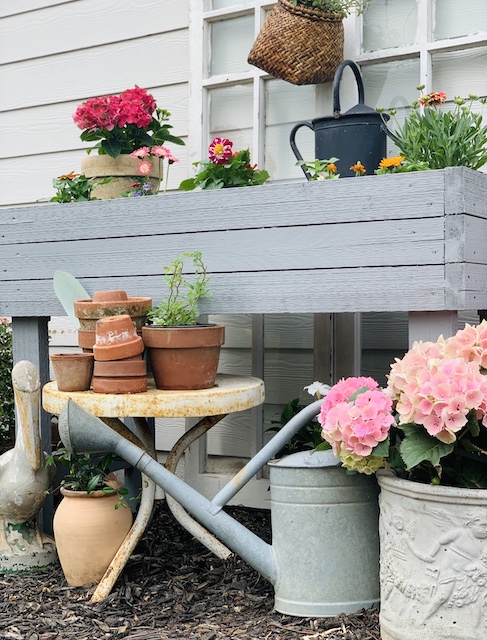
I am in love with my little cutting flower area and I will keep you posted on how things are going with this space as the summer rolls on! I hope this inspires you to try your hand at a cut flower garden in a raised bed – I am so excited to have beautiful cut flowers right at my fingertips and I look forward to sharing them with friends and family.
P.S.
If you want to try to create a cut flower garden in a raised bed at home but don’t want to make your own raised bed then these may be some good options for you!

 Fall Flowers On The Mantel
 Cottage Style Stone Path Install
 8 Beach Trip Necessities
 Mantel Above The Couch

