I created the cutest DIY Christmas Village using plastic houses from the Dollar Tree. Come see how easy it was to put together!
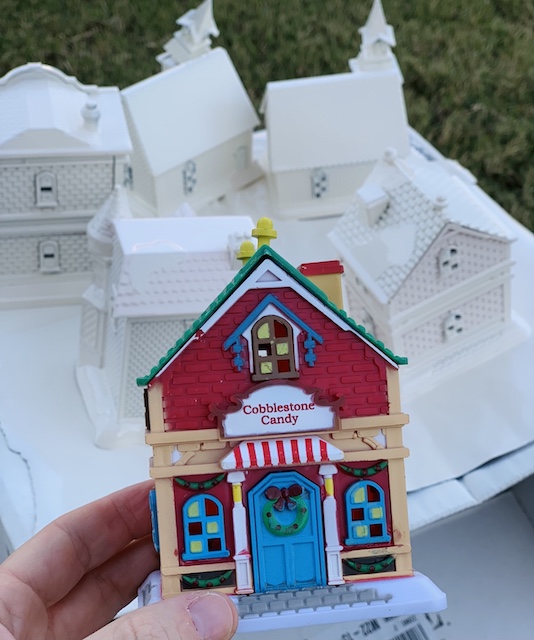
A few weeks ago I was at the Dollar Tree when I spotted a few little Christmas village houses/buildings. As soon as I glanced over at them I knew that I could easily create a charming Christmas Village DIY for only a few bucks! I snagged up 6 little houses and I was on my way home to begin the process.

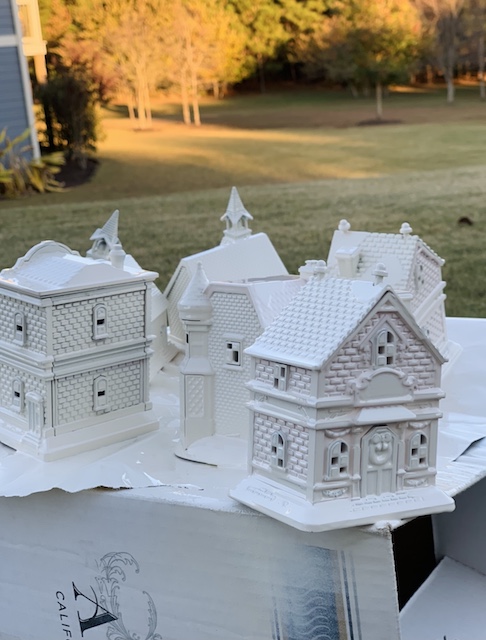
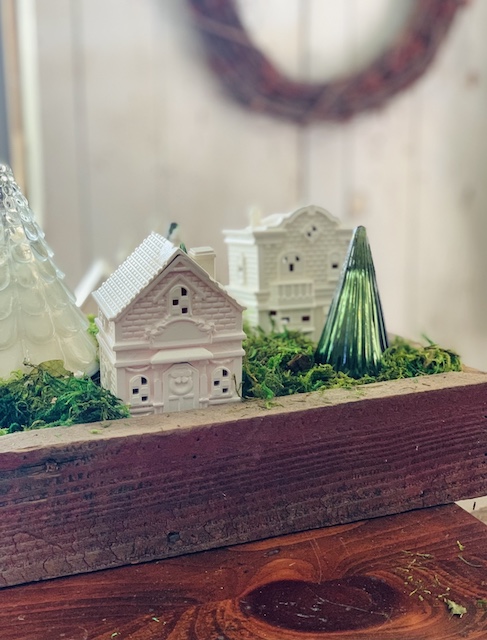
I had a can of heirloom white spray paint in the garage so I grabbed it and begin the process of turning these brightly colored dollar tree houses into a winter wonderland! In my mind, I knew that I wanted these houses to be the ‘base’ of a vignette and not the star of the show so I chose a muted color. After a few coats of spray paint I was ready for the next step! (I will say, if I were to do it again, I would spray each house down with a primer. The red on the houses took a couple coats to cover – no one wants pink snow!!)
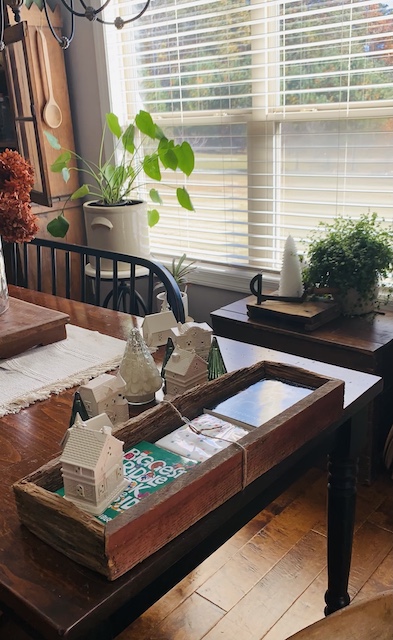
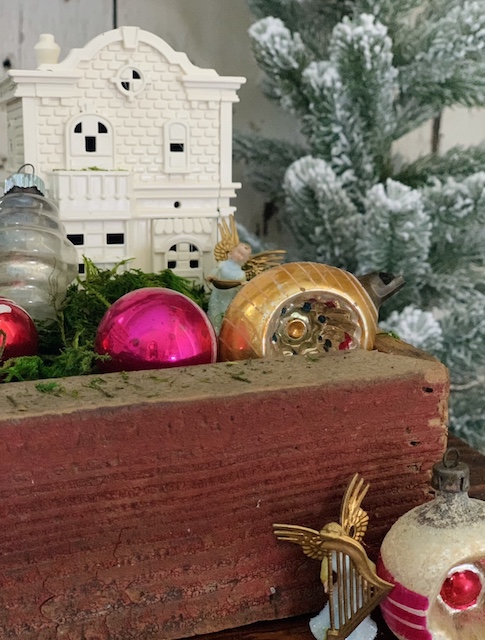
There are many different ways to style a little Christmas village, but I wanted to so something a little different. It took me a few days to find it, but eventually I found the perfect rustic box to create my village. I snagged it at a little flea market for a great deal – and I love the hints of red, especially for the holiday season! I got it home and cleaned it up a bit! It really is the perfect size.
My Vision For My Christmas Village
When I spotted those little houses at the Dollar Tree, I knew they would be the perfect scale for a variety of of the smaller vintage ornaments that I own. After getting the picture together in my mind, I decided on a plan and I gathered up my materials. Let me share with you the process:
Materials:
- Houses – Sprayed with Heirloom White
- Rustic Box
- Books – To Raise Up The Houses
- Wax Paper
- Moss
- Three Green Dollar Spot Green Glass Trees
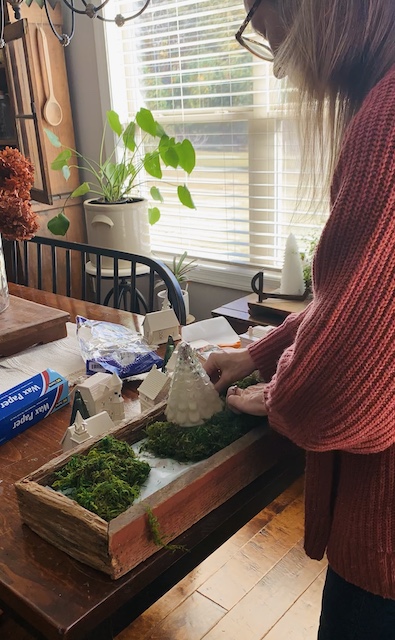
- One Small Mercury Glass Tree From Home Goods
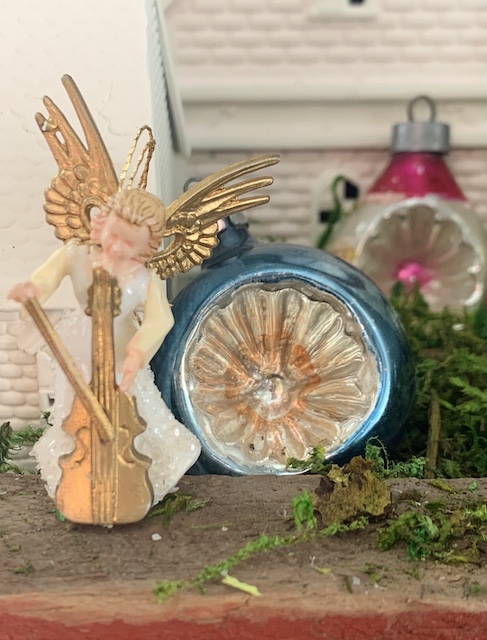
- Vintage Glass Ornaments
- Vintage Musical Angel Ornaments
The Process:
I began by layering the books into the rustic box to add some height.
I then covered the books with wax paper to help protect them.
Next, I added in a nice thick layer of moss into the box.
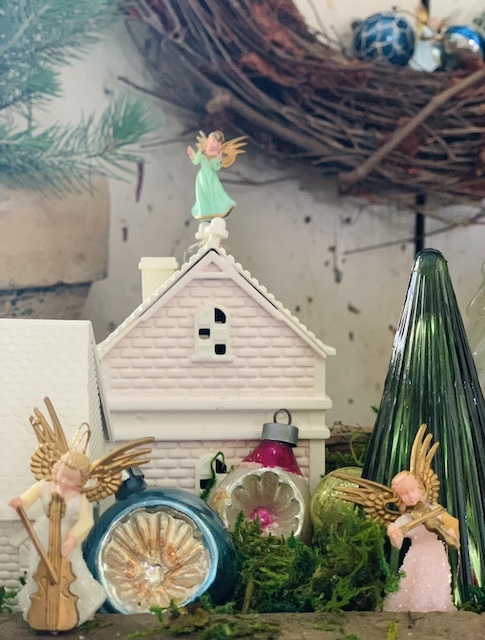
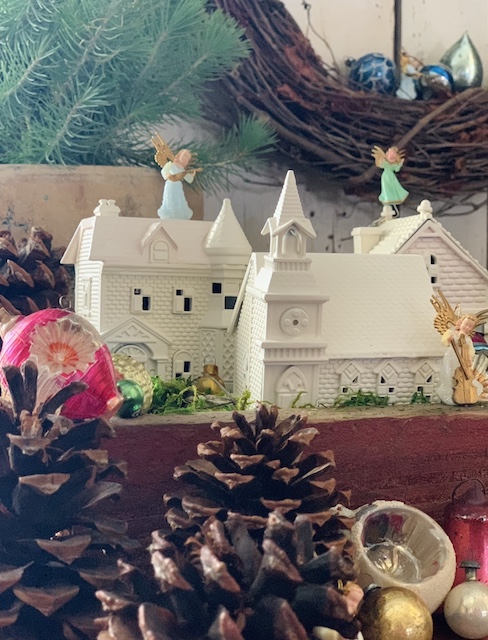
After that, I added in my sprayed houses. Even though I bought six houses, I only used 5. I felt that it would be too crowded I tried to cram them all into the little rustic box. Another fun thing that I did … there were only four variation of houses that were available. And since I was using five houses then that means that I had one duplicate. In order for the duplicate house to look a bit different, I simply turned it around – it was like a totally different house and it appeared as if I didn’t have a duplicates at all! Yay!
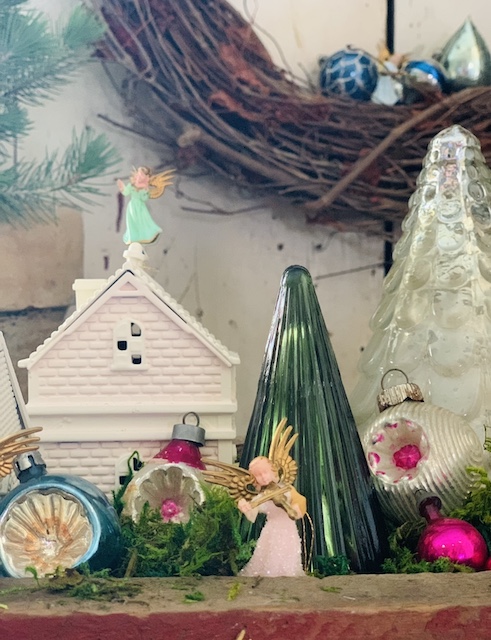
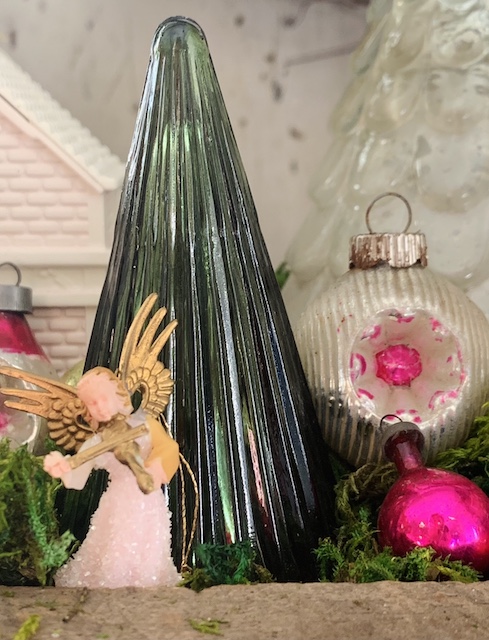
Once the houses were placed, I added in the glass trees.
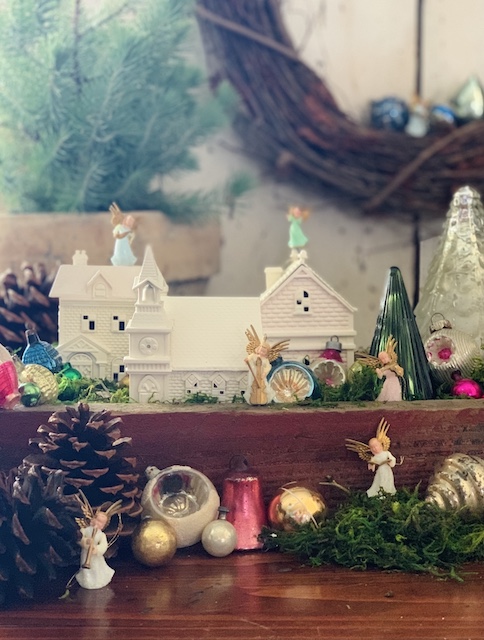
Next, I added in the vintage glass ornaments.
Finally, I placed the little angels throughout the charming Christmas village. To me they are the star of the show and even though they are quite small, they pack a powerful punch!
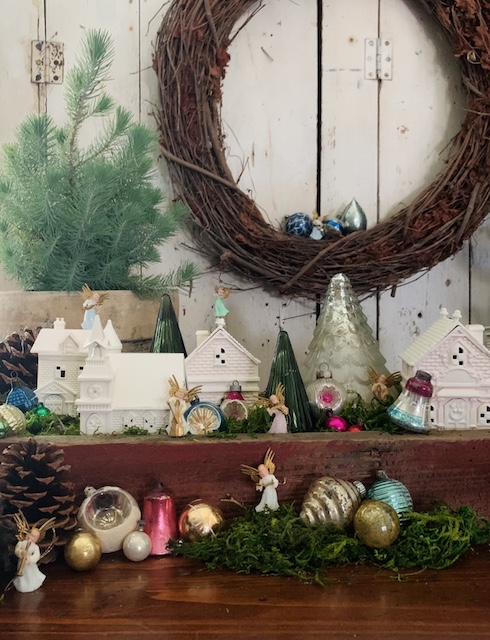
To finish off the look, I added in some pinecones and a little baby tree – which smells divine. I wanted to add in some natural touches to play off of the moss that I was using as my foundation!
Wrap UP

I was so happy with the way my little DIY Christmas Village turned out. Even though I was mixing old and new together, I wanted to make sure that I kept things cohesive. Putting it all in one vessel (the rustic box) helped to make that happen and also, using the angels throughout the little area helped as well!
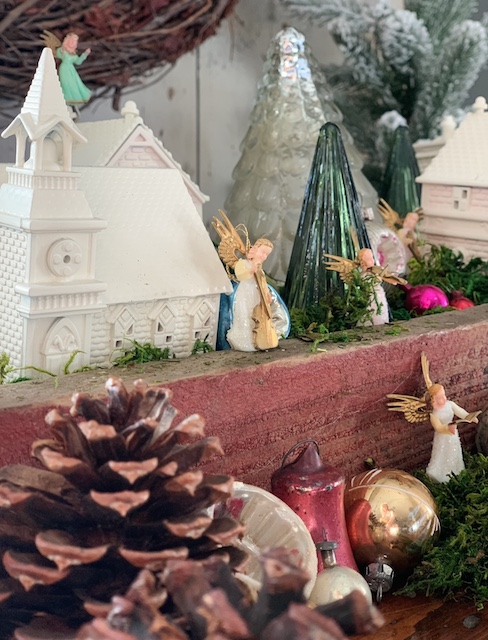
One little tip that I wanted to share – in some places, it was hard to get the angels to stand upright. After racking my brain to figure out how to get them to stand up straight, I remembered a product that I had used before for some school projects for my kids.
It is called FUN TAK and you can find it here for only a few bucks! The FUN TAK worked like a charm and I am happy to report that all of the angles are still standing up tall!
Get The Look
If you want to shop the items that I used in this DIY Christmas village, simply tap each picture below!

Thanks so so much for taking time to come to the blog and read about my cheerful DIY Christmas Village.
*This post contains affiliate links
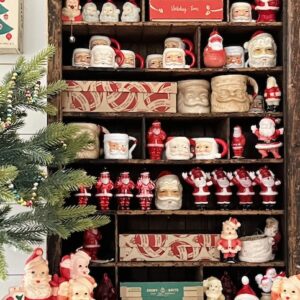 Nostalgic Santa Display
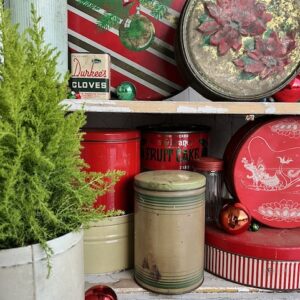 Vintage Christmas Tins: Easy Styling Tips and Tricks
 Rustic Christmas Mantel With Honeycomb Ornaments
 Homemade Bath Bombs For Mom: With A Vintage Twist


[…] to display my vintage finds in all sorts of vessels. (You can see one of my most recent displays here.) This year, I popped my fruit bulbs in a little wooden box filled with […]