
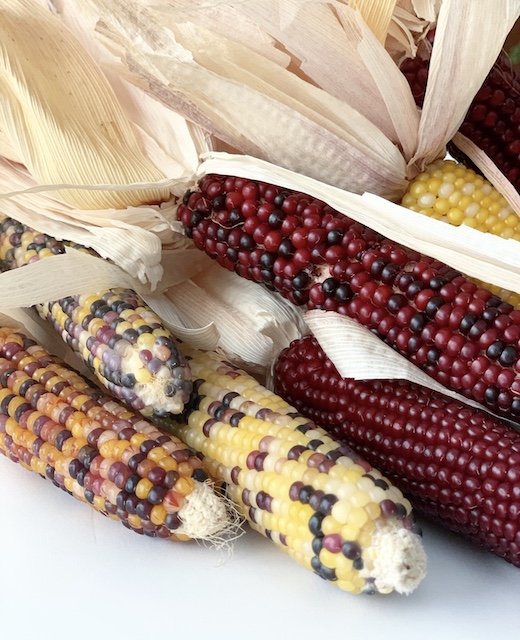
A few weeks ago I made the cutest corn husk wreath. Click here to see the wreath! I really fell in love with the simplicity of the corn husks and I also liked the organic touch that it added to our home. With that in mind, I decided to try my hand at making something else with the corn husks this season. I am so excited to share my Corn Cob Garland with you. It was easy and inexpensive to create and I am very happy with the way that it all came together.
Materials
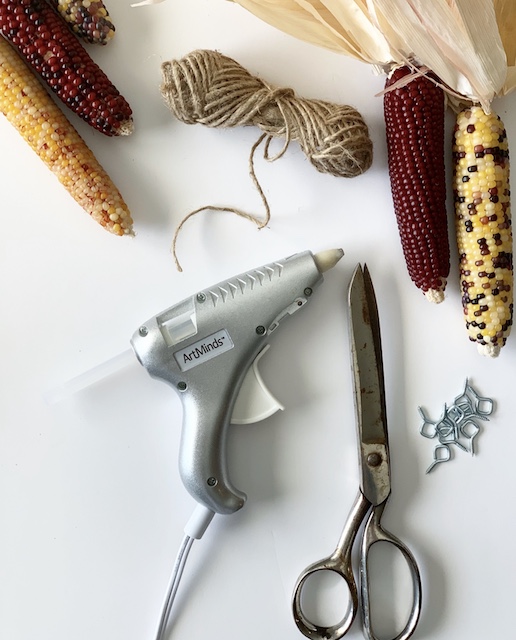
Corn Cobs
Twine
Eye Hooks
Hot Glue
Measuring Tape
Steps
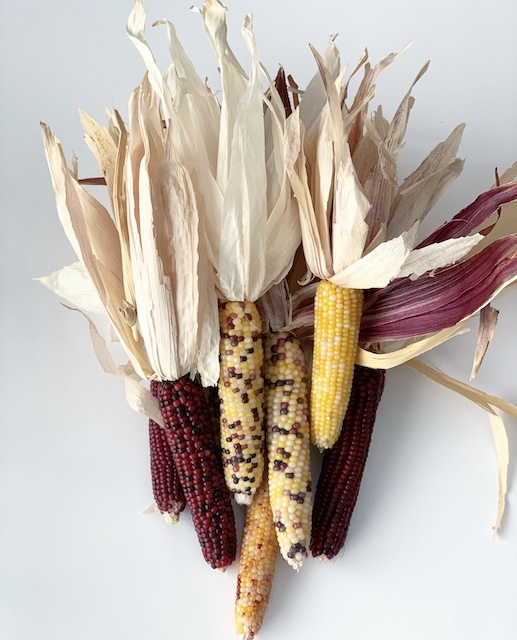
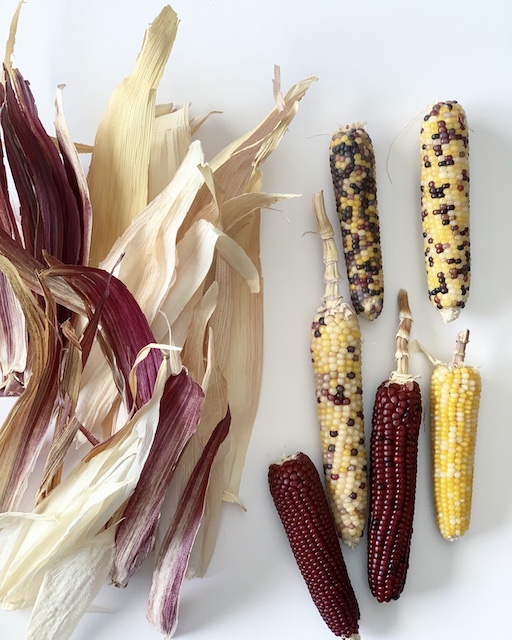
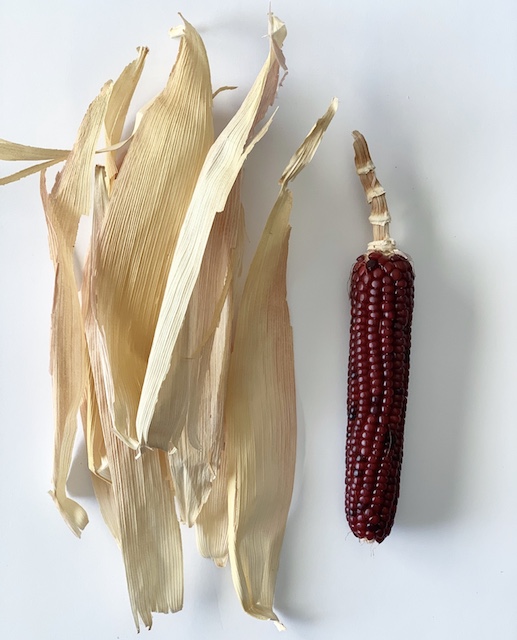
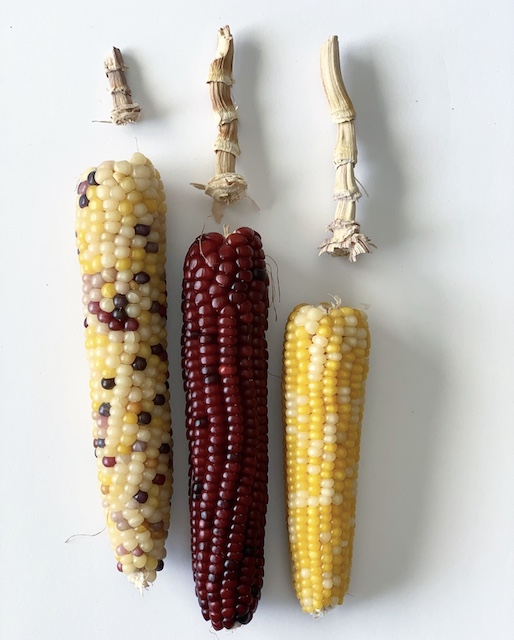
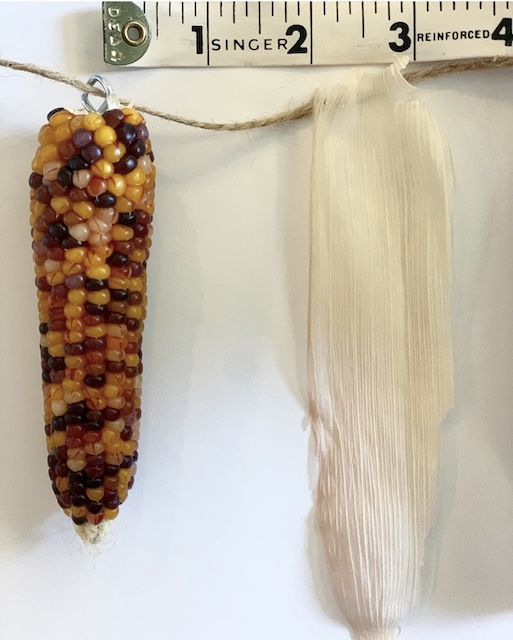
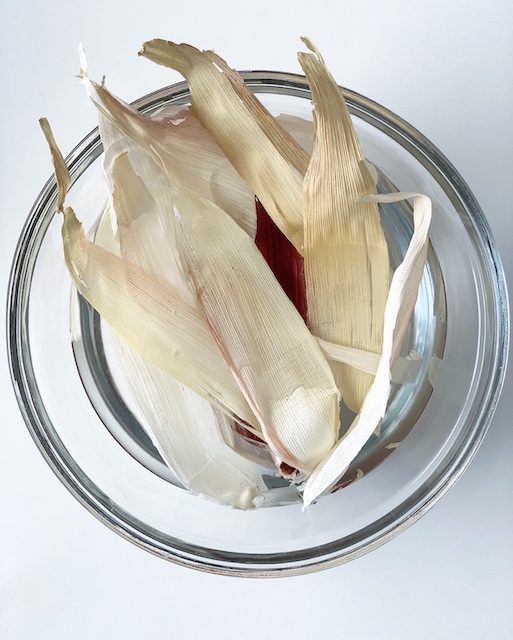
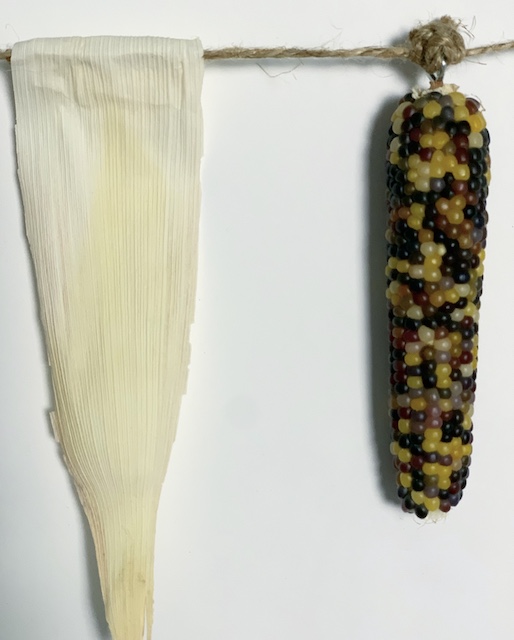
- Begin by separating the corn husks from the corn cob. I simply popped the husks off by bending them. A few of cobs were a little hard to detach so I stripped them of their husks and I gave the stems a little twist – that worked like a charm!
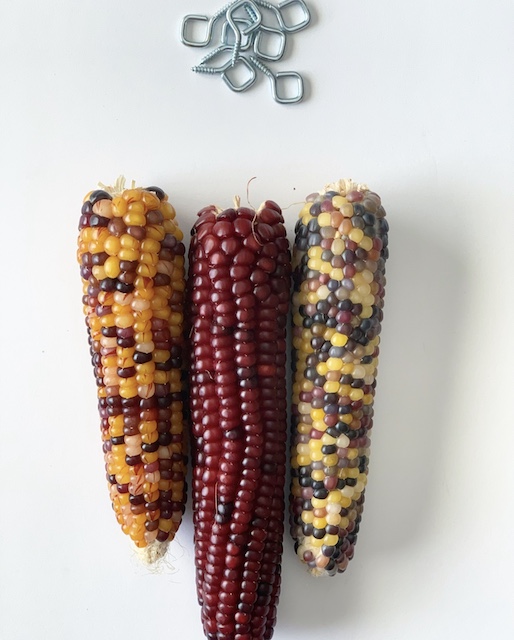
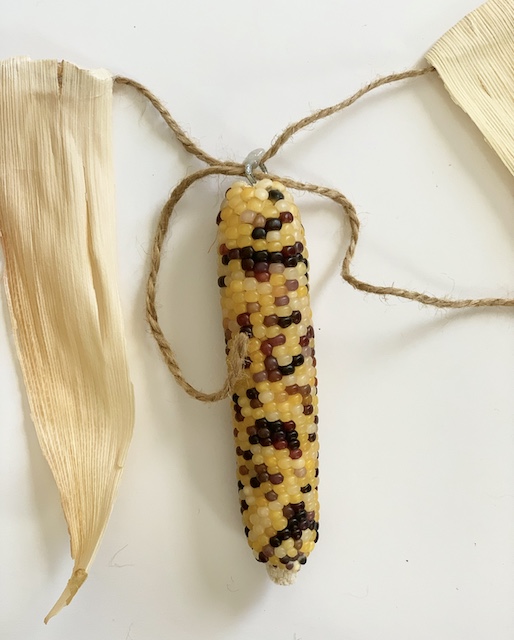
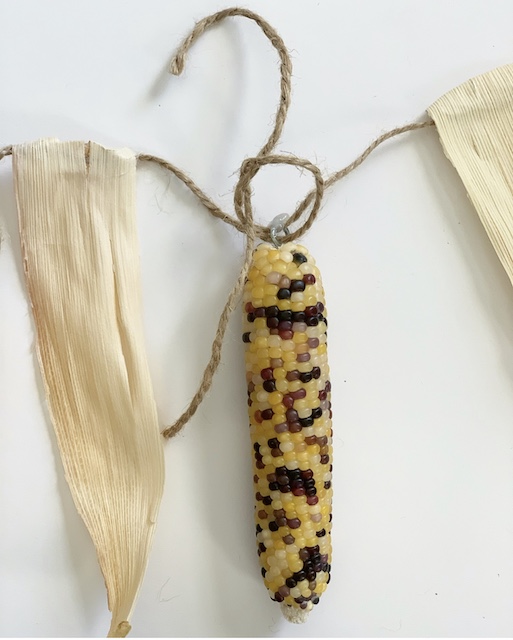
2. Take an eye hook and simply screwed it to the top of each of the corn cobs.


3. Prepare the twine next. Simply decided how long you would like you garland to be. I always add few extra inches – just in case!
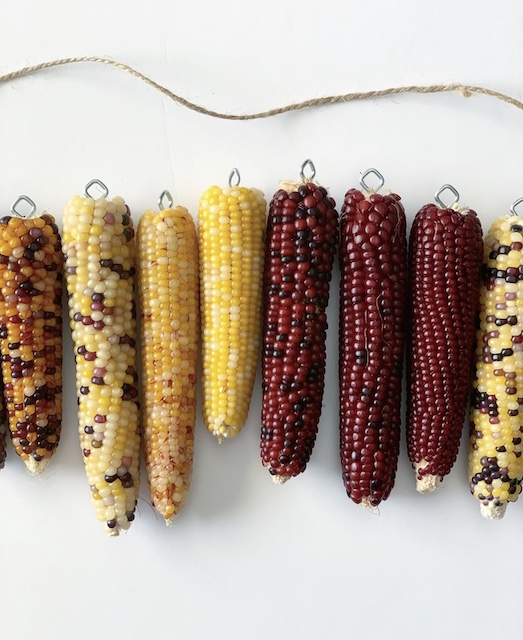
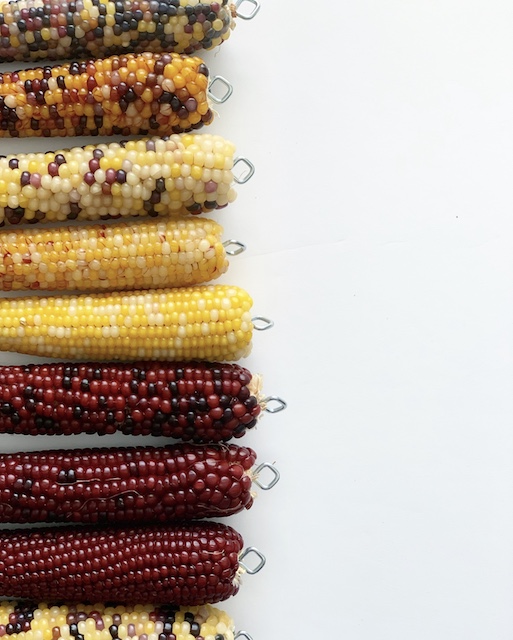
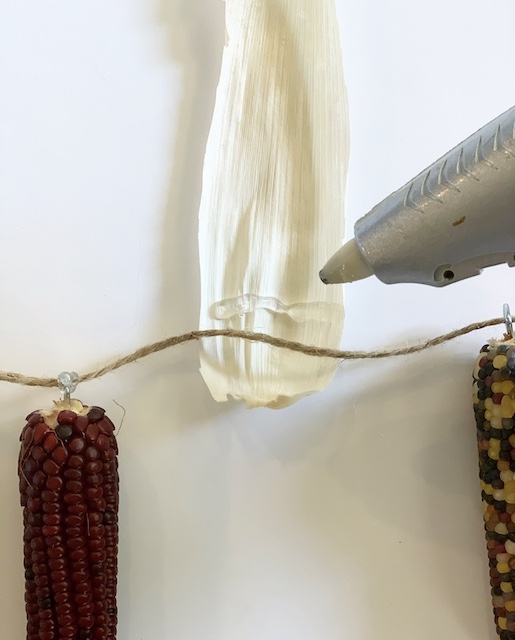
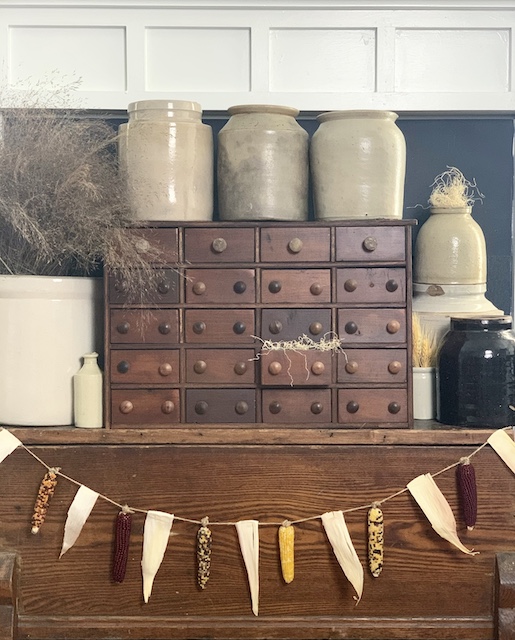
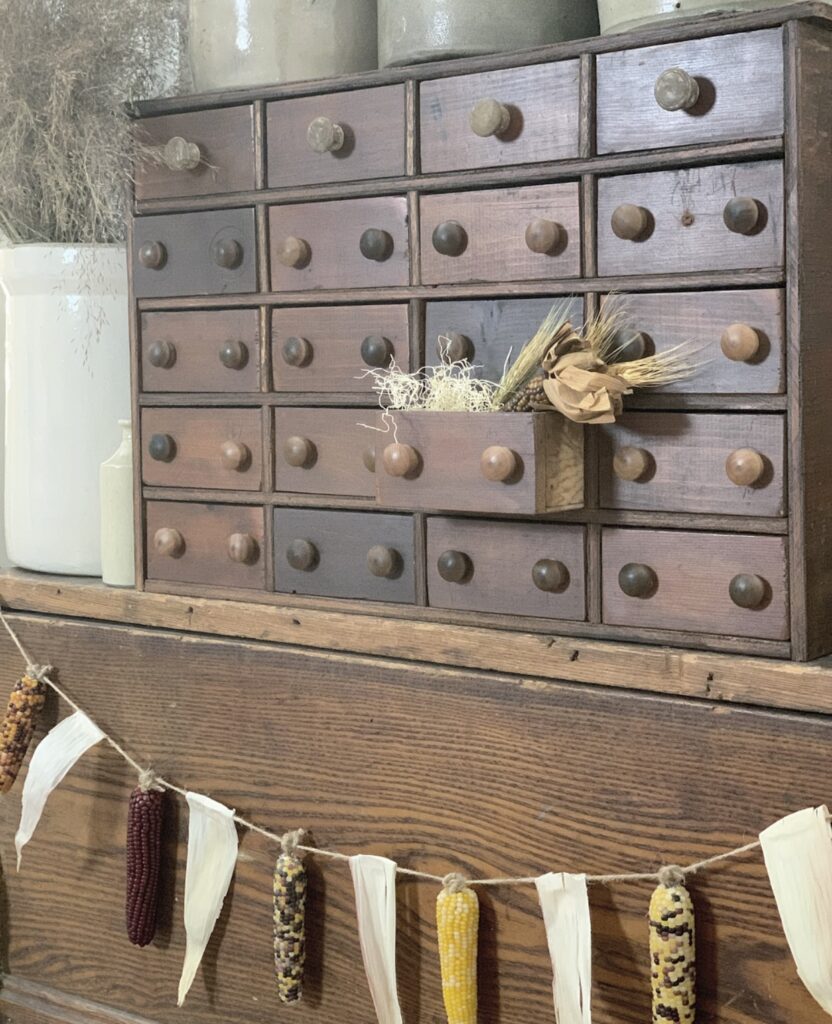
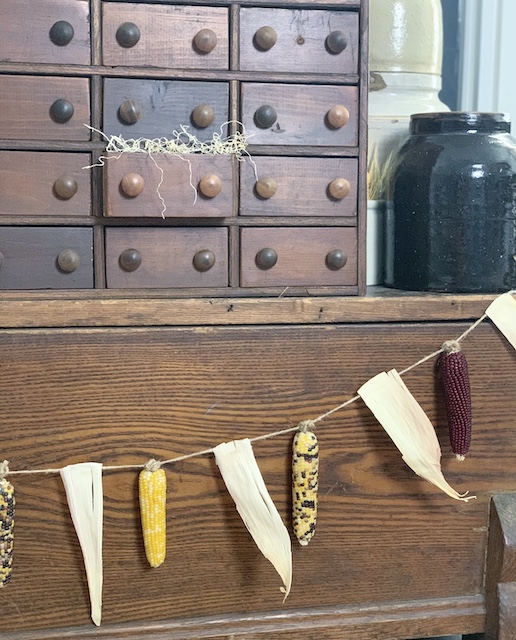
4. Begin to assemble the garland. To do this, just alternated the cobs of corn and the corn husks leaving about a two inch gap between each. I did string all of the corn cobs on at once and then scooted them out across the twine, leaving a gap for the husks. Once everything is “laid out” and ready to go, I began using the hot glue.
TIPS:
- Lay out the corn and the husks before you start gluing to make sure you like the ‘pattern.’
- Don’t over think the pattern, it will not be perfect which will add to the organic feel of the garland.
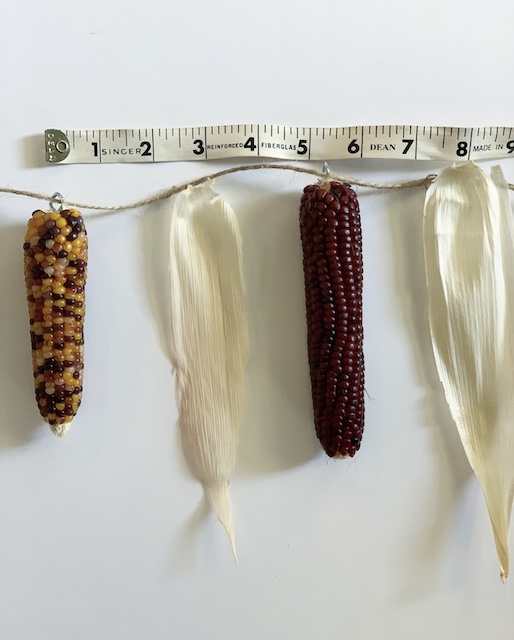
5. I did choose to prepare the husks before gluing because I was afraid they would break. I decided to dip them into water so that they were easier to work with.
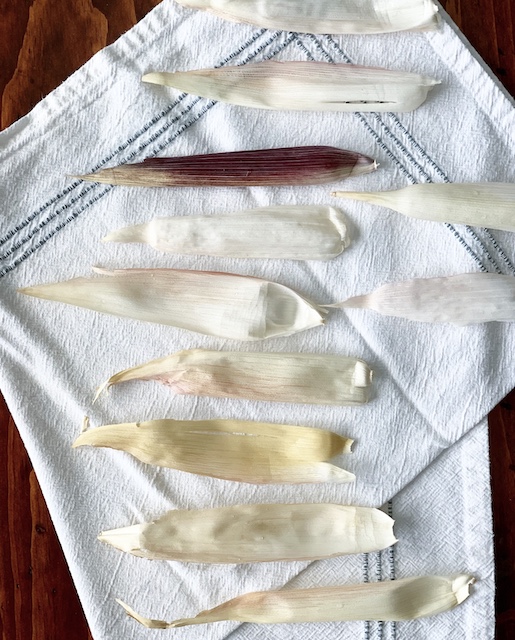
6. Once the husks are dry, glue the pieces in place.
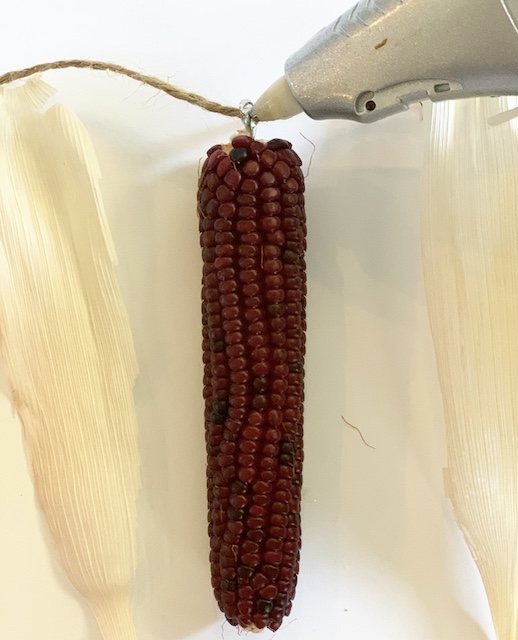
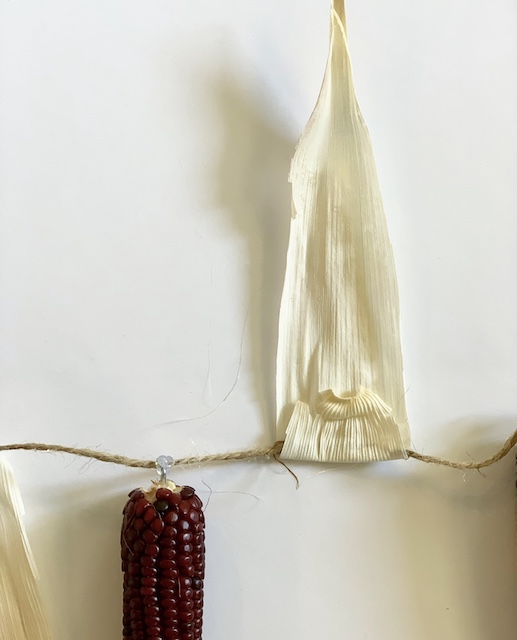

8. I did not intend to glue to corn cobs originally. I thought I was going to squeeze the eye hooks snug against the twine using pliers. But, that wasn’t possible. I could not get the eye hooks to bend at all! So, in an effort to hide the ugly hot glue ball, I tied a little extra twine all around the glue at the top of each cob. That did a pretty good job of hiding the hot glue ball.
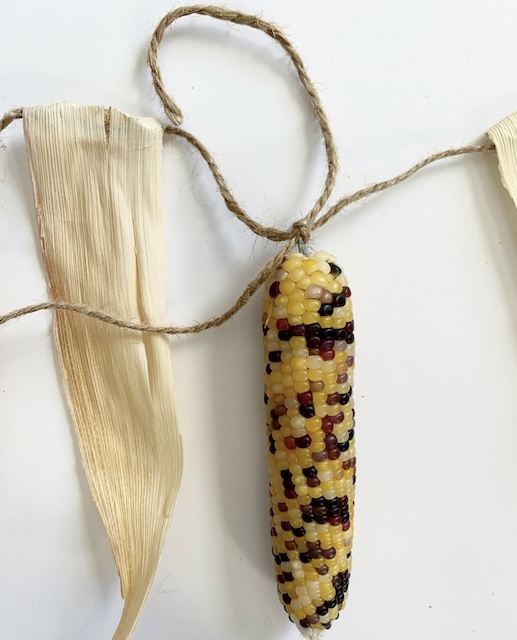
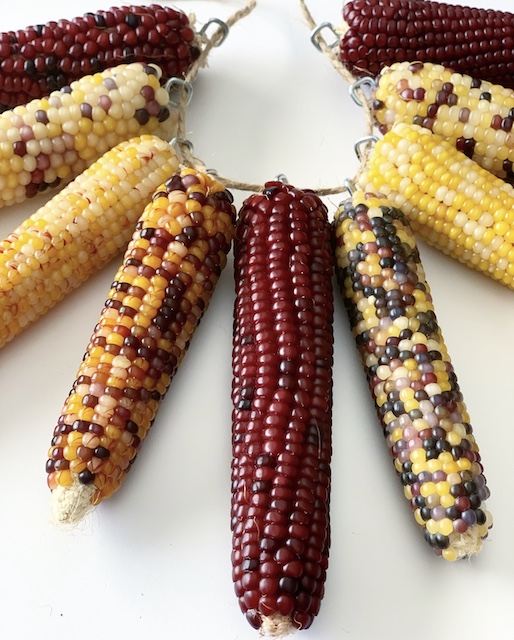
This was so very easy to make. In about an hour I was able to transform a few ears of corn into a simple beautiful garland. I am so pleased with the way each cob and husk are just a little different – it add such character! I hope you are able to create your very own corn cob garland this fall!
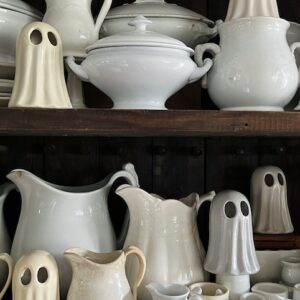 Simple Dollar Tree Ghost Transformation
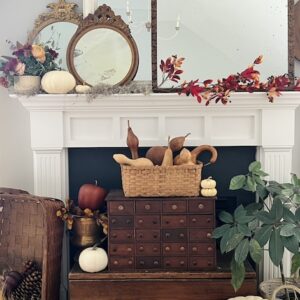 Fall Flowers On The Mantel
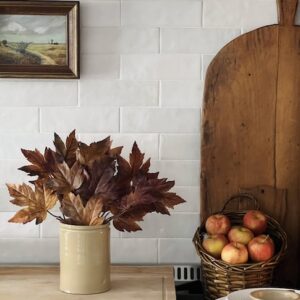 Kitchen Counter Fall Decor: Simple & Warm Additions
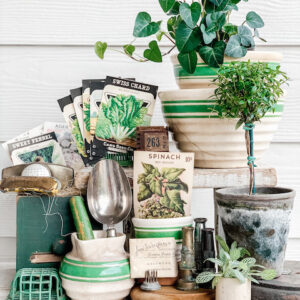 How To Style A Vignette


Totally awesome project with great instructions and beautiful photos. Happy Fall and thank you. Cheers, Ardith
I love it! So cute. Thanks so much for sharing this and the instructions.