Have you ever wanted the perfect stepping stone path in your yard? We have dreamed of this little walkway for a few years now and this summer we made it happen! I am sharing how we installed our cottage style stone path …. all by ourselves. It wasn’t hard at all and if we can do it – so can you!
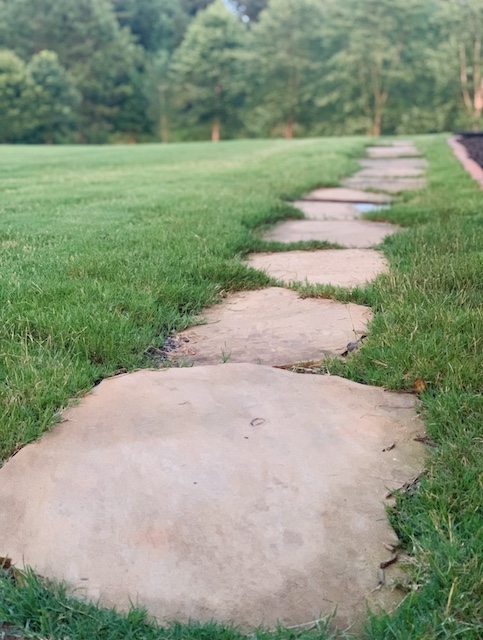
We have been so very busy this summer working on projects in and around our backyard! The biggest project that we have completed so far is our back patio remodel. A few months ago we added about 1100 square feet of concrete to our back patio and that concrete replaced a flagstone area that we added to our backyard about 9 years ago. I was so torn about replacing the flagstone out there because it really was beautiful but we just wanted more livable space out there. Mark and I knew that replacing the flagstone was for the best. However, I wanted to find a way to incorporate some of the beautiful flag stones around the house in some way. As we began brainstorming ideas, Mark and I decided that the best plan would be to use the flagstone pieces to create a cottage style stone path! I shared a reel of the process (you can see that here) over on instagram and many of you were curious about how it all came together. So, I am sharing all the details about how we installed the path – all by ourselves.
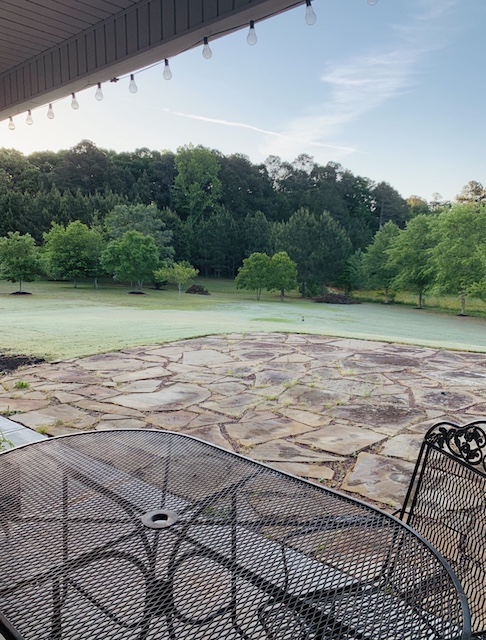
Mark and I were excited to use these beautiful pieces of flagstone in our side yard to connect the end of the driveway to the new back patio. Our side yard actually already had a stone path that we added a few years ago as a temporary walkway – but we didn’t love it. When Mark and I laid this original path we had no intention of leaving it long term, therefore, the stones were not well spaced and they were not level with the ground. We were both thrilled to be able to now have the time (and materials) to create the cottage style stone path that we dreamed of a few years ago!
Prepping And Placing The Cottage Style Stone Path
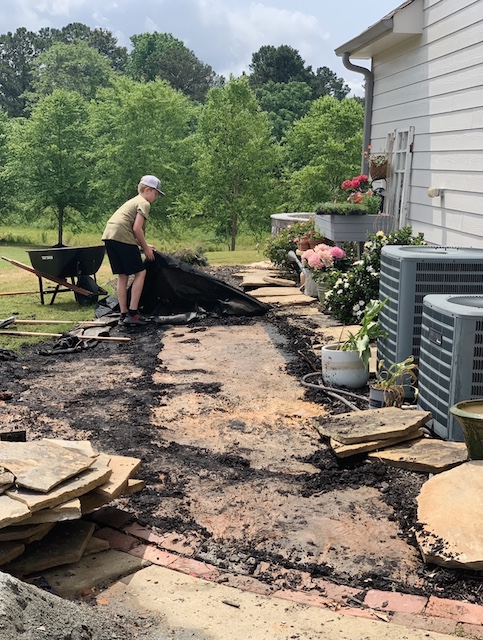
This side yard that we were working in actually had a huge mulch bed that came off of the side of the house. In fact, the original stones that we put in a few years back were sitting within the mulch. But, in order for us to create the cottage style stone path that we were dreaming of, lots of work had to be done to transition from a mulch bed to a grassy, stone walkway. Here’s what we did:
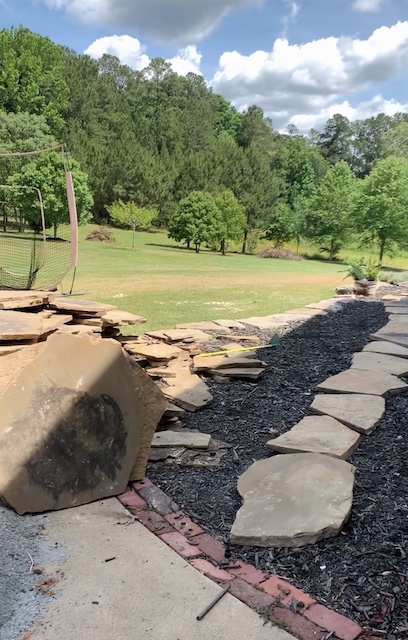
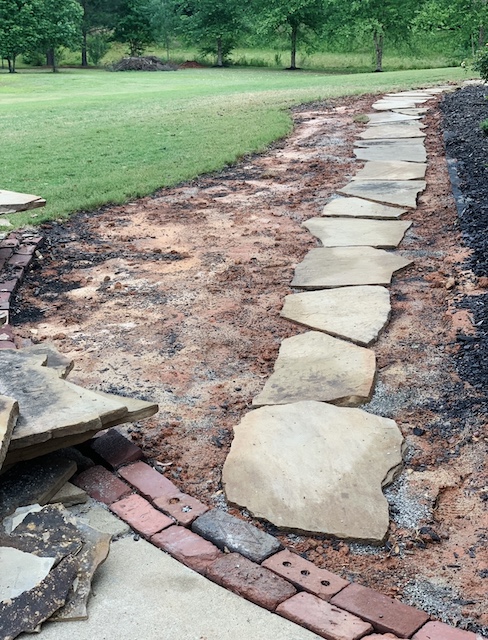
- We moved the original thick stones out of the way and onto the driveway – my dad will use them in his yard.
- We then had to determine the new size of the smaller mulch bed.
- We cleared out the excess mulch that we no longer needed. We really decided to shrink that mulch bed and as a result of that choice there was A LOT of mulch that we needed to move. We chose to move it with a wheel borrow and added it around all of the river birch trees in our backyard.
- Next, after clearing the mulch, we prepped the ground that we would be working in. We were going to lay new sod where the mulch had been so we had to level the ground and we used sand and topsoil to do that.
- The next step was a hard one! We had to choose the best stones for our walkway – not to big, not to wide, and just right for people to walk down. We had plenty to choose from, the hardest part was getting through them all. As we picked pieces of stone, we laid them out on the driveway to make sure the path ‘worked’.
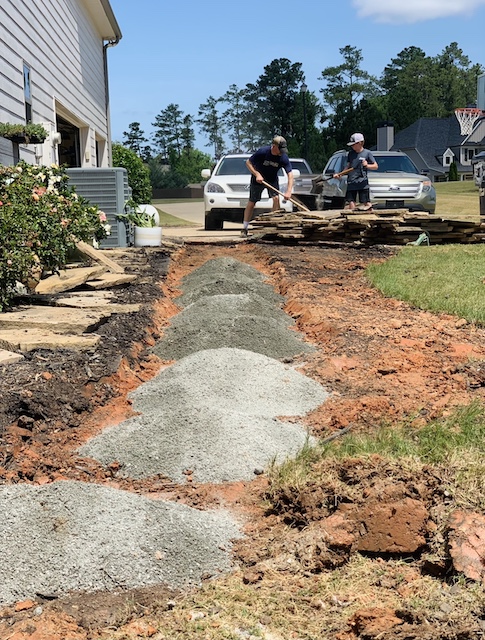
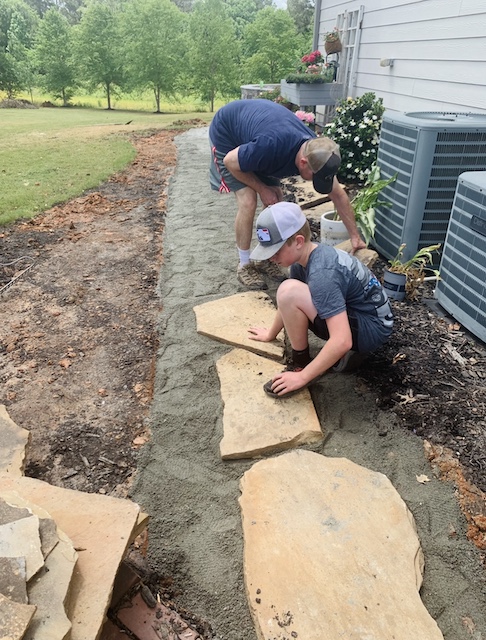
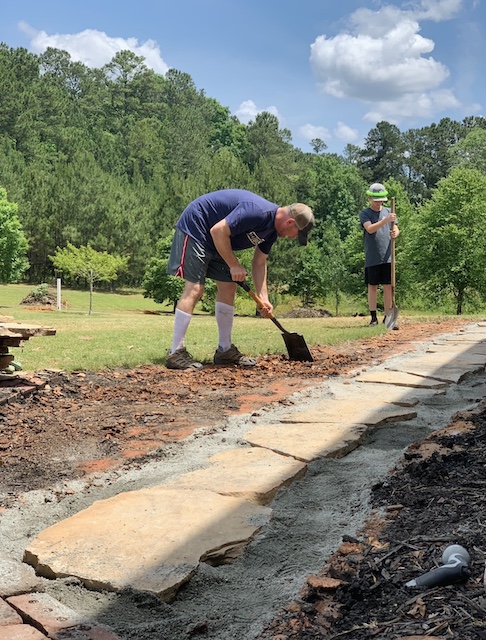
- After choosing the very best stones, we began the process of creating a specific place for each stone. After sort of eyeballing the size and thickness of the stones, moving them from the driveway onto the path. we dug out a trench about 2 feet wide and several inches deep so that the stones would be level with the ground. This trench stretched all the way from the end of our driveway all the way around to the new back patio.
- Once we were done digging the trench we then used some of the extra construction sand and M10 (that was left over from the back patio reno) to fill in the trench and prepare a base for the stones. We made sure to really pack down the sand.
- Next, we started to lay the stones in the order that we had them on the driveway. Laying the stones took some time, we wanted to make sure all the stones were the same height and level. To achieve this, we had to add or remove sand as we went along. The construction sand helped to keep the stones in place once they were set.
- As we got closer to the back patio, we had to deal with a slight elevation change. As luck would have it, we found a couple stones that were wide, almost like steps on a staircase. A little dirt, construction sand, sweat and patience allowed us to put them in so they looked like they always existed.
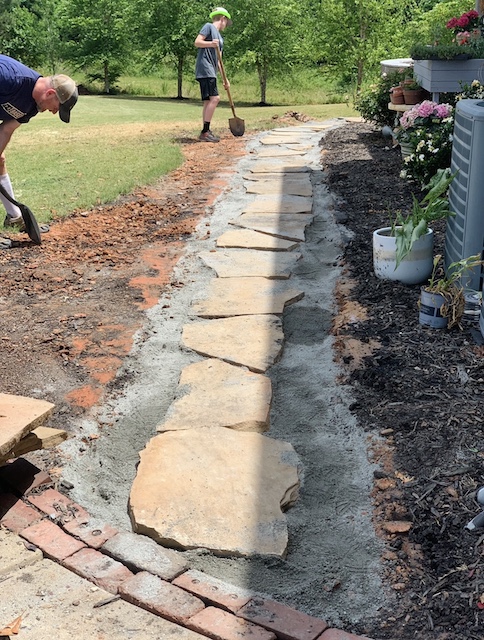
As luck would have it, we had a heavy rain the night after finishing the stones. The rain softened the dirt and also helped to compress the construction sand. That was a great blessing! Now that the stones were in place it was time to add some grass … because can’t we all agree that it’s the grass around the stones that makes a true cottage style stone path!
Adding The Grass
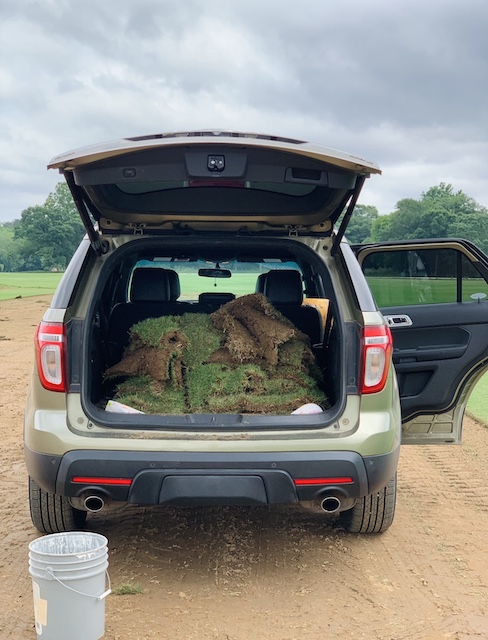
To save a couple bucks, I decided to go to visit a local sod farm. There I was able to fill up the back of my SUV with scraps of Bermuda sod for just about $30.00! Lucky for us, I was able to fill up my car with a great mix of smaller pieces of sod and almost perfect rectangle pieces of sod! I was sure to grab the various sizes because I knew that the larger pieces with work great to the left and right of the stones and I knew the smaller pieces would work well in between the stones. I drove right home and began laying the sod right away. The amount of sod that I got covered the majority of the open ground, but not everything. We headed to Home Depot to pick up just a few more pieces of sod. These extra pieces were just enough to cover up most (but not all) of the Georgia red clay.
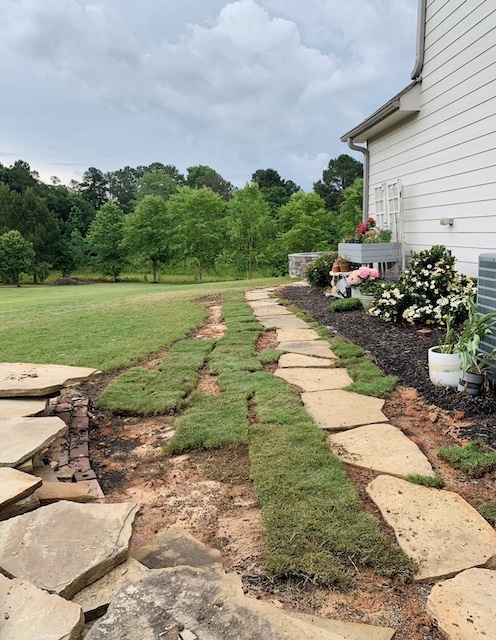
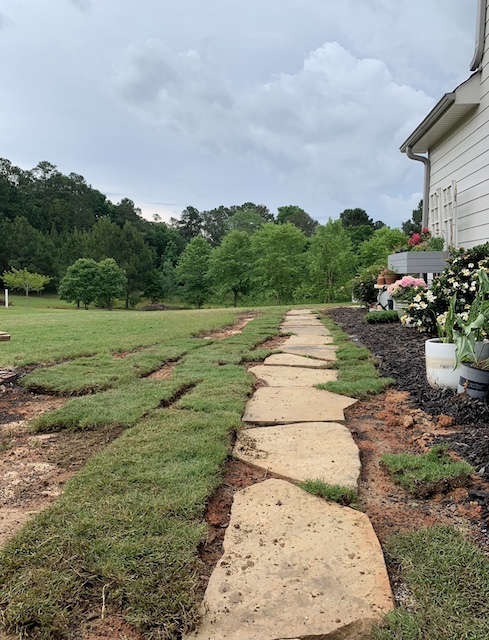
It has been about 5 weeks since we installed the sod scrapes. I diligently watered the new grass twice a day for a few weeks after we first installed it and as the summer days passed we started getting lots of summer pop up showers. We also came back through just two weeks ago with a “sand and topsoil mixture” and filled any gaps between the sod and help promote growth between the stones.
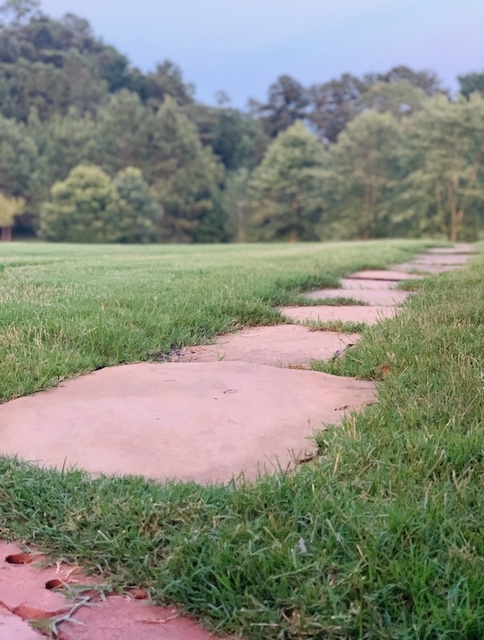
With the help of all that water and with the addition of the soil mixture, I am happy to report that the grass scrapes have grown in nicely and have filled in much of the exposed red clay areas around the stones that were not covered when we originally installed the grass. Our cottage style stone path is beginning to look like it was always there!
Adding A Stone Boarder
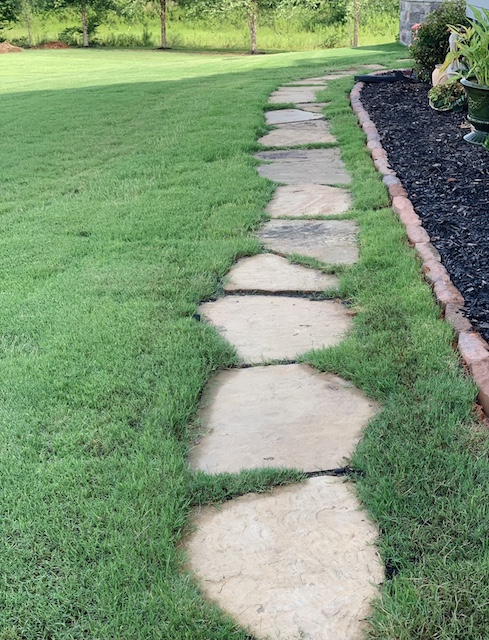
One last thing that we recently did to our cottage style garden path was to use manufactured concrete edging stone (click here to see the exact product that we used) to create a defined edge between the mulch and the new grass in that area. This edging also helps to keep the mulch in it’s designated area when we get a hard rain! We have this exact same edging stone all around our entire home, so defining this mulch line on this of the house made sense!
Wrap Up
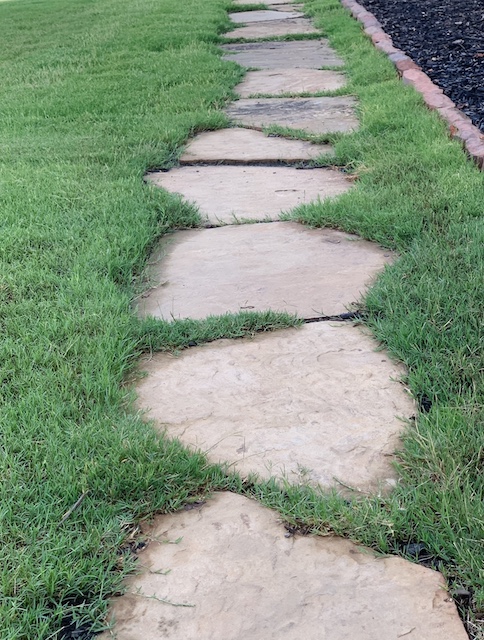
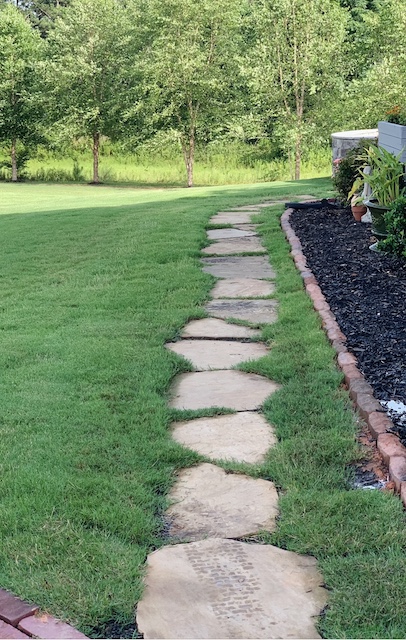
I had no idea that it there were so many steps involved in creating this cottage style stone path! But, despite all of the blood, sweat, and tears, we sure are loving the look of our new path! The stones are spaced just right and the grass has grown in so nicely that you can hardly tell that path was just installed a few weeks ago. Our new cottage style garden path looks like it has been there forever and that is what we wanted! Stay tuned because soon I will be sharing all the details of our back patio remodel here on the blog too!
disclosure: affiliate links are used in this post. When you purchase an item through one of my links, I receive a small commission at no additional cost to you. Thank you for supporting My Weathered Home.
 Cut Flower Garden In A Raised Bed
 Vintage Planter Collection: A Turquoise Vignette
 Simple Spring Garden Cloche
 DIY TOPCOAT FOR CHIPPY PAINT

