I have discovered the key to cutting back lavender plants and I have also learned what to do with all of those clippings too!
I am not a gardener, nor do I pretend to be. Gardening is not easy. Well, maybe it is … but not for me. I always have dreams of what could be, but that does not often last since the maintenance of a flower bed or garden is tough. Things simply die too easily around my house! Azalea’s look great but they need trimming. Rose bushes are so finicky. Planted flowers require a lot of ‘dead heading.’ And guess what, it’s hot in Georgia! Things around here need a lot of attention … and water! Working in the yard in the August sun… that is a tough job too. With that in mind, we try to keep “all the garden things” simple around here – and sometimes that is even hard.
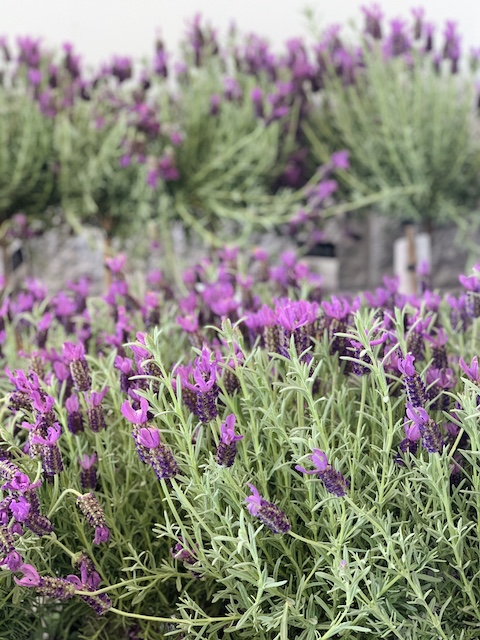
One of the plants we have found that is hearty enough to withstand our gardening shortfalls are lavender plants. They don’t require much maintenance or watering, they smell great and they offer up a beautiful purple bloom a couple times a year. Several years ago I put lavender plants into the beds along the back of the house and they have been a mainstay since then. We use black mulch around the house so the contrast of the green plant and purple bloom against the black mulch looks great. Plus, when sitting on the deck enjoying the yard it is nice to have the smell of lavender come with the breeze.
However…. I found that lavender does need some maintenance. Who knew!?? Apparently, cutting back lavender plants is a good thing. Don’t get me wrong, I would cut off the dead stalks as I saw them throughout the year. Also, in late fall while cleaning up the yard I might try to ‘shape’ the plant. But that wasn’t enough. This spring, we realized that our lavender was a gnarled mess. I just wasn’t sure WHEN to prune my lavender and how to do it and as a result of not doing proper research, our lavender plants became an overgrown, woody mess. Some of the stalks were even laying on the ground. The base of every single plant (we have eight) had become a thick root-like growth that was either too tough to cut or already dead. It was time to literally cut our losses.
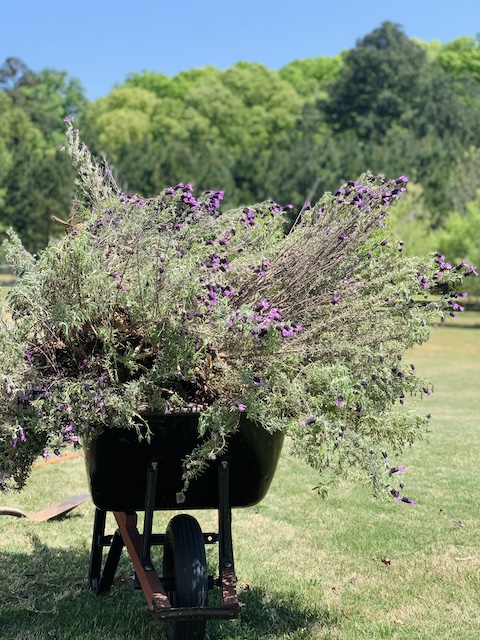
When I saw how bad things had become, I knew it was time to replace the plants. It also made sense to get a smaller, cleaner look in our beds as I strive for a simpler look around the house. In Spring I usually can find lavender at local gardening centers and as luck would have it, our local Wal Mart had lavender plants in stock. Home Depot and Pikes may also have them available. Sometimes, if I wait too long though, they are gone by May – so if you want them shop early. Some nurseries also have topiary lavender in pots. They are nice to look at but they definitely need maintenance – and for the last several years I couldn’t keep my topiary alive. I now know my lavender limits.
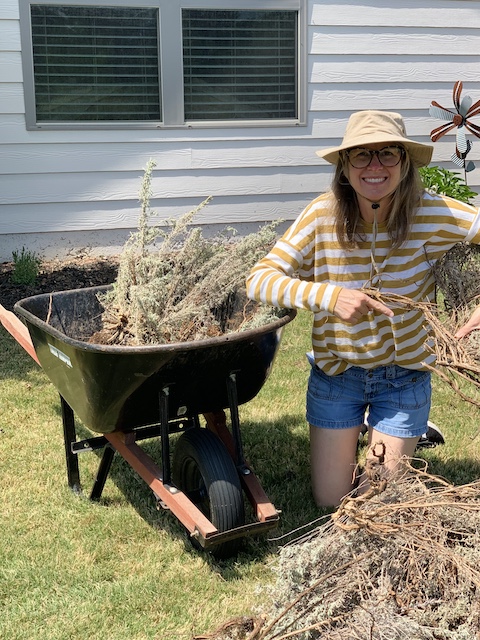
Replanting the lavender was easy enough, but you know how I like to hold onto all the old things. I couldn’t just let the old lavender plants go! When you are staring down a huge pile of dug up lavender plants … you begin to think of all the ways you can use it in and around the house. You probably already know that lavender is helpful as a sleep aid – the smell helps to calm you at bed time, but there are other uses as well. If you are grilling, add lavender to rosemary in a bundle on the grill. The flavor is great with meat. Now that it is warming up, adding lavender while brewing tea makes for a refreshing iced tea. You can add some dried lavender stalks around the house to help add a fresh scent. The options are almost endless.
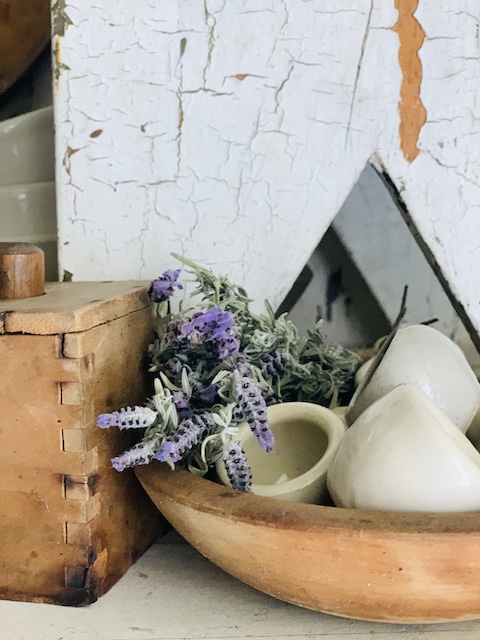
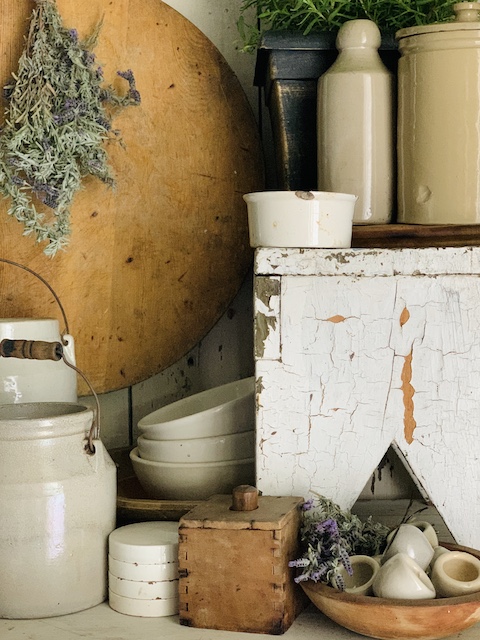
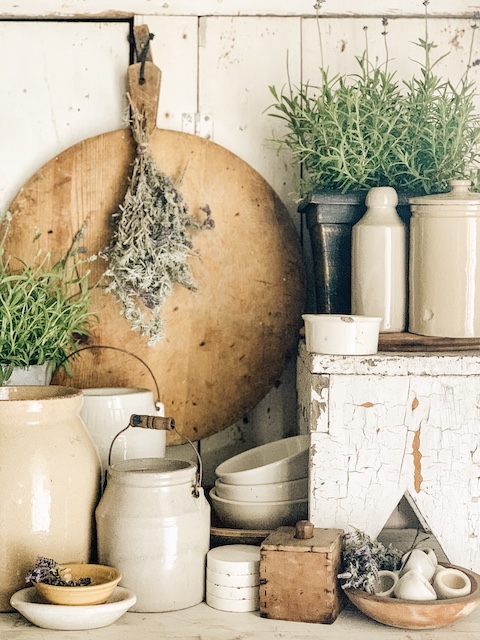
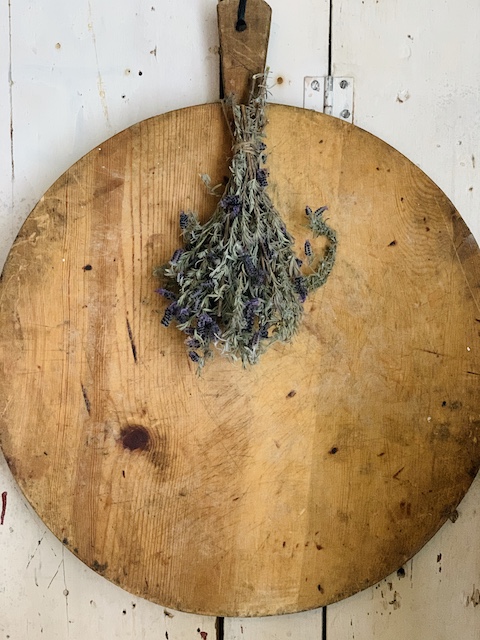
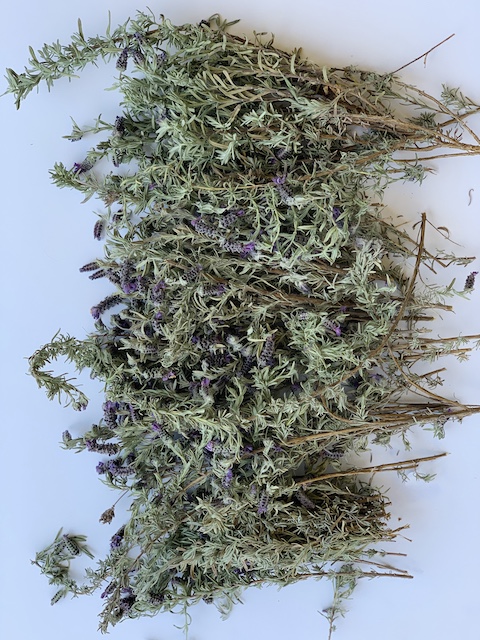
With that in mind, I salvaged some of the lavender off of the bushes that we removed. There was plenty to work with! I cut off stems and tied them up into bunches using twine. I hung them up to dry – which only took a few days here! One of the fun things that I decided to do with the dried lavender was to make a batch of Lavender Milk Bath. This is great both for my personal use but also it makes a great gift as well – I am thinking Mothers Day and End Of The Year Teacher Gifts! You can see my ‘recipe’ for this relaxing concoction below!
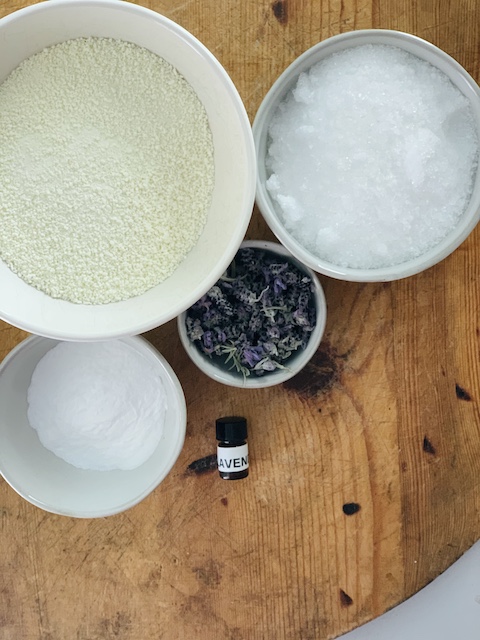
Lavender Milk Bath
A milk bath is a great way to relax and reduce stress and it can also be beneficial for a number of skin conditions such as dry skin. You can read about all of the benefits of a milk bath here.

Ingredients
- 1 cup epsom salt
- 1 cup powdered milk
- 1/4 cup lavender flowers
- 1/4 cup baking soda
- 4 drops lavender essential oil
Supplies
- mixing bowl
- measuring cups
- storage container
Instructions
The first thing that I like to do is remove the lavender florets from the stems! You can do this with either fresh or dry stems of lavender and remove the florets with your hands or kitchen shears. You can grind/crush the florets or leave the florets whole. Once that is done, simply add all of the ingredients into a big bowl. Mix up all of the ingredients well. Be sure to store the lavender milk bath in an airtight container.
And, when you are finally ready to add it to a warm bath, simply pour in about 1/4 of a cup of the mixture! But, be warned, your tub will have ‘lavender’ all over it … you will need to plan to rinse it out!
Moving Forward With My Lavender
After just a bit of research, I now know that you are suppose to prune your lavender plants at the end of EACH summer (or early fall). That will prevent them from becoming a woody, leggy mess. If you want to know more about cutting back lavender plants and additional lavender tips, I found this site to be very helpful!
So, that means that if I am suppose to be cutting back my lavender plants at the end of each summer then I will have dried fresh dried lavender for other DIYs! I can not wait! I really want to try this one next:
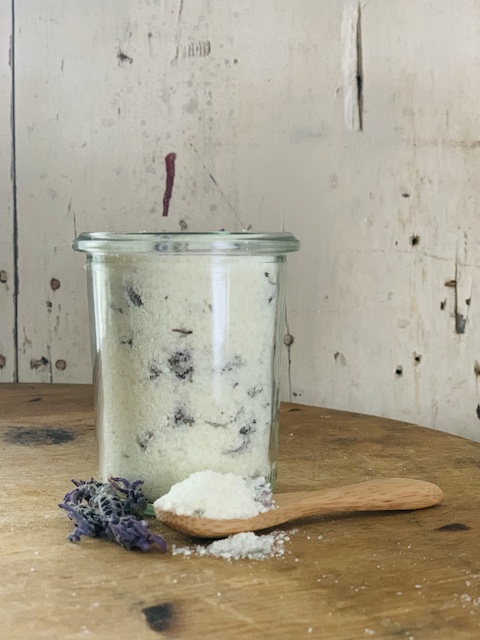
Lavender Sugar Scrub
- 8 oz. glass jar with lid
- ⅔ cup of organic cane sugar or turbinato sugar
- 2 tablespoons of lavender florets
- About 2 tablespoons of an oil such as avocado, sweet almond, grapeseed, or sunflower or extra virgin olive oil
*Simply mix all of the ingredients together. Take note: the sugar will absorb the oil. You’ll will know you have the right amount when it adheres to your skin without sliding off. If the oil begins to float on top, you may have added too much.
Lavender Wrap Up
I hope that you too now have a complete understanding of when and how to prune your beautiful lavender plants. And the good news is, that even if you mess it up and have to replace them – it won’t be a total loss because you can always reuse the cuttings! Let’s face it, lavender smells great, is easy on the eyes, and requires just a little bit of maintenance at the end of each summer season! We can all do that! Am I right? Cheers to all the purple lavender fans out there!

 Junking Tips: Let’s Find All The Junk
 Simple Everyday Items To Make Decorating Easier:
 Ikea Cabinet Hack Using Shiplap
 Antique Acquisition: A Salesman Sample


I never knew you had to cut lavender back in the fall either. This explains my mess in my garden! Thanks for all the lavender ideas as well. I will be trying to make the lavender milk bath first.
Thanks again Emily!
Oh yay! IF you make it then please let me know if you liked it!