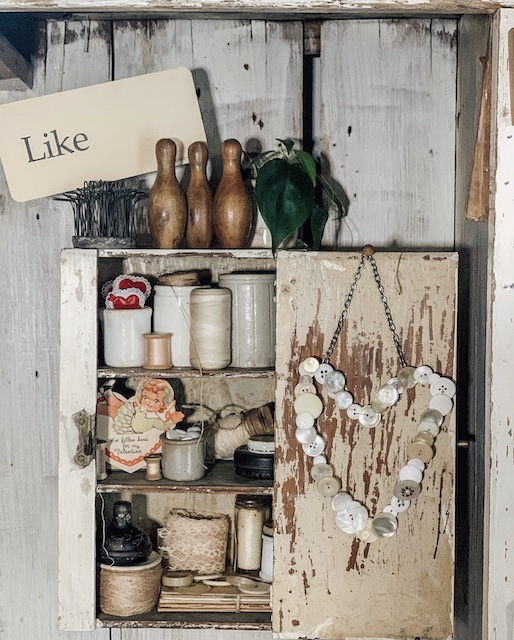
This fast and easy craft is the perfect excuse to use all those vintage buttons that you have been collecting! And this sweet little DIY heart using old buttons is perfect for the season ahead – Valentine’s Day!
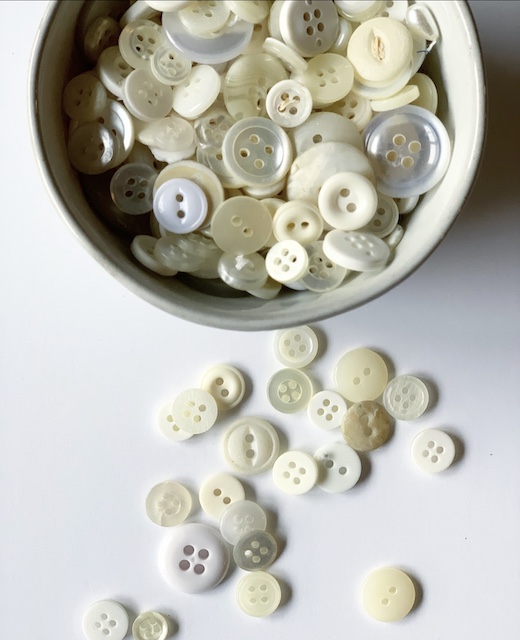
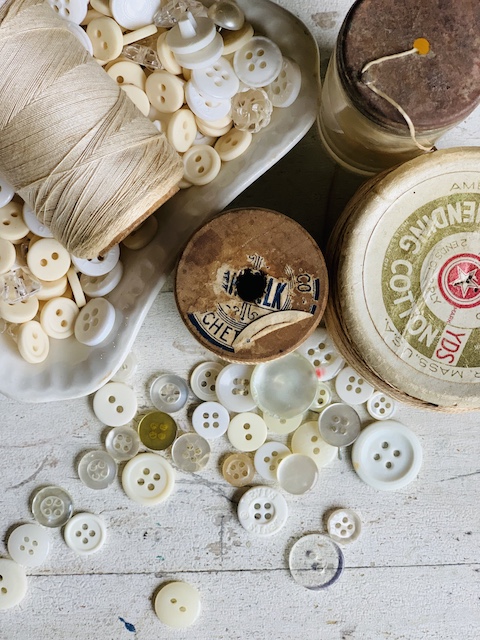
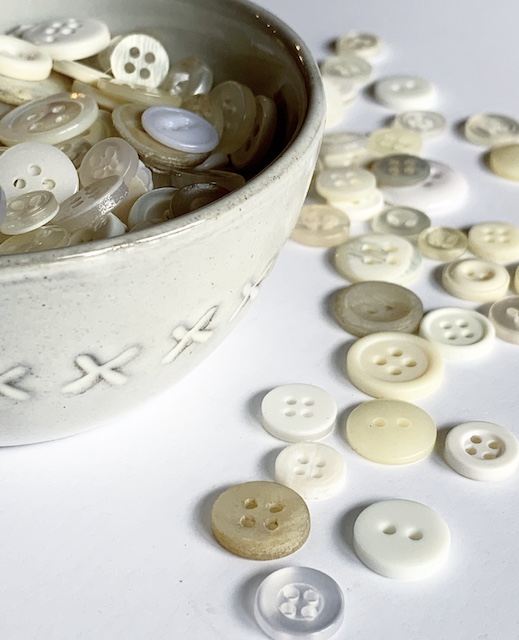
Does anyone else seem to have an ‘overflow’ of old vintage buttons? I certainly can not be the only one! It seems like finding old vintage buttons is NO problem for me and I have somehow gathered bags and bags of them over the years.
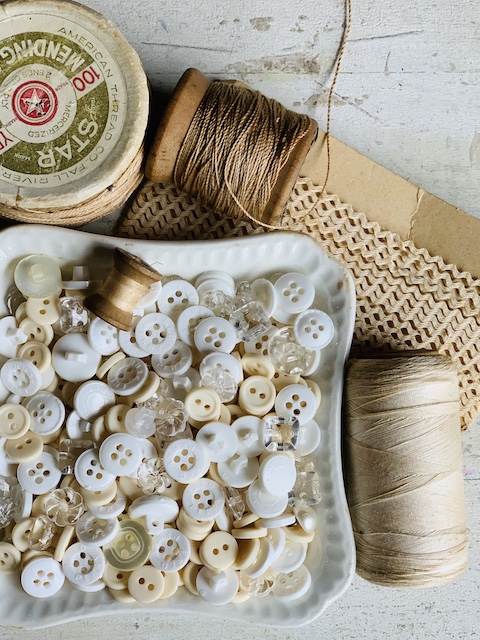
While they are easy for me to find, I don’t always know what to do with all of these old buttons that I have collected! I love to save them from estate sales and antique stores because I think they are beautiful but I guess you could say that I have been waiting for just the right time to actually use them.
Recently, while scrolling the web for ideas on how to use my buttons, I ran across several variations of a DIY button heart! That inspired me to dig into my own button stash to see what I could do! And now, I am thrilled to be sharing this with you all. Below you will find all the materials and steps you need to make a cool button heart as well! It is fast and easy and I found it to be the prefect way to use some of the beauties from my very own vintage button stash!
Materials For DIY Heart Using Old Buttons
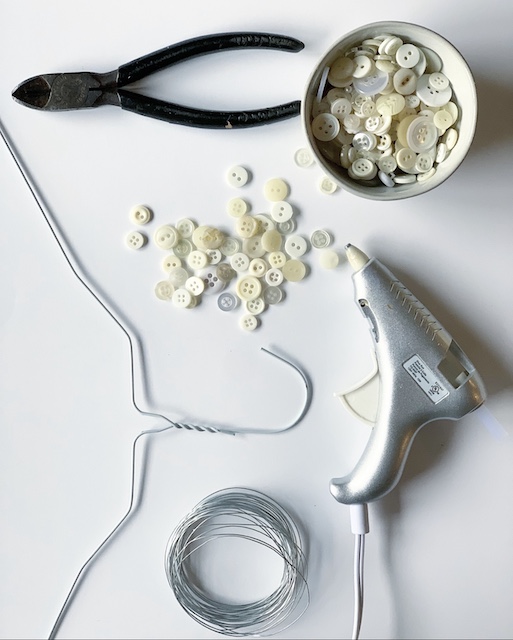
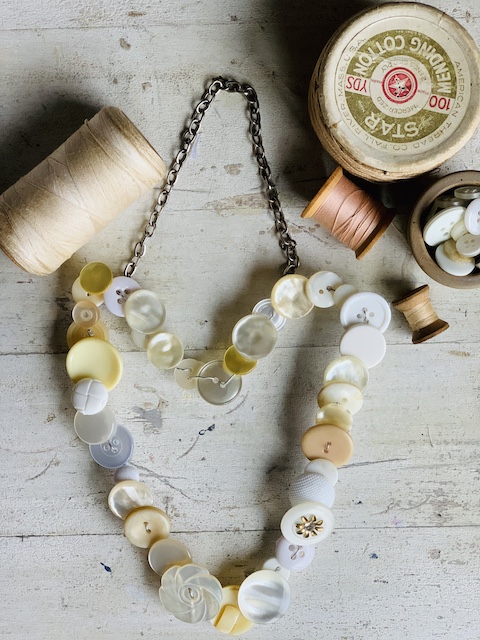
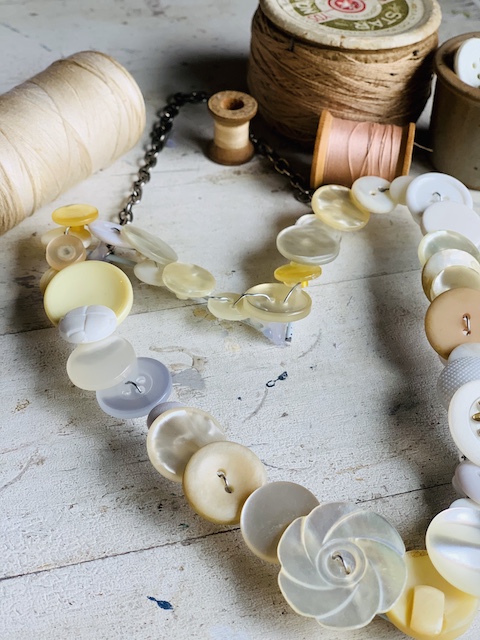
- Buttons – I used vintage white buttons that I had on hand but you could use new buttons too.
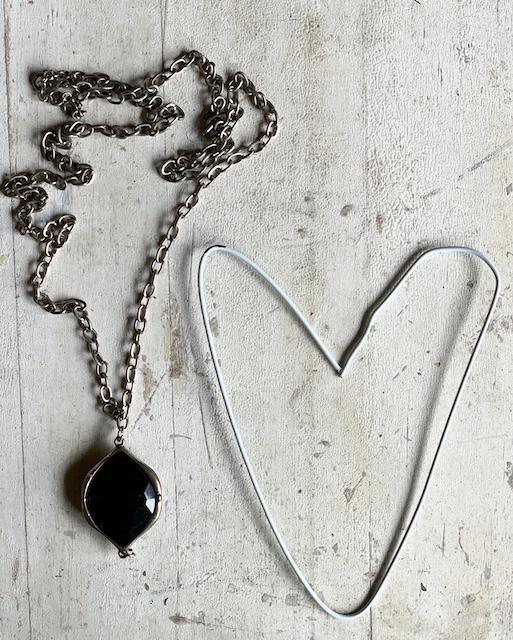
- Wire Clothes Hanger – I simply grabbed an old hanger from my husband’s closet! It did the trick!
- Craft Wire – I chose to use the silver wire because I felt it would not stand out as much as a green floral wire. You want your wire to be thin and easy to work with.
- Section of Chain – I used the chain from an old necklace for this DIY and you can also buy chain at your local craft store.
- 2 Jumprings – these are the little pieces that you use to attach the chain to the wire heart.
- Hot Glue Gun
- Wire Cutters
Procedure:
Shape Your Heart
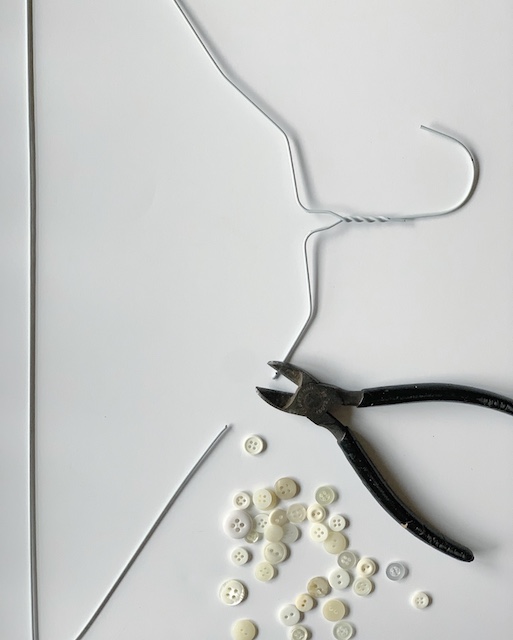
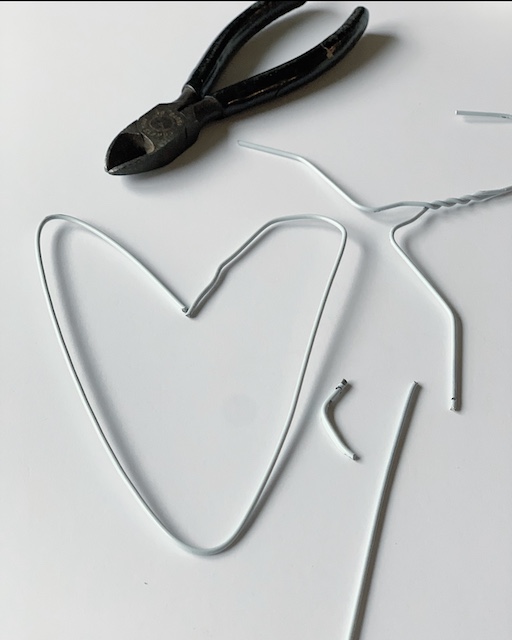
To begin making your heart, simply cut your clothes hanger and then bend it into the shape that you desire. This took me some time, but I got it after a bit!
Assemble Your Buttons
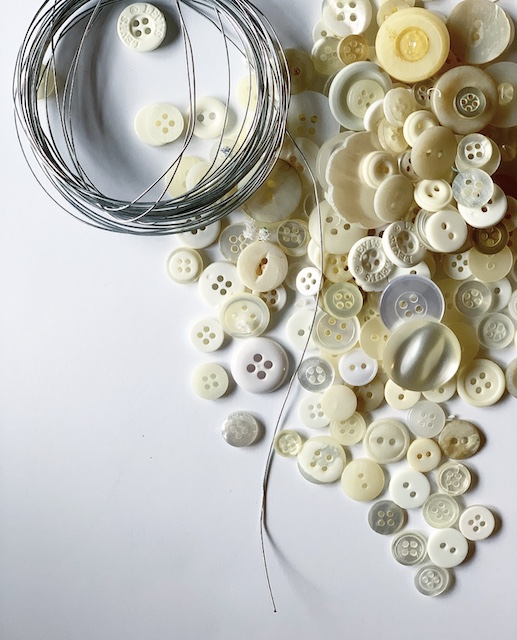

To begin, simply thread a thin wire through the buttons to create a ‘button strand.’ I was sure to pull the buttons tight against each other and stack them on top of each other as I was threading them on to avoid gaps . The buttons will move and jiggle around as you work with them, but you will be able to secure them with hot glue later. Make sure to make your ‘button strand’ long enough so that it will cover the full length of the wire heart. (That length will vary for each heart that you make.)
Add The Chain

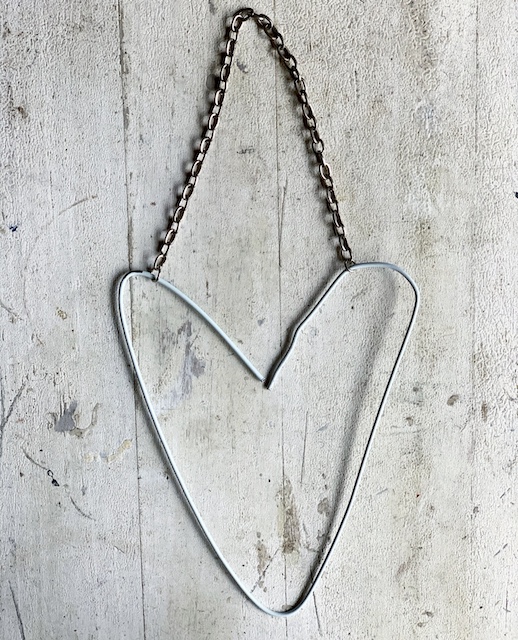
Before you glue on the buttons you will want to attach and secure your chain. I used the chain (and jump rings) from an old necklace that I no longer wanted. If you do not have an unwanted necklace then you could buy a section of chain at your local craft store. To attach the chain, I simply eyeballed how long I wanted it to be and used wire cutters to clip my desired length. I attached the jump rings and then used hot glue to secure the chain to the wire heart.
TIP: If you do not want to add a chain, you could use twine or ribbon in stead! You could even not use anything at all!
Connect Your Buttons To The Heart

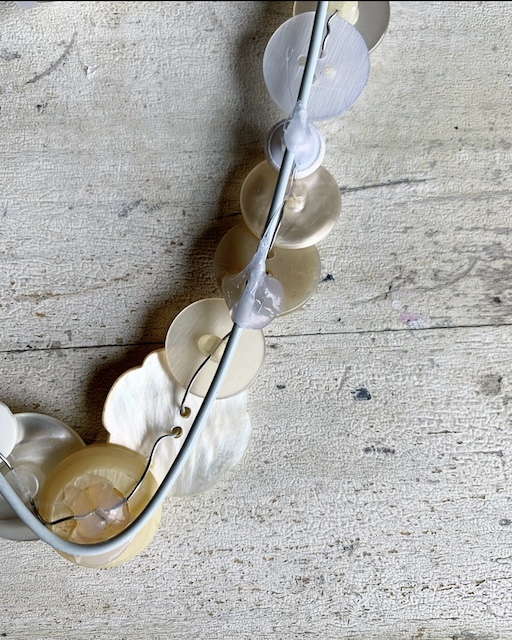
To do this, I flipped my heart over and simply used hot glue to attach the buttons to the hanger. It was that simple.
Wrap Up:
I look forward to trying this craft again – the possibilities are endless (and so is my stash of buttons). You could recreate this craft using a wide variety of button colors and shapes! I would even like to do a simple round button wreath in Fall Colors later this year!
I hope you enjoyed this very simple and easy DIY heart using old buttons. It was so simple to make and it didn’t cost me a dime – and that’s my favorite part! In addition to that, I now have a beautiful one-of-a-kind heart that I can use for years to come!
 Vintage Christmas Tins: Easy Styling Tips and Tricks
 Santa Mug Shopping
 Simple Dollar Tree Ghost Transformation
 Ikea Cabinet Hack Using Shiplap


I have old buttons everywhere and I never thought to do this before. Thanks for the great idea 🤎
You are most welcome. I hope that you enjoy the DIY! Let me know how it turns out!
Cute project
Thank you so very much!
The button heart turned out SO cute Emily! Live it!
Oh – Thank you so so much! I am so glad you like it!
Michele- This is adorable!! Love it!
Oh yay! I am so glad you like it. Thank You for being here!
Emily,
This is such a cute idea. Love it.
Thank you so very much! I hope you all have a great day!