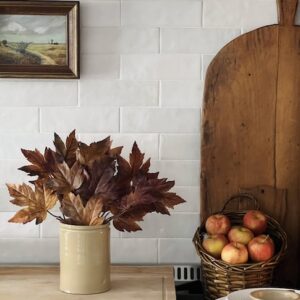
Today I am sharing 5 tips to help you make a killer dried flower arrangement. I promise – it really isn’t that hard to do!

Be Delicate
Dried flowers are very delicate. Flowers, leaves, grasses and foliage will become brittle and fragile once they are dried so be sure to be careful when working with them. Once dried, they will have little to no flexibility so handle them with care. Although I have never done this before, some people will use a clear lacquer (or poly, craft spray, hairspray) to make their dried arrangements a little more sturdy. If you need to store your blooms for any reason, you can simply wrap them in tissue to help protect them.
Secure The Base
You may not need to secure the stems of your dried flower arrangement, especially if you are using a narrow vessel. But, in the event that you discover that you need to secure your stems, here are a few options!
- Chicken Wire
- Floral Foam
- Flower Frog
- Narrow vase inside a larger decorative vessel
- Styrofoam
Placing one of these things inside the bottom of a vase or other container can be a big help! Each of these options will help to keep each stem in place and will help to secure the formation of your arrangement!
Push Them Foward for a fuller look
You may find yourself wanting to fill a big bucket full of dried flowers – but it can get expensive to do that. One trick I have used in the past is to fill a larger vessel with your arrangement with your dried foliage and then ‘push them forward’ with a few rags. This gives the appearance of a full arrangement when looking head on!
Look For Critters
I learned this the hard way. I recently bought a few dried flower bunches from the grocery store and to my surprise, a few of the, were filled with little critters – Yuck! I would suggest taking all dried foliage out of their wrappers outside and give them a good shake to make sure no bugs fall out! I will be doing this with each bundle that I purchase from now on before I bring them into my home.
Keep Them Tidy & Dust Free
As with all things around your home, your dried flower arrangement is sure to eventually get dusty. There are a few ways to ‘fix’ that. If you feel comfortable, I would suggest taking the dried flowers outside and give them a gentle shake. (I have often taken the arrangement apart to do that and then I will make a whole new arrangement.). If that isn’t an option, you can use a feather duster and I have even heard of people using a hair dryer!

P.S.
Have you ever wanted to dry your own flowers and foliage? I promise it isn’t that hard to do at all! (Click Here to see an example of some of the lavender that I have dried in the past and how I used it to make something fun.)
If you are planning to dry flowers from your own yard, here are a few quick tips:
When you hunt your yard for blooms to dry, be sure to chose the blooms that are not fully open yet. I have read that you want blooms to be about 3/4 of the way ‘open.’ If they are fully in bloom then you risk the chance of them falling apart when you are drying them. Also, once you have snipped your blooms and have trimmed the stem to your desired length, be sure to remove all the leaves because they will get really crispy and brittle. And finally, as I did with the lavender, be sure to dry your flowers upside down to make sure the blooms of the flowers dry beautifully (and straight). *I do not usually do this with my hydrangeas though!

P.P. S.
If you are looking for some really beautiful florals that are already dried and ready to go then you HAVE to check these beauties out.
I also found some really inspiring pre-made dried flower arrangements here.

*this post contains affiliate links
 Simple Dollar Tree Ghost Transformation
 Fall Flowers On The Mantel
 Kitchen Counter Fall Decor: Simple & Warm Additions
 6 Vintage Items for Fall

