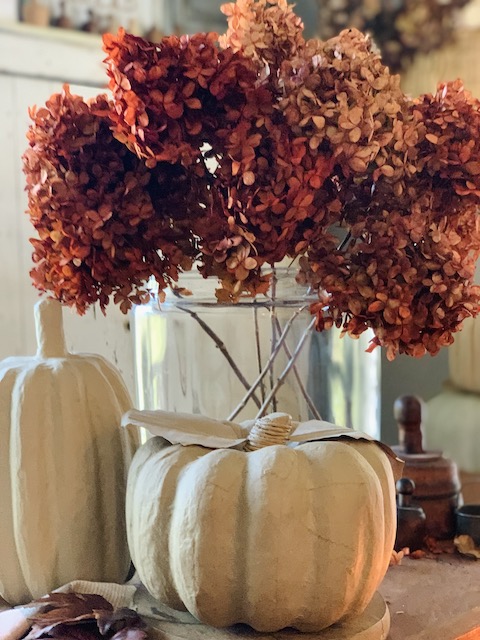
I love dried hydrangeas but today I am sharing how to take them to the next level! Come see how to dye a hydrangea – in 5 easy steps!
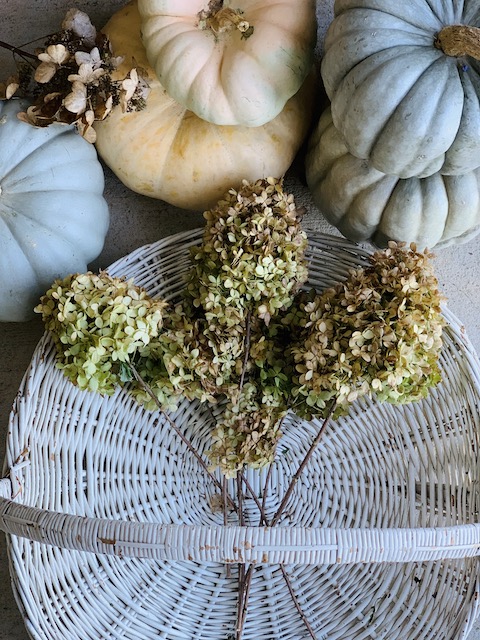
Like so many of you, I love the colors that the fall season brings. From golden yellows to deep purples, they are all so beautiful. But this year, I have really enjoyed the deep oranges that I am seeing all around – in nature and in the stores! With that color as my inspiration, I decided to try my hand at dying some flowers that I recently cut from my neighbors yard. I grabbed my Rit dye and got to work!
I have used Rit Dye on everything from bottle brush Christmas Trees (see them here) to Corn Husks (see them here) and I was so excited to be using it on these huge dried flower blooms today. Below I am going to show you how to dye a hydrangea in just 5 steps – I promise it isn’t hard.
Step One: Gather Your Hydrangeas
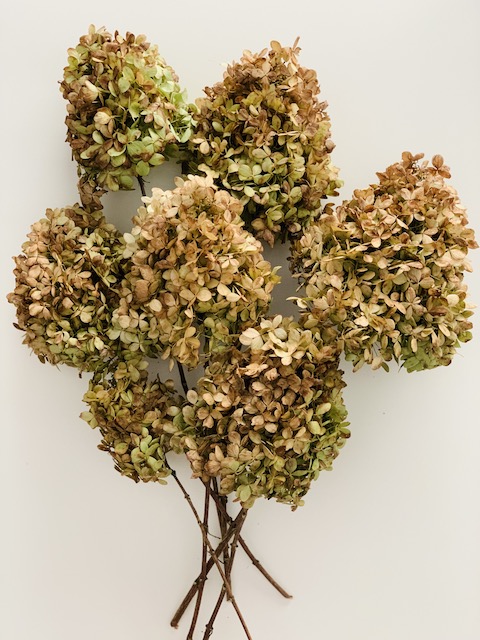
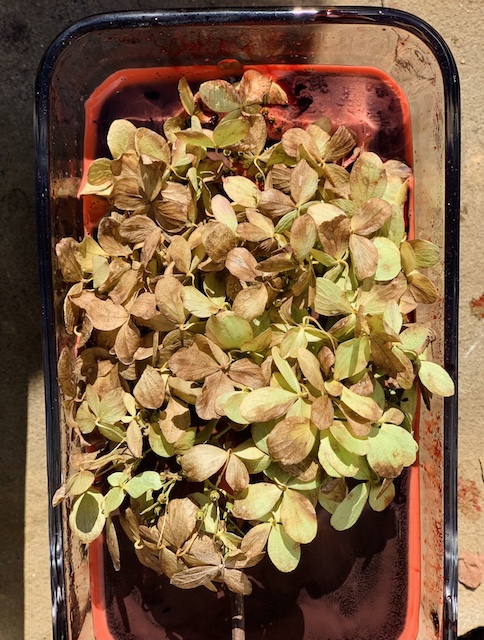
A few days ago I walked over to my neighbors yard and snipped a few hydrangea blooms – with her permission of course. I took them home and let them dry out for several days. After they were ‘crispy,” I then removed all of the leaves from the stems!
Step Two: Gather Your Other Materials
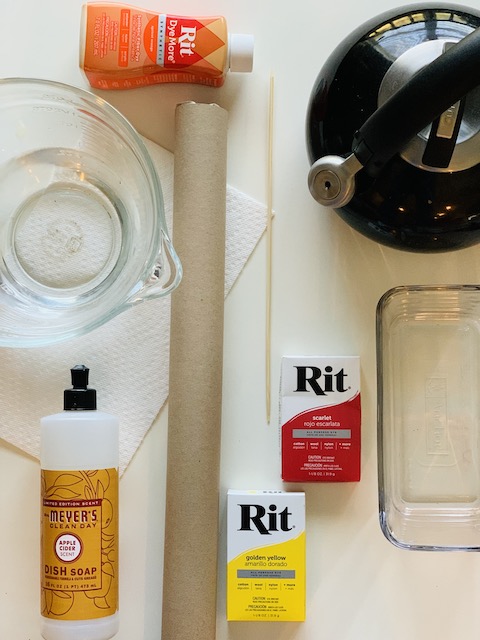
Supplies:
- Rit Dye – I used colors golden yellow, scarlet, and apricot
- Water
- dish soap (to help enhance and unlock the color – according to the Rit Dye website)
- Kettle (to warm water)
- Glass Dish (to hold water/dye mixture) You could use steel too.
- Stick or other long object (to mix the water/dye)
- Craft Paper or something similar to put blooms on to dry (and to soak up extra dye)
- Paper Towel to clean up messes
You don’t need much do to this quick project! The main thing you will need to shop for is the Rit dye. They sell that in a liquid form and in a powder form – I just used what I had around the house from other projects. You can check your local craft store for color options – but I have found that most stores have a VERY slim assortment of colors. I would suggest you look here at for color options – there are some pretty ones.
Quick Tip: This is a messy project so I would suggest to do this outside of possible. If you can not get outsode to do it then I would suggest that you use something like a huge shower curtain to help protect your home from any drips of dye.
Step Three: Prepare Your Dye
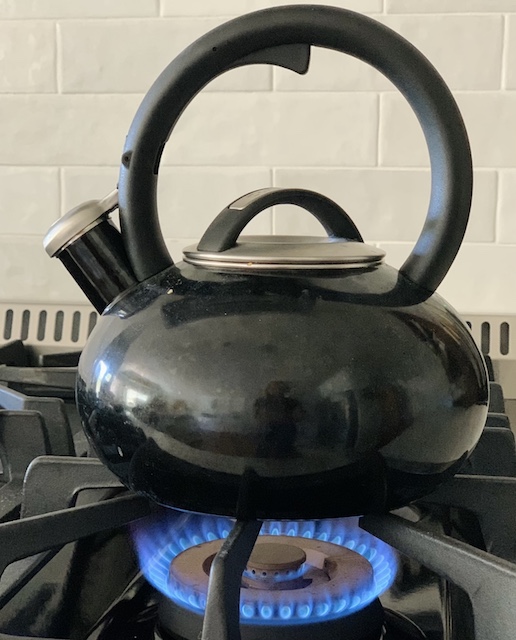
Bring the water to an “almost” boil. 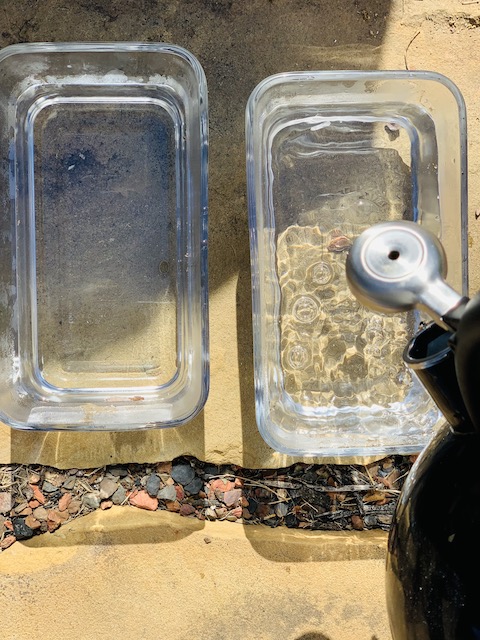
Slowly pour the water into the glass dish. 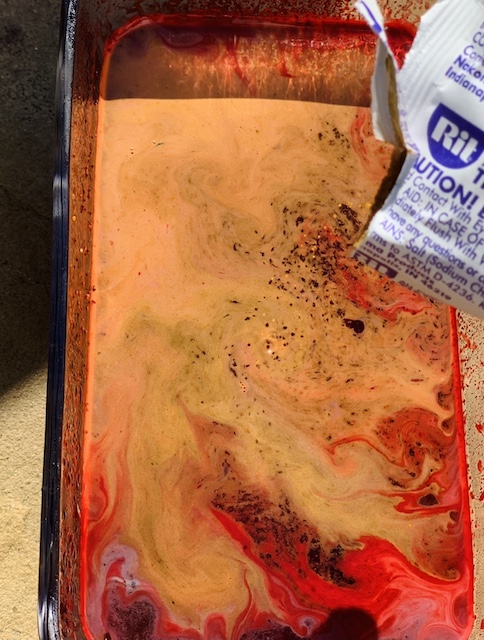
Add in your dye.
All you have to do is bring your water close to boiling and slowly pour the hot water into your glass container. Then, add in the dye. I didn’t measure it. I just added and mixed and matched until I got the color that I desired.
This is the part that is crucial. I am speaking from experience here, you need to make sure you use really hot – almost boiling- water. I though that FOR SURE the color would stick even if it wasn’t hot water because the petals were so thin. I filled up a tote with water and a whole bottle of dye …. and let the bloom soak for 30 minutes … and … NOTHING! I was so mad – HA!!!! So, if you want to dye a hydrangea and actually have the color stick, then it has to be hot!
TIP: You may want to add a dab of dish soak to help unlock your dye. You don’t need very much. I think I only added a drop or two here to these small vessels! I read that on the Rit Dye Website! I added in dish soap and it certainly didn’t hurt!
When you are all done adding in all of the supplies, just be sure to take a small stick or a similar object and mix everything up really well.
Step Four: Submerge Your Hydrangea Blooms
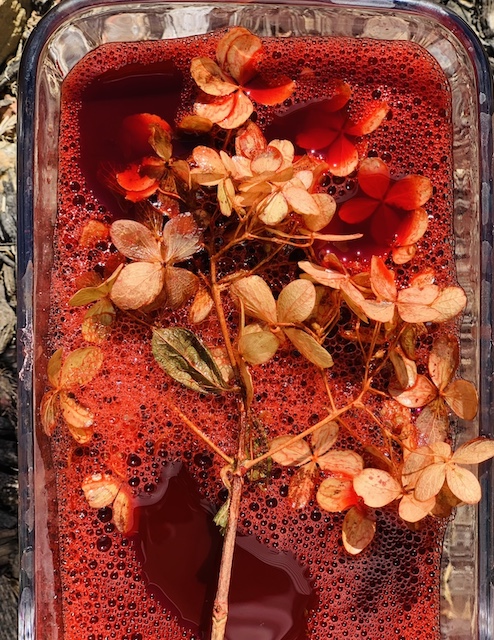
These hydrangea blooms are very strong and will tolerate all of the moving around and all of the water. I was also surprised at how small the bloom would get when it was wet. I was able to really just pop them right into the smaller glass vessels without any breakage. You want to be careful, but please don’t worry too much!
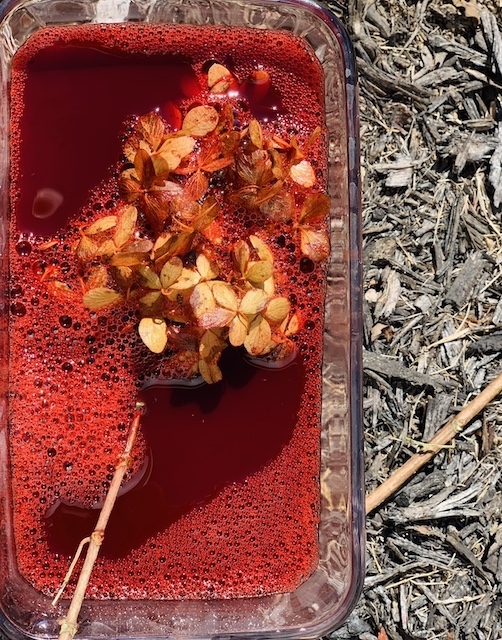
Also, I did check on my blooms often to make sure the color was setting well. I spun the flowers around a bit as needed (since the vessels were a bit small). I wasn’t worried about achieving a consistent full coverage. Overall I would say that each of these blooms sat in the water/dye mixture for 10 to 15 minutes! That is all it took for my hydrangea blooms to take on that gorgeous dark orange color.
Step Five: Let Them Dry Well
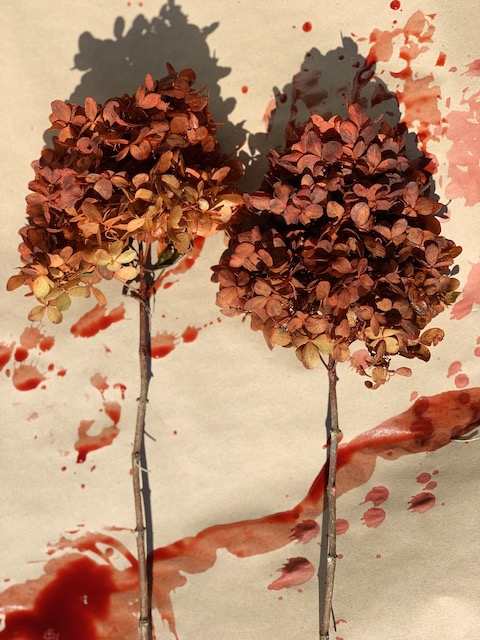
This is the super messy part. I carefully pulled each bloom out of the mixture and then I held the bloom over the container for a few moments to allow any excess dye to drip off. Then I placed each bloom on craft paper and let it dry completely in the sun. I did go and spin each bloom a few times in the sun to make sure all sides were completely dry!
Again, I would suggest doing this part outside!
Wrap Up
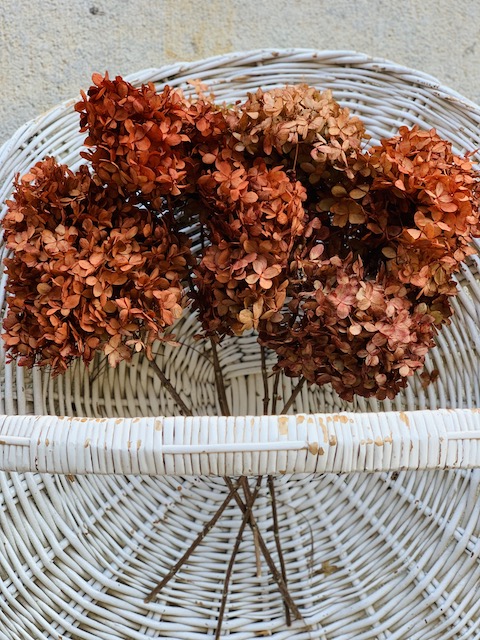
And that is all there is to it. Now you know how transform your blooms into any color you want. What is so cool about using Rit dye is that the blooms still look so very real – even with their new color. There is no “stiffness” or “buildup” that may come with other methods like using spray paint!
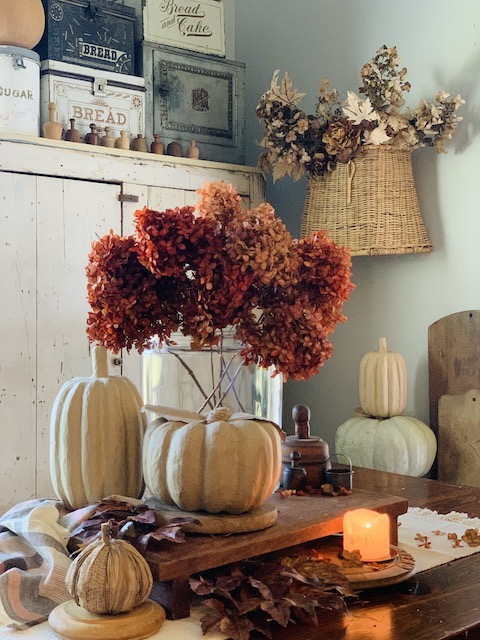
Once the blooms are completely dry then you can use them immediately in your home. That is always the best part in my opinion, styling them! I hope you enjoyed learning how to dye a hydrangea bloom! If you do this then let me know! I want to see how they turned out! Cheers to all the colors of the rainbow!
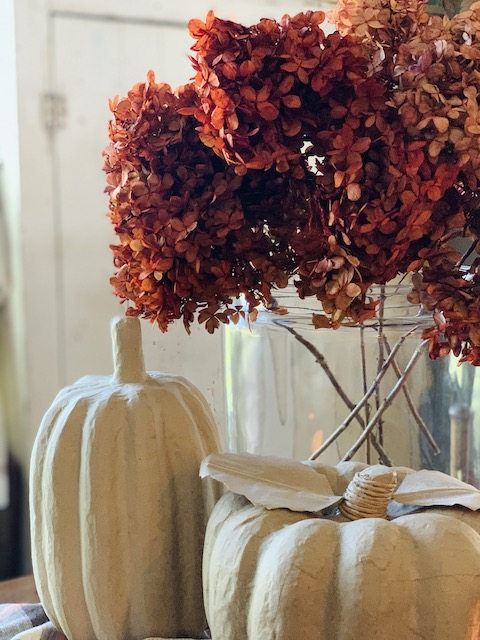
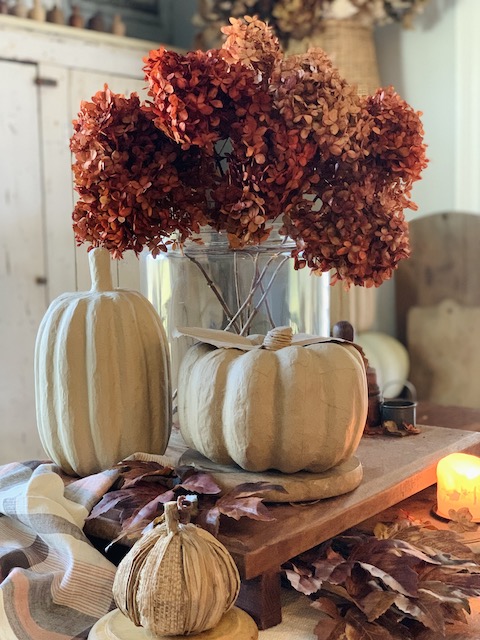
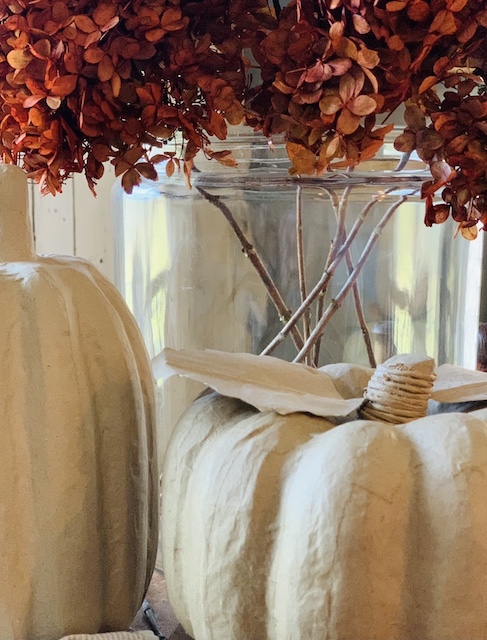
*this post contains affiliate links
 Fall Flowers On The Mantel
 Rusty Plant Stand Makeover
 Vintage Container Garden
 Easy Corn Husk Wreath


❤️
These turned out beautifully! I bought some dried hydrangeas on line and once I took the cellophane off they fell apart – I had tiny petals all over the floor so I didn’t get to use them.
@sherrysvintagestyle
Oh I am so so sorry to hear this – that makes me so sad! I have a neighbor who let me take some from her yard! Do you have a friend who would give you a few?