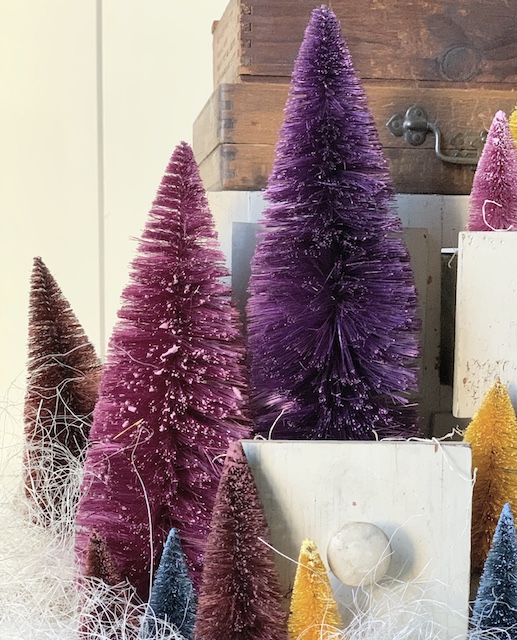
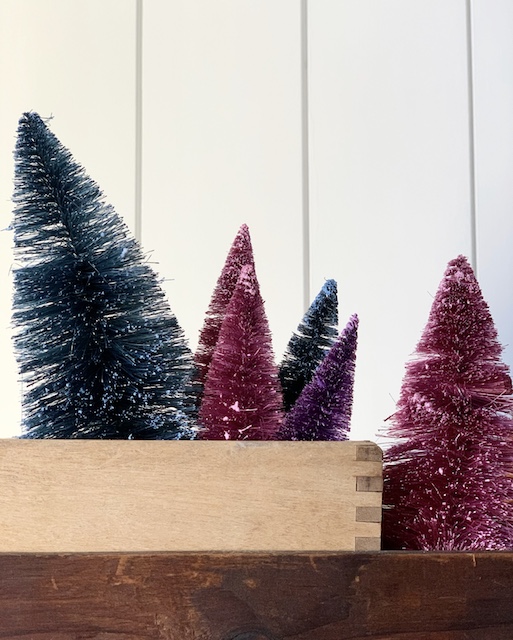
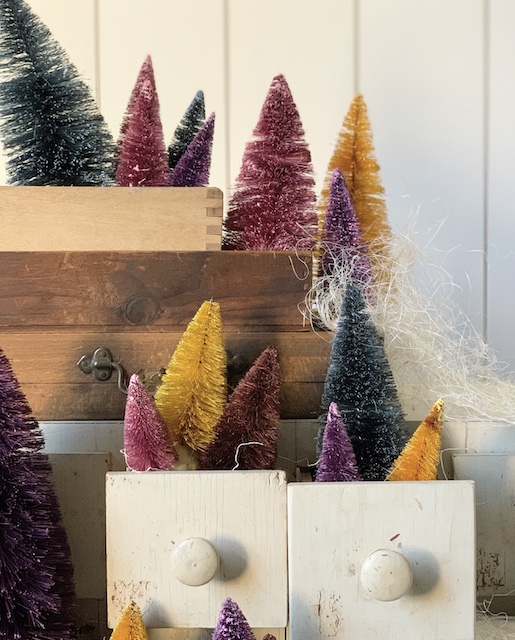
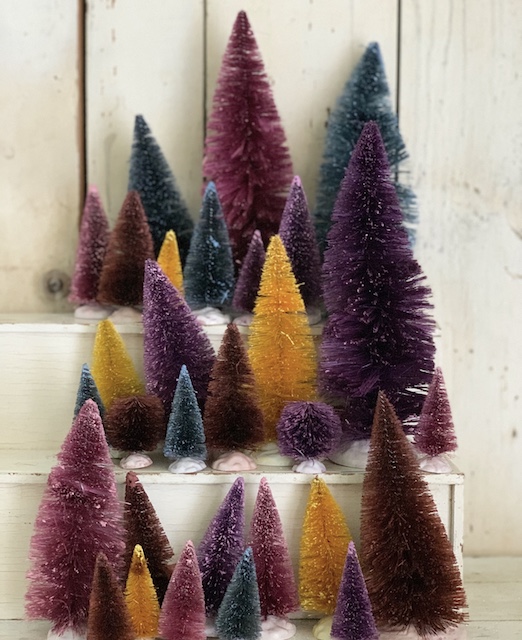
Dying bottle brush trees is the ultimate way to transform those every day holiday trees that you find at all the craft stores. Come see just how easy the process is!
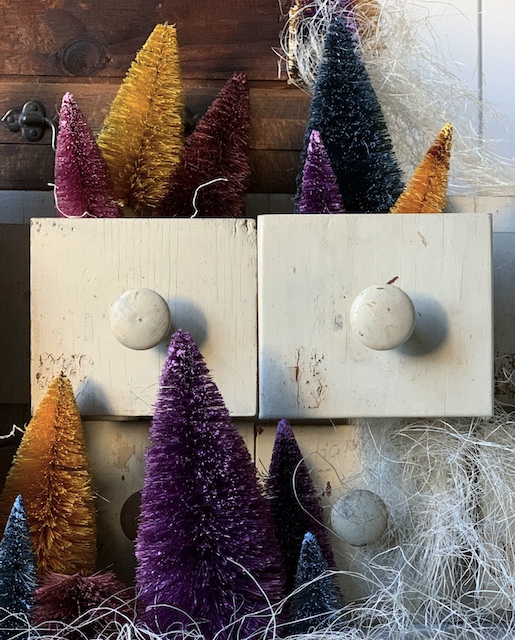
If you can not tell by now, I absolutely love bottle brush trees. This holiday season I have found myself really wanting to incorporate more and more of these trees into my home. I have enjoyed shopping for them – both old and new ones. I have enjoyed making bottle brush trees from scratch. And now I am excited to try dying them.
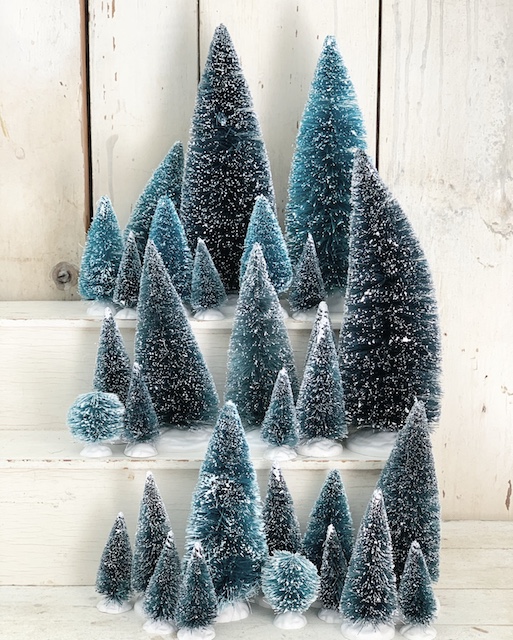
I recently found a set of died bottle brush trees at Target, you can see them here, and I really liked the variety of colors. I liked them so much that I bought two boxes! But, it got me thinking … could I figure out how to dye bottle brush trees myself? After a bit of trial and error, I figured out that I could indeed! I recently used Rit Dye to create a beautiful corn husk wreath – see it here – and I just knew that I could use the same process on new bottle brush trees. This super easy DIY will certainly get you thinking about making a few ‘colored trees’ yourself.
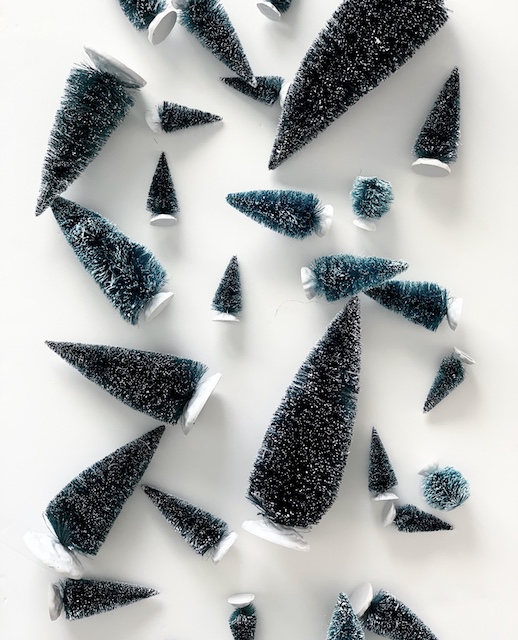
Materials:
Bottle Brush Trees
Bleach
Rit Dye
Paper Towels
Tongs
Glass/Plastic containers
The Process
I found that dying bottle brush trees requires two steps to get the most vibrant colors! First you will need to bleach the trees and then they will be ready to take on the color you desire.
Bleaching Bottle Brush Trees
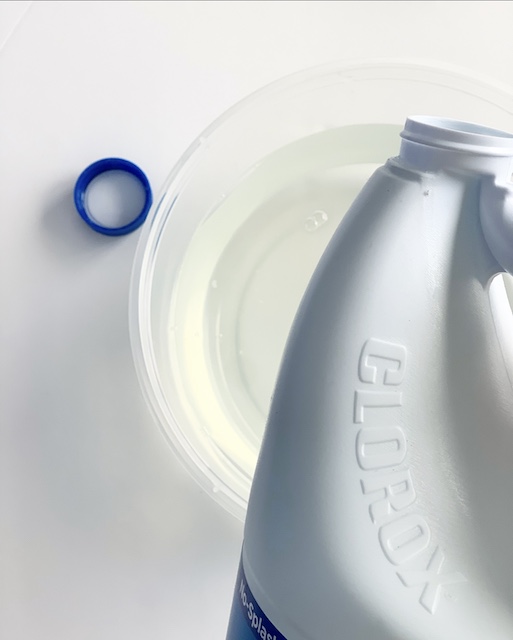
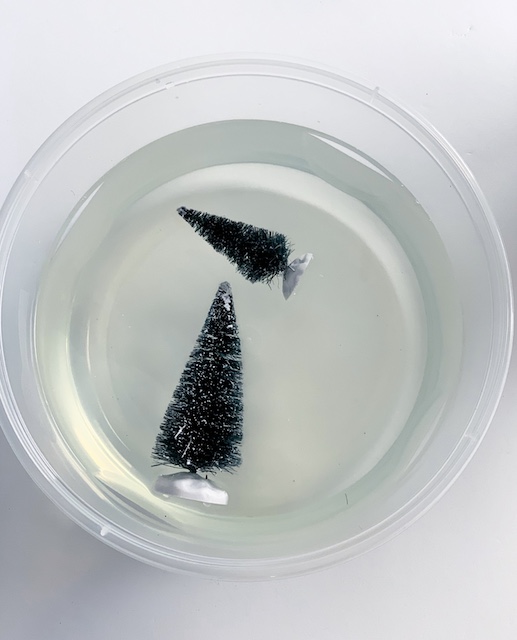
- Simply add two parts warm water to one part bleach and mix well.
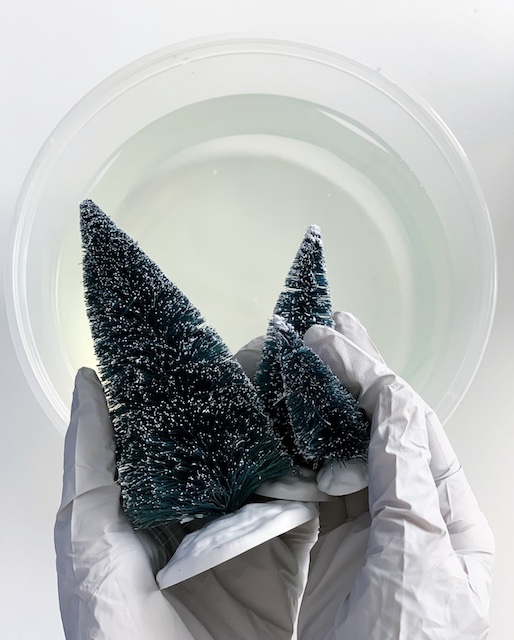
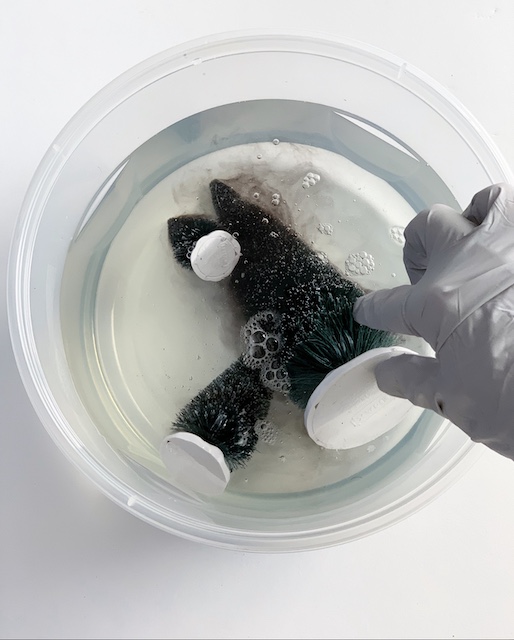
2. Add a tree to the bleach mixture and using tongs, swirl it around.
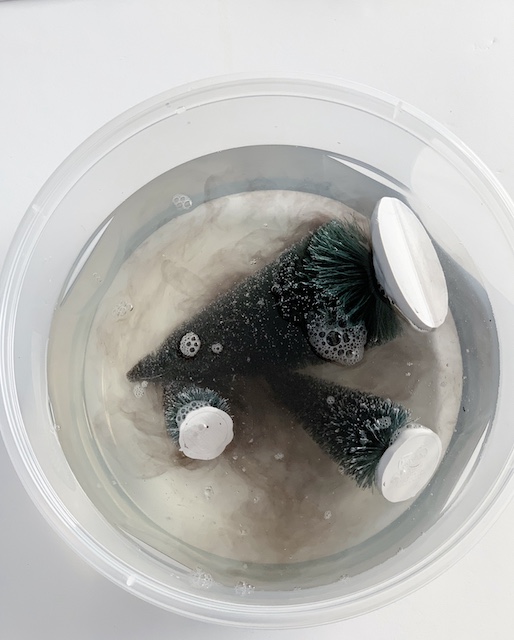
3. You will notice the color of the tree changing right away. Be sure to watch closely.
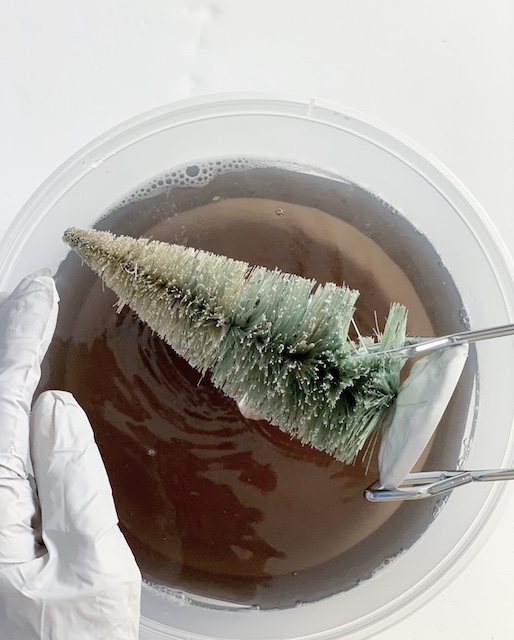
4. Using the tongs, remove the tree from the bleach mixture once it becomes fully bleached. Immediately, dunk the tree in a fresh bowl of water (to stop the bleaching process) and dry it off with a paper towel.
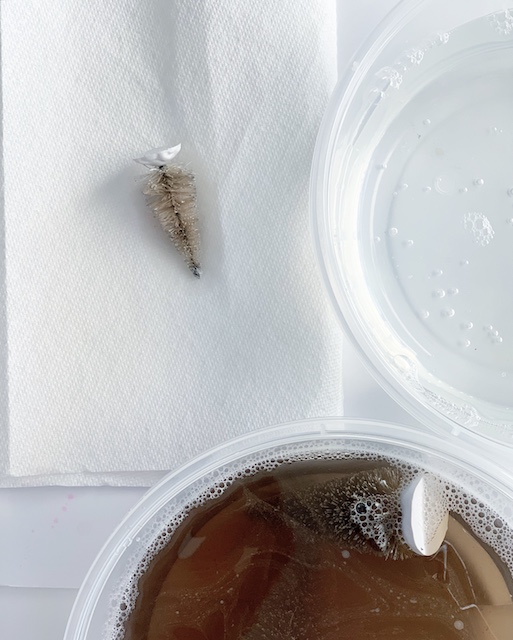
5. It is important to make sure the trees are dried before moving on to the next step. I used a hairdryer to do this. You could also lay them out in the sun.
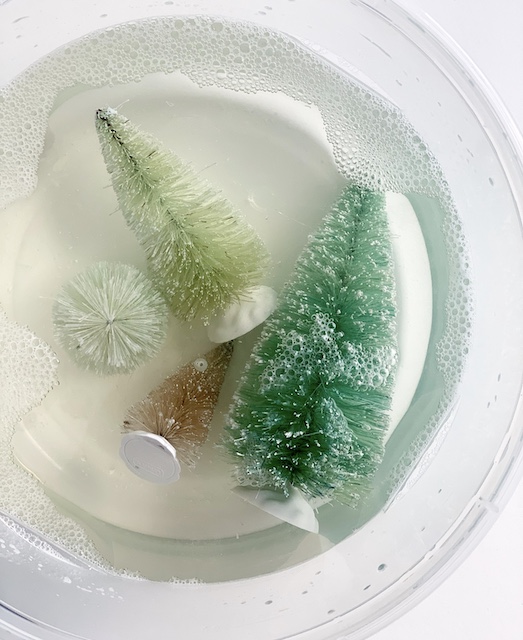
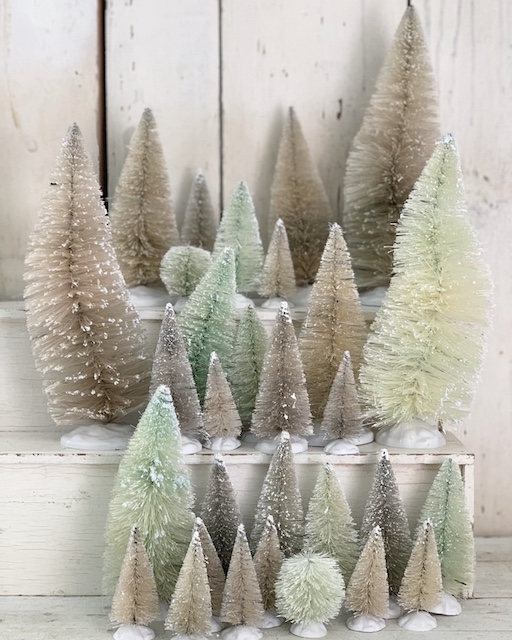
Note: You could simply create a ‘minty green forest’ using just the bleach/water solution. Simply leave each tree in the same bleach/water solution for varying intervals of time. This will create a variety of different shades of ‘green.’
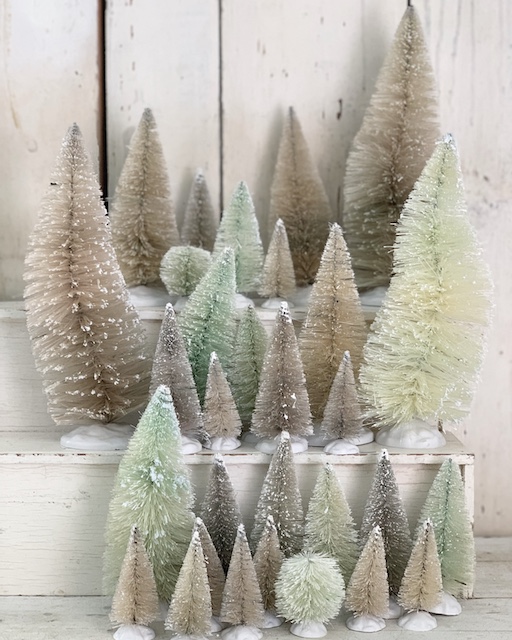
Dying Bottle Brush Trees
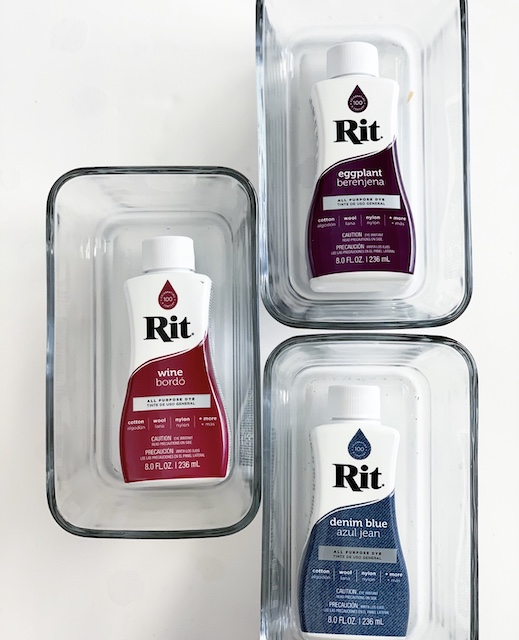
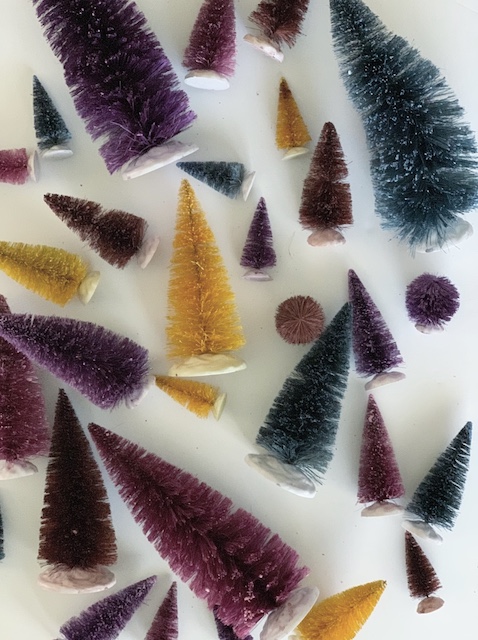
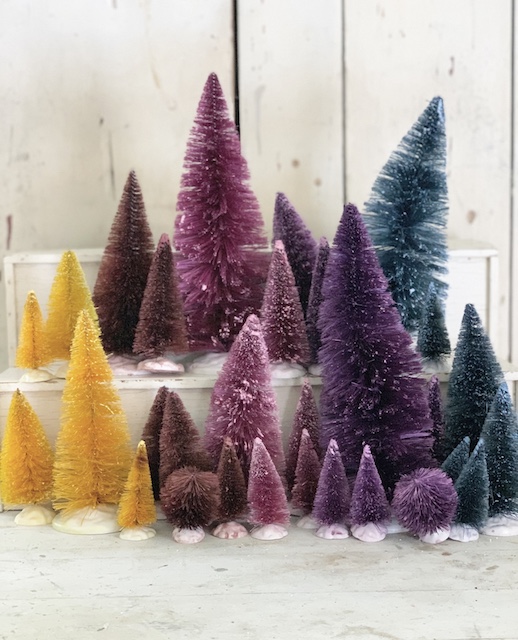
- Fill an empty bowl with hot water. Then, pour in your dye. I just eyeballed it and added the dye to the water until I reach my desired color.
I used these colors of Rit Dye:
-Denim Blue
-Wine
-Eggplant
-Cocoa Brown
-Golden Yellow
(You can see what colors Amazon has to offer here.)
2. It is important to note that Rit offers dye that comes in both liquid and powder form. I used both for this DIY. The blue, wine, and eggplant colors were liquid and the brown and yellow were powder. When mixing the powder, I just added some vinegar along with the warm water. You can follow the instructions on the box.
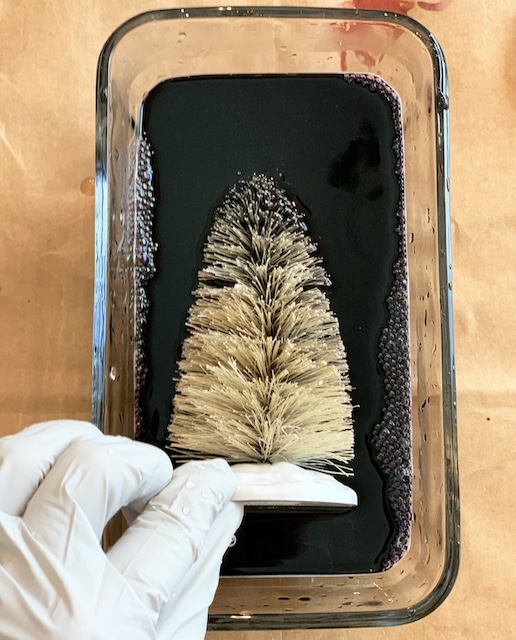
3. Next, I submerged each of my trees into a bowl of color. While watching each tree closely, I turned the trees using my tongs to ensure that the color would be even.
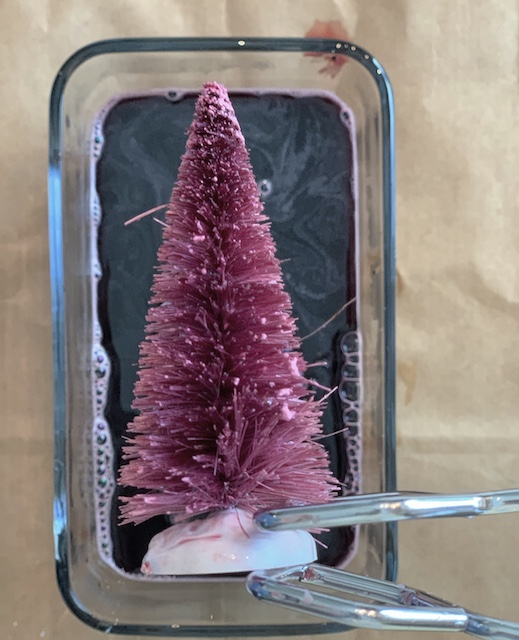
4. It did not take very long at all for each tree to soak up the color. I soaked each bleached tree for only about 45 seconds.
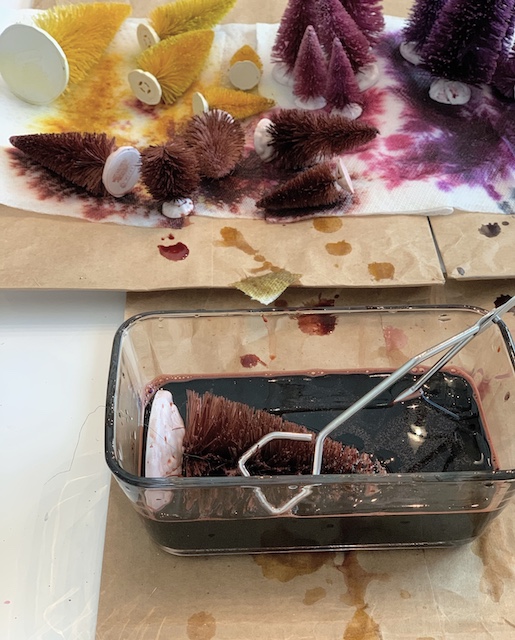
5. Next, I laid each tree on a layer of cardboard and paper towel and I let them dry completely. You could also use a hair dyer for this step too.
To Wrap It Up
I was so excited with the results of this process. But, I do have to admit a tiny little secret. I loved the trees bleached so much that I almost didn’t go through with the dying process. I was truly taken with all of the neutral colors and the primitive feel of these trees when they were simply bleached. But, I am so happy that I went through with it and dyed them. I really do love the colors more! And, with all of the options that Rit dye has to offer, the color options are endless. I hope you have fun dying bottle brush trees this holiday season!
*this post includes affiliate links
 Nostalgic Santa Display
 Vintage Christmas Tins: Easy Styling Tips and Tricks
 Rustic Christmas Mantel With Honeycomb Ornaments
 Distressing Ornaments: Old and New

