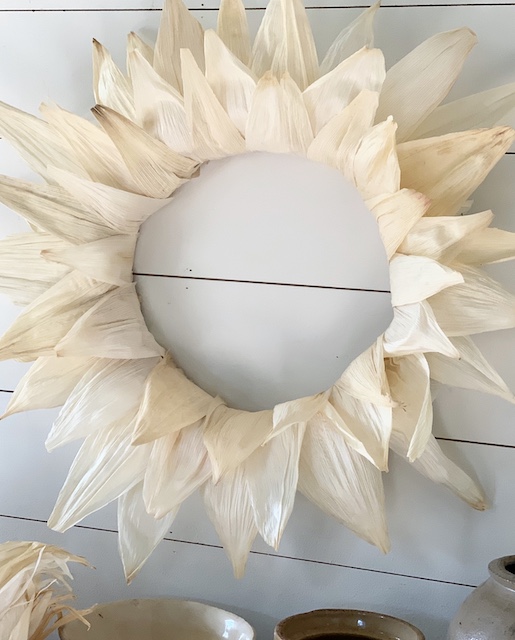
This is an easy corn husk wreath using a few simple supplies from the grocery store and a simple straw wreath base. Best part – it didn’t take long to make! Keep reading to see how to make this neutral wreath for your home this fall.
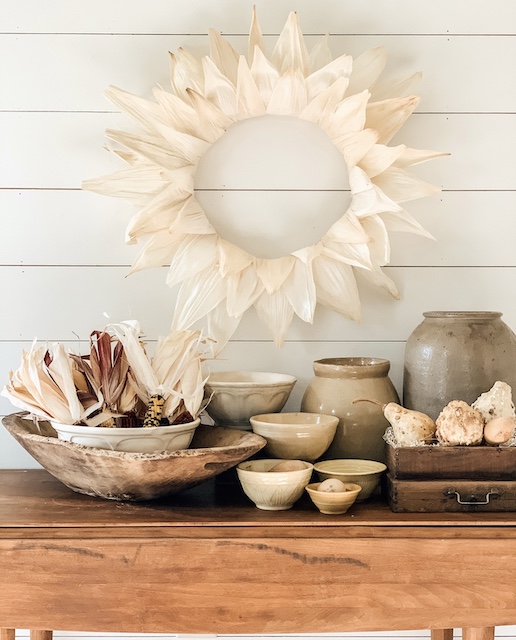
Over the years, I have searched high and low for a good corn husk wreath to use during the fall season. In an effort to welcome in the cooler weather, I always am looking for a simple wreath that has both an organic feel and a great rustic look. Finding a realistic, affordable corn husk wreath was hard! I did find one at Target last fall for a decent price, but I really wanted something a little bigger and more substantial! So, I decided to just make my own.
Materials
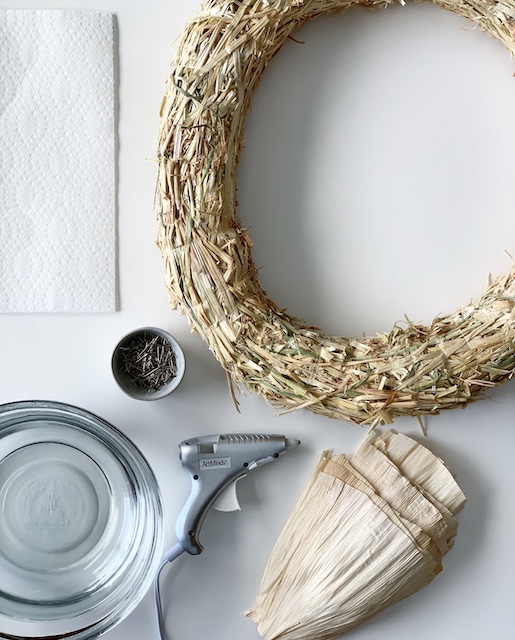
You can find all of these items at your local craft stores or you can simply click on the individual words below to order online.
Straw Wreath
Corn Husks
T Pins
Glue Gun
Scissors
Water
Paper Towels/ Hand Towels
Steps
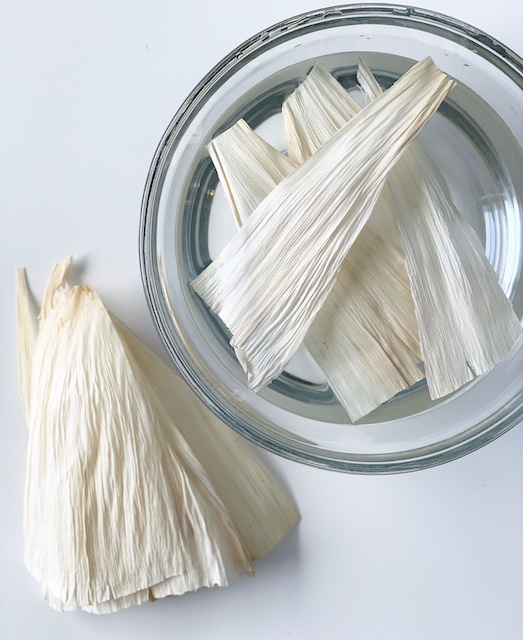

- Begin by submerging each corn husk into a bowl of water. Dab off any extra water using a paper towel or a hand towel.
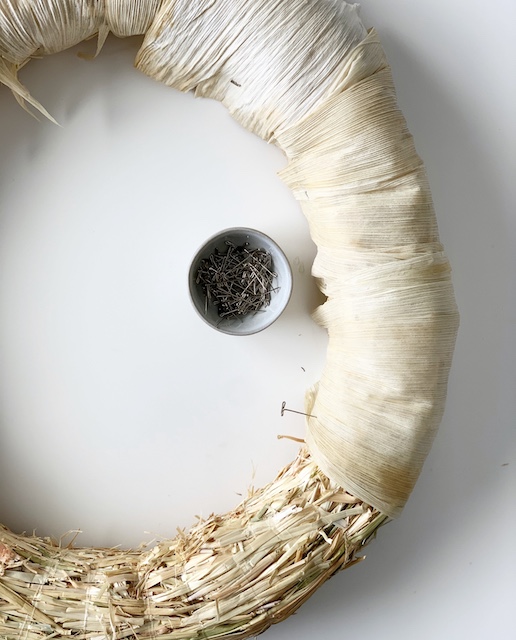
2. Completely wrap your straw wreath in corn husks. You want to make sure to overlap the edges of each husk to ensure that all of the straw is covered.
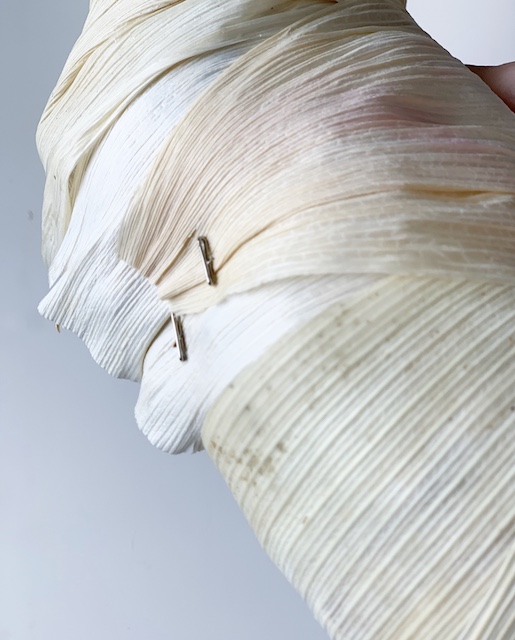
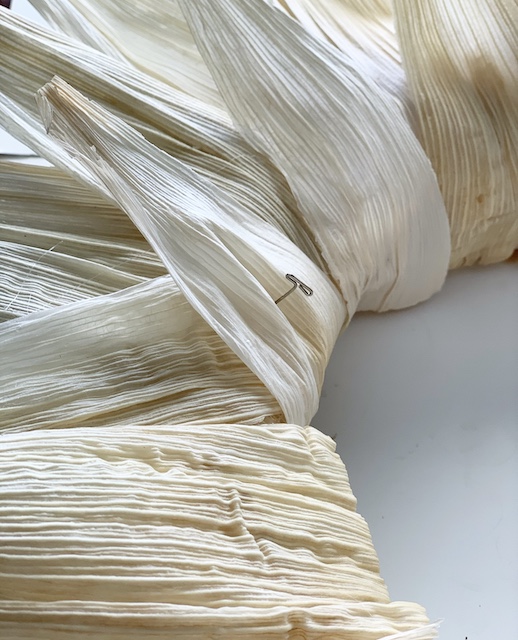
3. Use a T pin to secure each corn husk on the bottom of the wreath as you go. After the first layer of husks are fully dry (an hour or two), then you can begin adding the first decorative layer.
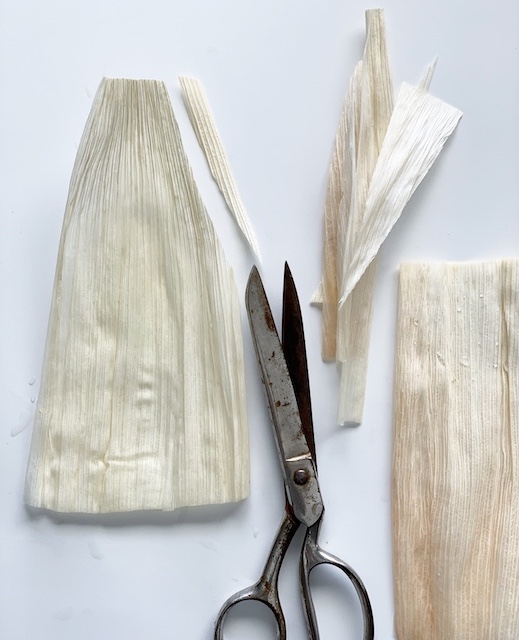
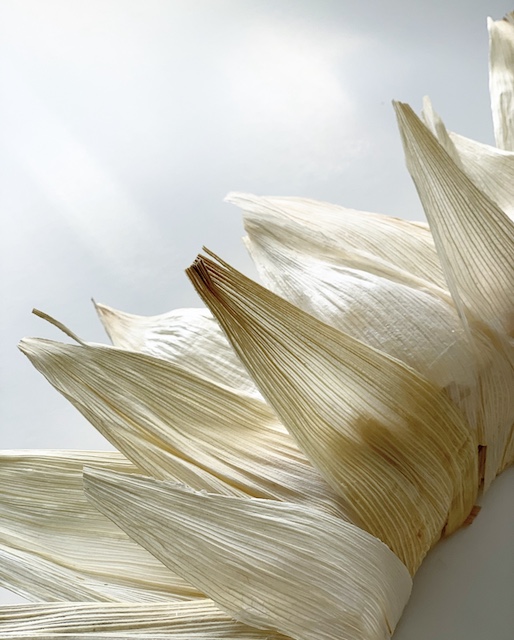
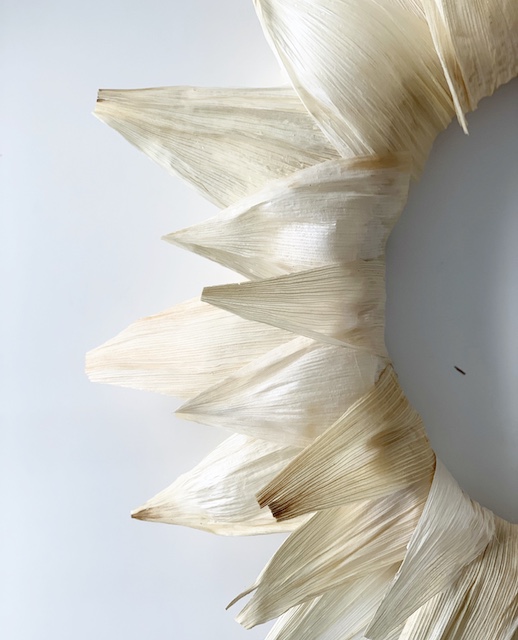
4. You may have to ‘prepare’ some of your husks. Several of the husks that I bought came out of the package in the shape of a rectangle. In order to achieve this ‘star’ look, I had to trim a few with scissors.
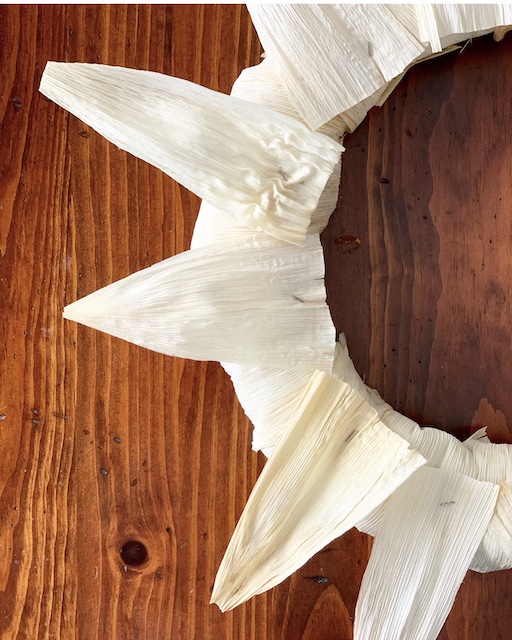
5. Once the husks are cut to shape, you will need to submerge each husk in water, dab off any extra water, and then pin them into place (still damp) and allow them to dry “into” shape. I used the T pins to hold the husks in place as they dried.
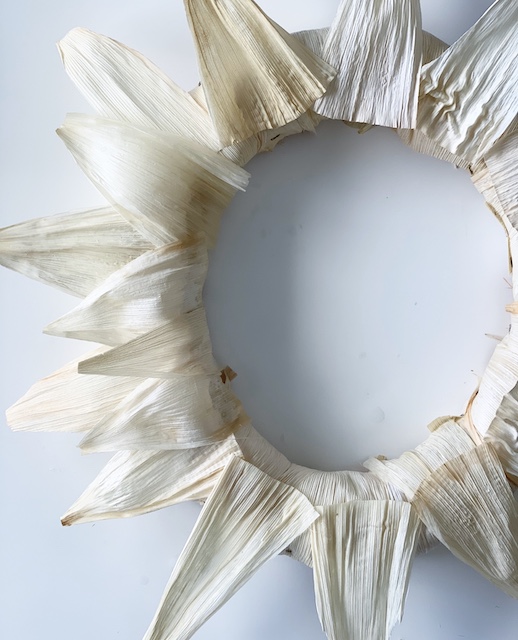
6. Go around the wreath, adding in as many layers as you wish. (I added about 4 layers).
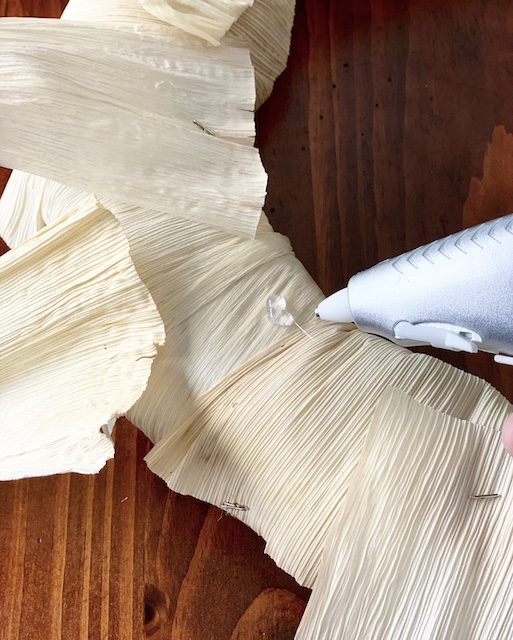
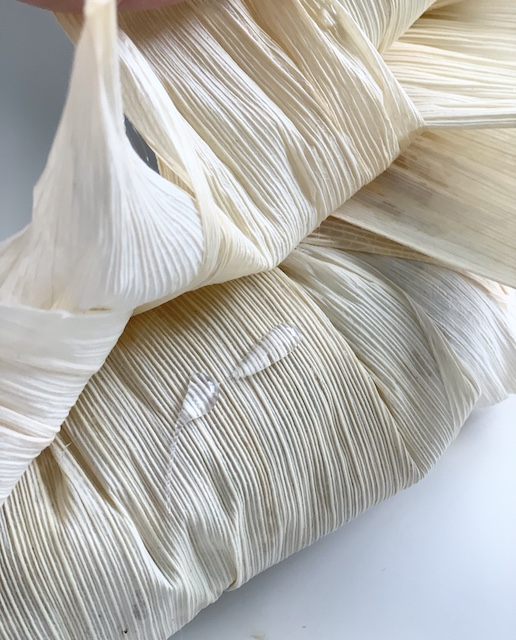
7. After husks are completely dried, usually a few hours, permanently attach each husk with hot glue using a glue gun. Layer them in, one section at a time and use scissors to trim any husks to the length of your liking. Do this step until you reach your desired fullness.
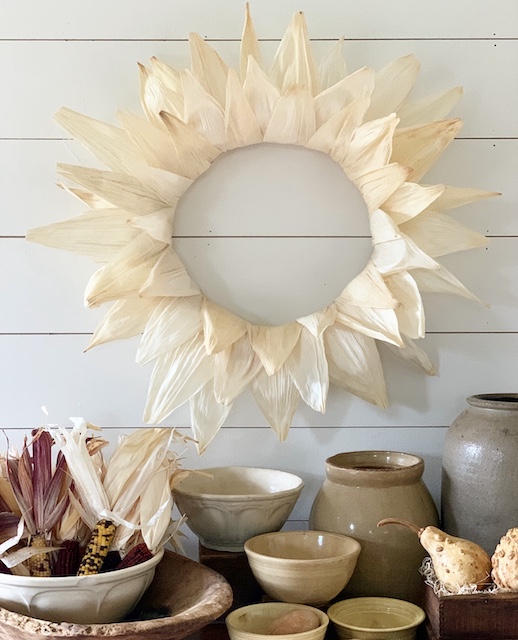
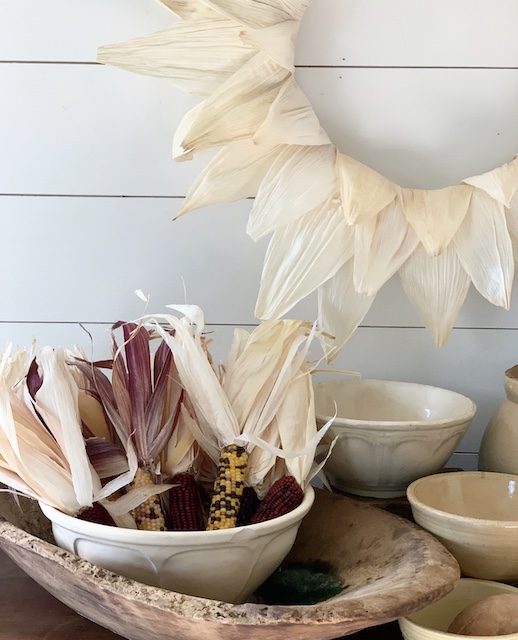
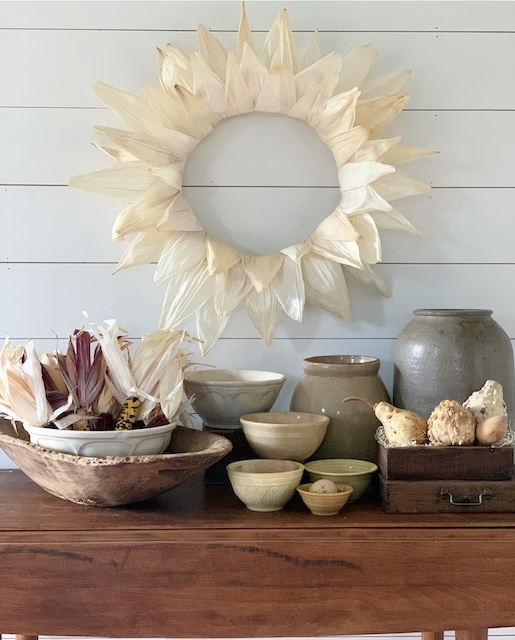
8. The last step is always my favorite – display your new corn husk wreath in your home! Here I just paired my new wreath with several other neutral crocks and stoneware pieces. I even added in some Indian Corn (making sure they had husks attached) and some gourds to tie it all together. I really do enjoy creating vignettes in and around my home and using my own DIYs makes me love these little spaces a little more.
Quick Tip:
This also would make an outstanding centerpiece! Try placing this wreath (or a smaller version) in the center of your table and build a gorgeous centerpiece around it.
Wrap Up
This wreath was so much fun to make. What I love most is that all of the the husks will look a little different. Some have curls and others have remained straight. Some have ‘drooped’ over while others haven’t. The various shapes and sizes of the husks help to give this wreath the true organic feel that I was trying to achieve. The great thing too is that you can easily ‘add to’ this wreath as well. See how I added a pop of color to this exact wreath here.
And, if you enjoyed this DIY you may also enjoy:
This Gilded Pumpkin DIY
This Fall Garland DIY
This No Sew Fall Pillow
This Shelf Styling For Fall With Copper
Want More?
And, you can join my email list to see what I am up to each week. Just sign up at the VERY BOTTOM of this page! Scroll all the way down and look for the heading entitled: Let’s Keep In Touch. Simply fill in your email address there and then you will be all set.
P.S.
Here are some other fall wreaths and garlands and such that I am loving right now that are for sale onilne. Yes – I am already searching! While I realize that the stores don’t really have their fall stuff out yet, it is never truly too early to begin looking and gathering up the things that you love for the next season ahead! (And – there may be some advantages of shopping off season and/or early. I have found that you may be able to take advantage of off season discounts and if you are shopping early in the season then you tend to be able to have first pick of all the inventory before it is all shopped over. Happy Fall Y’all!
disclosure: please note that affiliate links are used in this post.

 Simple Dollar Tree Ghost Transformation
 Fall Flowers On The Mantel
 Kitchen Counter Fall Decor: Simple & Warm Additions
 DIY Bottle Brush Trees

Move over Martha!
Sooooo good! 🌽
Oh Emily I just love your Corn Husk wreath.
I just love that wreath. I think I might try making it. I loved making the cinnamon pumpkins from your DIY.
Great job! Probably the best I have ever laid eyes on!
Love the wreath !!!
Great work!! You could add a few fall flowers to this as well for a different look!! Love it!
👍
this wreath is AMAZING!!!!!!