I am sharing all of the steps and details behind this easy fall container garden. While it may look complicated, it was super easy to create and build!
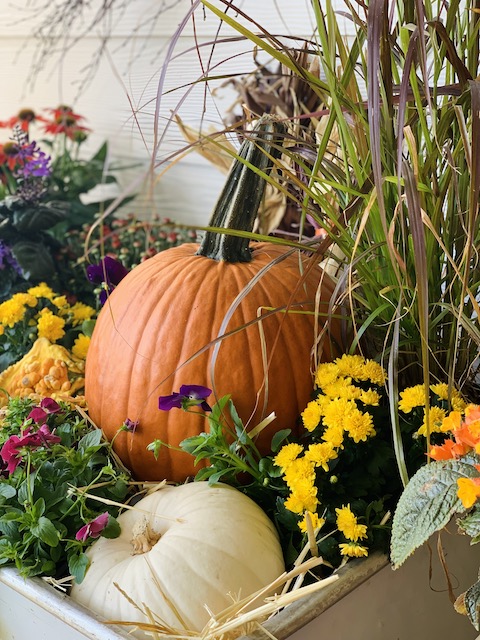
Fall is officially here and that means that I can officially begin decorating outside! I feel that it is now totally acceptable to bring all of the pumpkins and corn stalks and mums out of hiding for the neighbors to see.
I wanted to do something totally different this year and after racking my brain for a bit, I decided that I was going to create an easy fall container garden. It really wasn’t hard to do – and shopping for all of the different flowers was my favorite part.
Find The Perfect Container
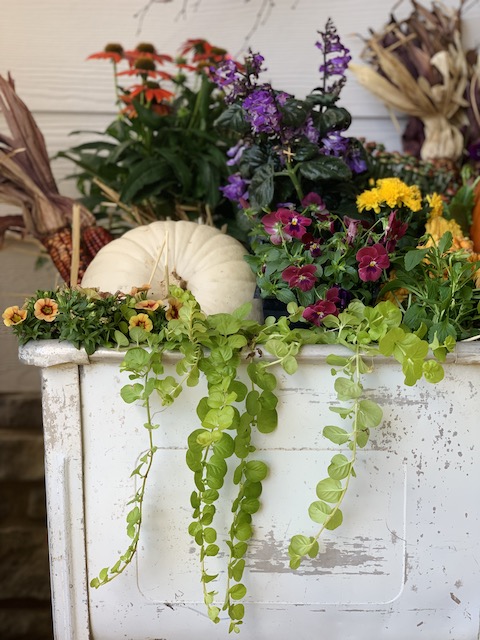
I remembered that I had this old vintage washtub and I knew it would be the perfect ‘container.’ I got this old washtub about 8 years ago at a local yard sale for around $40.00. I knew that was a killer deal and I wanted to hang onto it. I have been using it to hold all of our scarves, mittens, and winter hats in our coat closet – kind of like a shelf. While I am using a vintage tub, you certainly do not have to. They can sometimes be really hard to find. You can use all sorts of items for a fall container garden like this galvanized tub or this beverage tub. The main thing though is to make sure that your container has drainage holes so you may need to add some to your container.
Choose Your Flowers, Plants, Etc…
The next thing I needed to do was gather all of the things to put into my washtub. I already had a few pumpkins and mums on hand, but I knew that I needed a few more things to fill the huge double washtub. I headed to my local Pikes garden center to hun down some great plants to use!
If I am being totally honest, I do not LOVE mums. I realize that they are a popular fall plant, but I simply do not enjoy them as much as I should this time of year. With that in mind, when I got to Pikes, I decided to look for flowers and plants that were not necessarily “fall” but that had ‘fall colors.’
I also wanted to make sure I had the three things that all container garden need:
- A Thriller
- A Filler
- A Spiller
I found some amazing information online from the Proven Winners website that I wanted to share with you all below. I know that we have all heard of “Thrillers, Fillers, and Spillers” before – but these bullets spell out the function of each in a way that is easy to understand! (These bullet points are taken from the Proven Winners website and are not my own words.)
Thriller
- Thrillers are plants with height that add drama and a vertical element to the combination
- Thrillers can either be flowering or foliage plants or ornamental grasses
- Thrillers are generally put either in the center or at the back of the container
- Place it in the center of the container if it will be viewed from all sides
- Place it in the back of the container if it will be viewed from only one side
Filler
- Fillers tend to be more rounded or mounded plants and make the container look full
- Fillers are generally placed in front of, or around, the Thriller variety
- Fillers should be placed midway between the edge of the container and the Thriller variety
- If the Thriller is in the center of the container, the Fillers should surround the Thriller variety
Spiller
- Spillers are trailing plants that hang over the edge of the planter
- Spillers are placed close to the edge of the container
- If the container is going to be viewed from all sides, Spillers should be placed on all sides
- If the container is going to be viewed from only one side, Spillers should be placed in the front of the container
I n addition to the flowers and plants, I decided that I also picked up a few interesting gourds and pumpkins to add into my fall container garden. Lastly, I picked up a few bales of hay fill the tub. Hay is a great option because it can tolerate all of the water that will I will be pouring over my plants for the next several weeks! Hay is also great because it is a natural way to raise certain plants within the container garden – the eye will love to see the pops of hay sticking out in and around the container.
A List Of The Things I Used
- Pansy
- Calibrachoa
- Mona Lavender Plectranthus
- ConeFlower
- Viola
- Mum
- Creeping Jenny
- Pennisetum
- Corn Stalks
- Warty Gourd
- White Pumpkin
- Carving Pumpkin
- Hay
- Corn
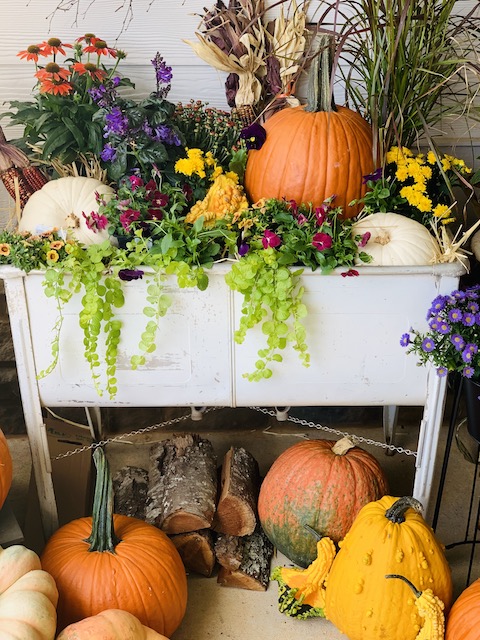
Assemble The Fall Container Garden
This was the absolute best part! I just love getting creative with the spaces around the house and creating this fall container garden was so much fun! And, it was so easy to do.
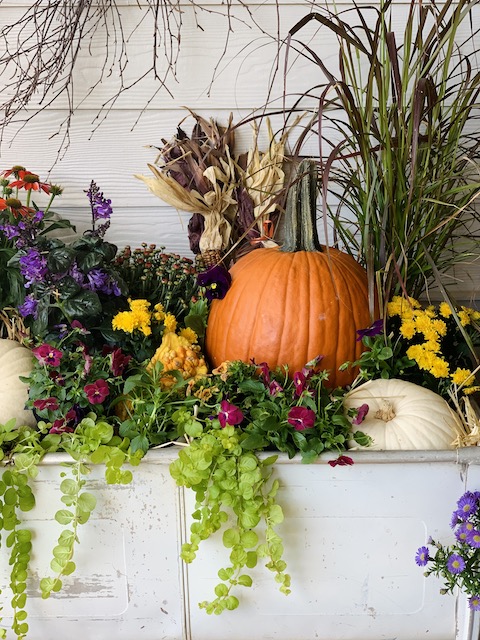
First, I laid out all of my flowers, plants, pumpkins, and gourds and then I analyzed their heights. I knew that I wanted to have my “THRILLER” in the back because it was the tallest of them all. Once I had them all laid out, I was able to easily build out the container garden – being careful to vary the colors and types!
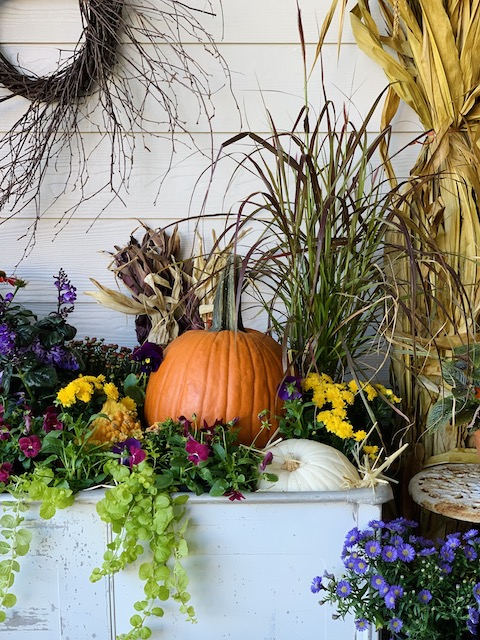
To begin that process, I simply popped my hay bales into the tub to add some hight to the plants and flowers. The washtub is very deep and the hay helps the plants to “sit up” taller than the washtub so that they can be seen. I also used hay because it will be able to tolerate it when I water the plants to keep them alive. The washtub has drainage holes and the hay will not block those holes and should allow the water to flow through. We don’t want our container garden getting too dry or full of mold. Working with hay also allowed me to easily build up and raise some of the plants too. For example, that orange pumpkin inside the washtub is sitting on a nice, thick pad in order to raise it up a bit. The hay is great because it is organic and when you look into the tub the hay works well with all of the other live plants! It is also probably important to note to that I plan to leave all of the live plants and flowers in their original plastic containers. I do not plan to make this a permanent container garden – more on that below!
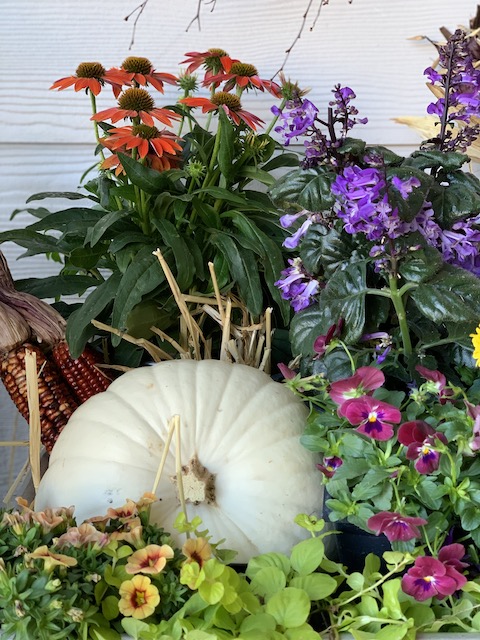
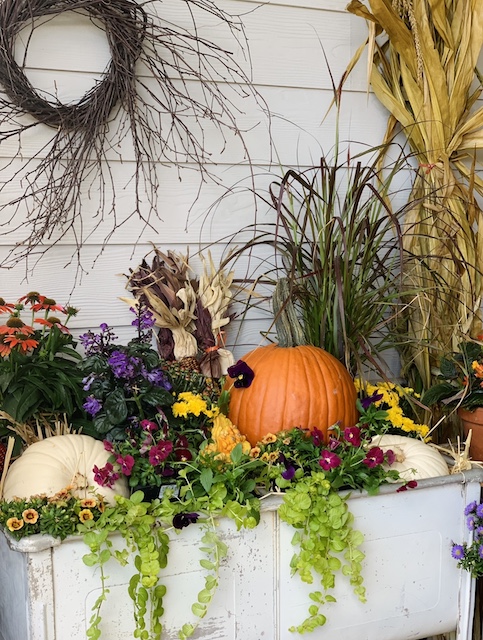
After adding in the hay bales for height, I began layering in all of the things! I started with the back of the container, and then worked my way towards the front. I was careful to spread out similar colors and plants across both sides of the tub. I also added in the pumpkins and corn into spots that I felt would break up some of the foliage and flowers to add interest. I made sure to put the creeping in the front so that it could spill out and soften the edge of the washtub. It took a little while for me to get it ‘just right” but I really am so happy with it.
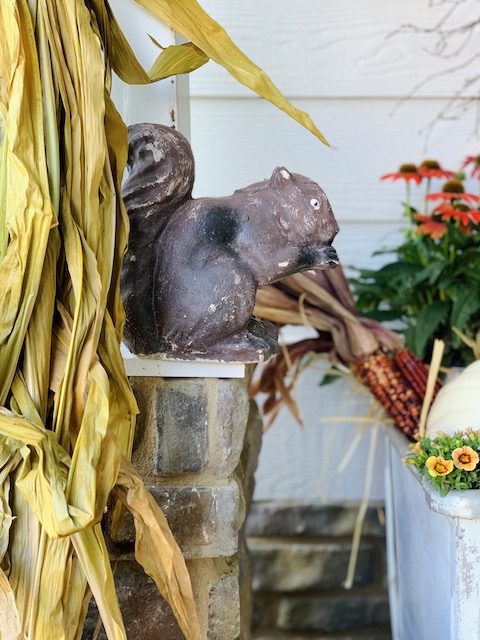
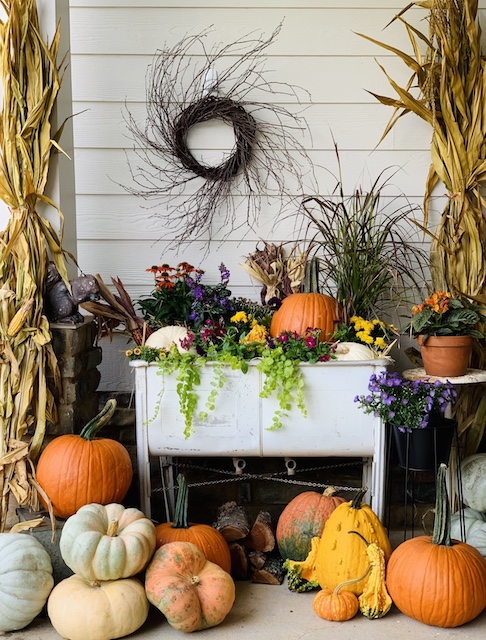
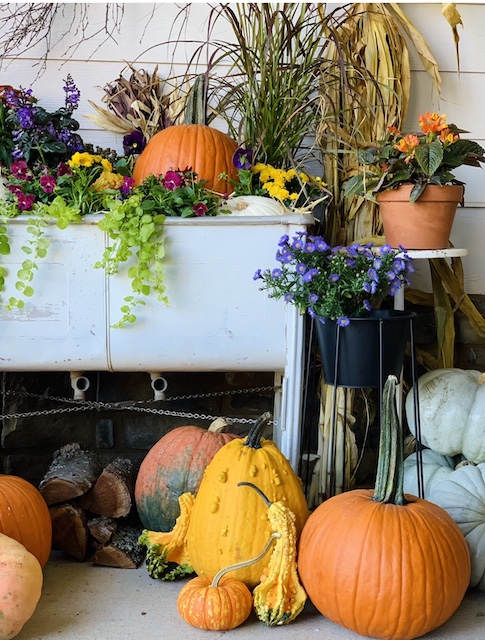
The very last thing that I did was to decorate all around my container to add interest. I used corn stalks and more pumpkins. I added in a few pieces of our firewood to fill in the space. I even added in my very favorite concrete squirrel, Nuts into the mix! I topped it all off by adding in a few more flowers too, including Aster and a Florida Sunset Plant.

A Few More Things
Knowing that I only want this container garden to be on my front porch through early November, I was carful to choose plants that I felt could tolerate the being in their ‘pots’ for the next several weeks. I also was careful to choose some flowers that will transition well in to the winter months, like pansies, and that helped to justify my purchases. Knowing that I can use so many of these flowers in other areas after the season has past really helped! (The pumpkins and gourds will go to our compost pile when the season ends.)
Also, these types of container gardens can get expensive. I found that Walmart had the best prices for plants and that buying them in the smaller muli-packs was the best bang for your buck. Sadly, our Walmart did not have a wide selection of various plants and flowers so I did go to Pikes and there I found so many more options for my fall garden container that were in the colors that I wanted! I found the best prices for carving pumpkins at our local Kroger – $5.00 each. I found the best price for my heirloom pumpkins at Walmart – just under $7.00 each. I found three smaller hay bales at Michales for $7.99 each. I would say the cost for ONLY the items in the container was about $90.00 total (Remember, I had the washtub already!)
Wrap Up
I love the way that my Fall Garden Container turned out! While I knew it will take some work to maintain, like removing some of the faded blooms as time passes, I just think it is the perfect fall focal point for our front porch! I hope that this helps to inspire you to get creative with containers that you already have! I am already thinking about how I can create a Winter Container garden!
If you enjoyed this post then you may want to check out my fall front porch from last year here!
*This post contains affiliate links
 Fall Flowers On The Mantel
 Neutral Paper Pumpkins
 Simple Fall Cabinet Styling
 How To Display And Respect Our Flag: A 1941 Pamphlet

