Let me show you just how easy it is to make gilded ornaments for Christmas! This little DIY is sure to brighten up your Christmas Tree!

Christmas is right around the corner and I was almost done decorating our Gold and White tree that we enjoy in our upstairs living room. The gold and white combo came together by accident but I am so happy that I followed my gut! However, a few days ago I realized that there were still a few spots that I need to fill in!

So, on a mission, I hopped into the car and headed to a handful of local stores to grab a few more boxes of gold ornaments to add to our tree. While I did do some Christmas decor shopping back in November, I really had not shopped for ornaments or holiday decor a few weeks. When I arrived at stores, I was shocked to see how empty the shelves were. Ornaments and tree trimmings that I had seen weeks before were simply GONE. I was stunned to see just how fast the Christmas decor was selling out in each and every one of the stores I visited. I was coming up empty handed each and every time because I couldn’t find what I wanted.
Initially I was feeling a little discouraged by all the empty shelves, but I was determined not going to give up! I decided to see if I could create a few ornaments all on my own that would work well on our tree. I managed to find an abundance of clear glass ornaments – in a variety of shapes and sizes. When I spotted them an idea immediately popped into my head! I knew that I could create some gold gilded ornaments for Christmas using things that I already had at home!
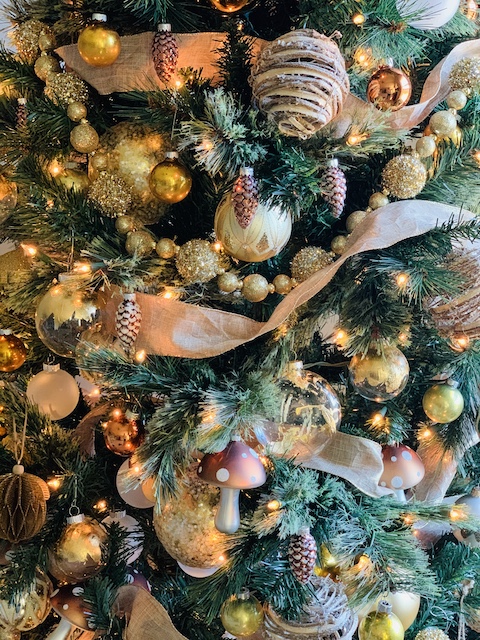
Earlier this year I did a few DIYs using copper and gold gilding. I remembered that I had quite a few sheets of gold gilding left over from those projects and I was excited to try my hand at gilding again! From past experience, I know that gilding things can be fast and easy. With that in mind, I felt that this would be a quick and simple solution to my ‘gold ornament dilemma.’ With a spring in my step, I ran home to turn lemons into lemonade.
Come along with me as I how you just how easy it is to make gilded ornaments for Christmas!
Materials:
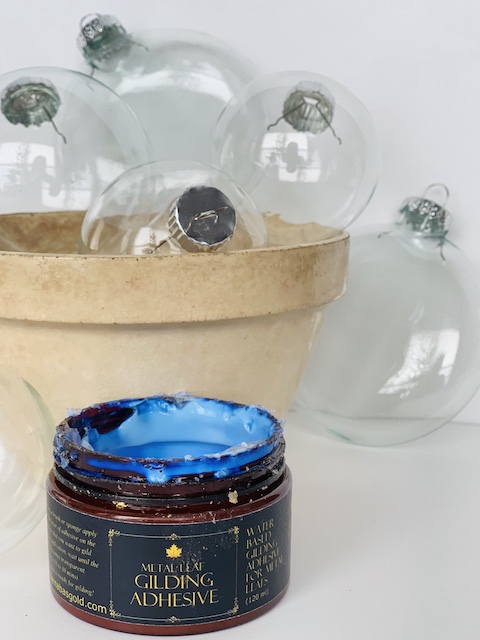
Glass Ornaments
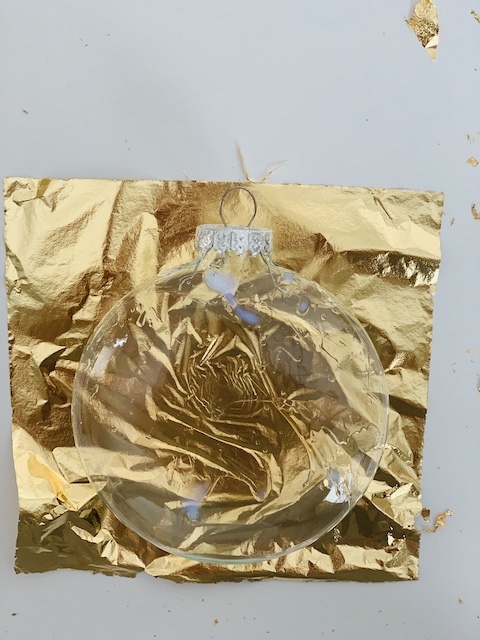
Gold Leaf
Guilding Adhesive
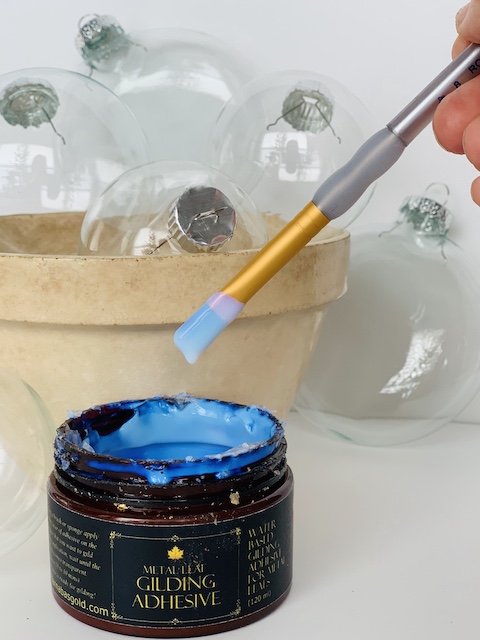
Paint Brush
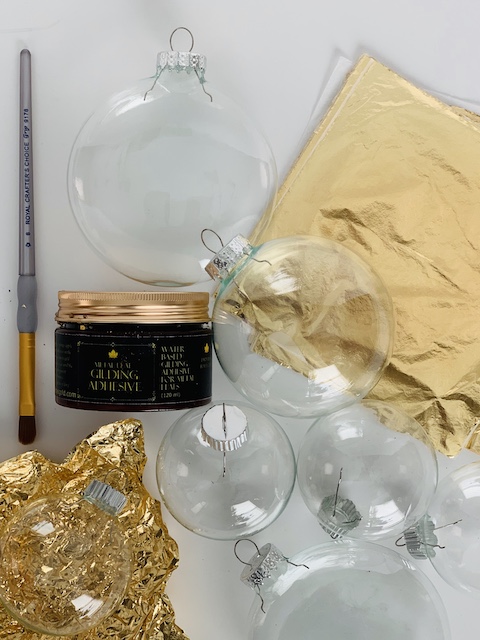
Process:
choose your ornament size
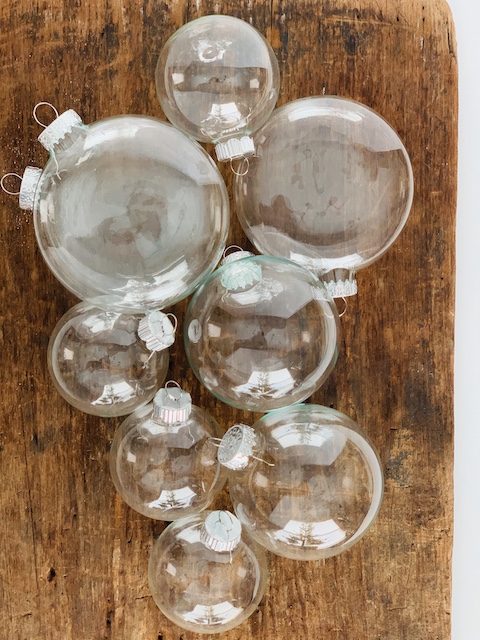
I found glass ornaments come in all sorts of shapes and sizes. You can easily find them at your local craft stores or you can order them here online. I chose to use a variety of ornaments just to add a little added interest. I chose two sizes of round glass ornaments and a set of disc shaped ornaments too!
apply the adhesive: two ways
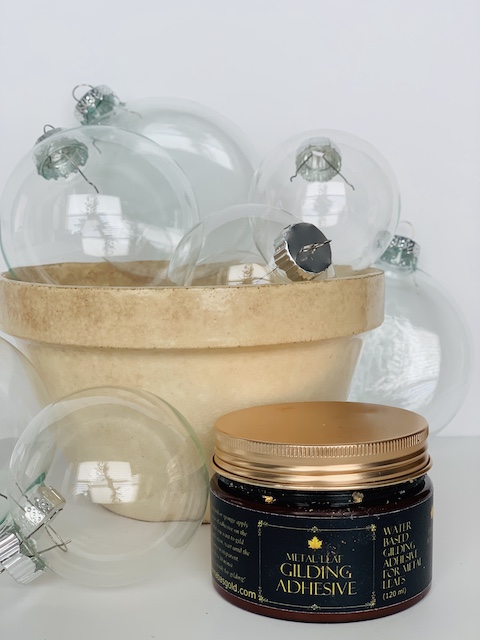
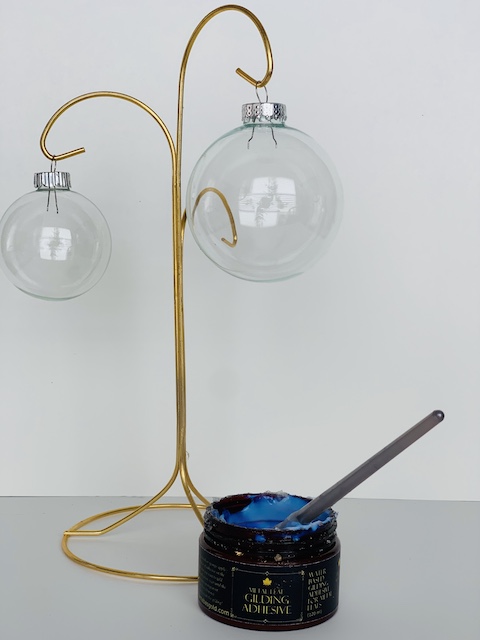
Working with the adhesive is very easy. It is bright blue in color and that helps to make it easier to see when you are working with it. I use this adhesive from Amazon.
“SUN-KISSED”
I decided to create two types of ornaments using the gold gilding foil. I began by painting on the adhesive around the top of the ornaments. This will give each ornament a sun-kissed look. This look would be similar to what I did with the my gilded pumpkins – you can see that blog post here. As I mentioned in that blog post, try to not over think “painting on the adhesive!” There really is no right or wrong way to do that. Just have fun with it and be careful not to apply it on too thick.
“FLICKED”
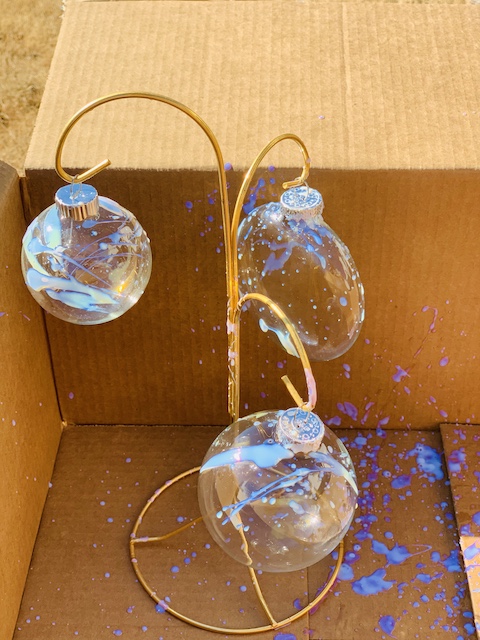
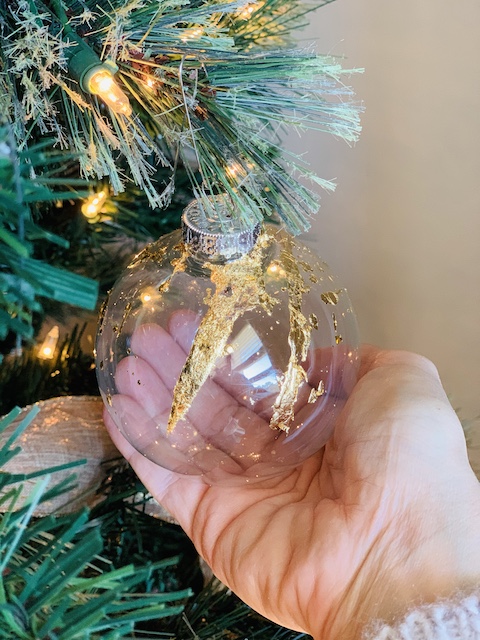
Another way that I applied the adhesive onto the ornament was to ‘flick’ it. What is a flick you might be wondering?!? All I did to ‘flick’ the adhesive was to dip the brush into the adhesive and I splatter a little onto each ornament by flipping my wrist. I did this technique outside because it is a bit messy.
allow the adhesive to dry
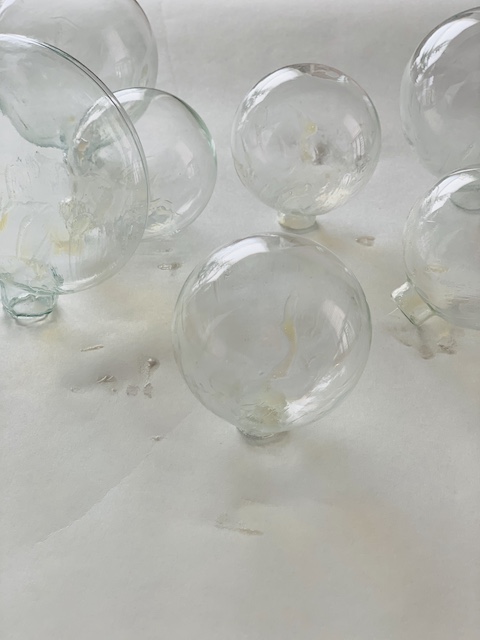
Allow the adhesive to dry a bit before adding the gold gilding. The packaging explains that you will want to wait for about 15-30 minutes to allow the adhesive to come to tack before you begin adding the gold foil sheets. This makes the gilding process much easier and helps to give your final product a clean (less messy) gilded look.
apply the gilding
Once the adhesive has come to tack, you can apply the gold gilding sheets. I use these gilding sheets form amazon. The gilding sheets are very fragile so be sure to work carefully. I simply apply the sheets directly onto the adhesive. Also, I like to apply a little bit of pressure as well to secure the gilding while it dries.

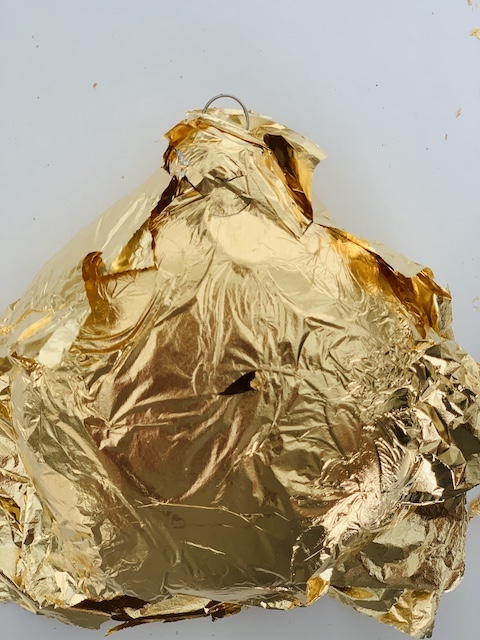
For the sun-kissed ornaments, I applied one sheet of gilding to the tops of each ornament and, using pressure, I smoothed the gold sheet from the top down. For the ornaments that I flicked, I used two sheets of gold gilding and simply laid one sheet on top and underneath each ornament. I carefully wrapped the sheets around the ornaments. I made sure to cover all areas of the adhesive. I had to look closely because when you ‘flick’ it on, there are very small dots of adhesive that will need to be covered with foil.
brush off the excess
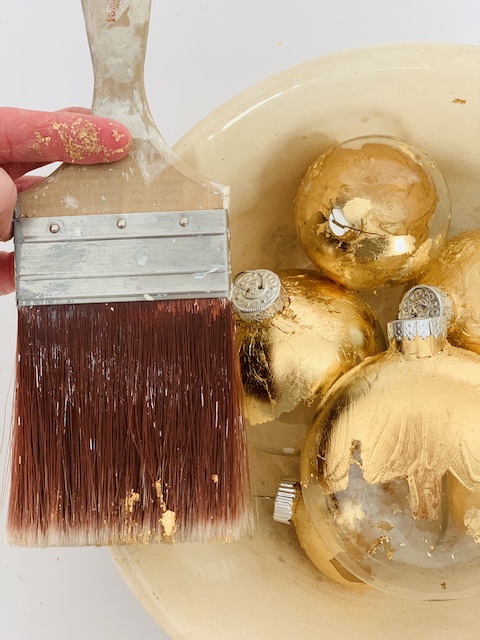
Unfortunately, I found that this process does use a lot of extra foil. You will need to take some time to kick off all of the extra foil. In order to do this, I simply took an old paint brush and I just lightly brushed off each ornament to knock off any extra gilding that may have accumulated. This helps to prevent flecks of gilding to fall off around the house! I recommend doing this step outside because it can get a little messy!
The Results: Gilded Ornaments Two Ways
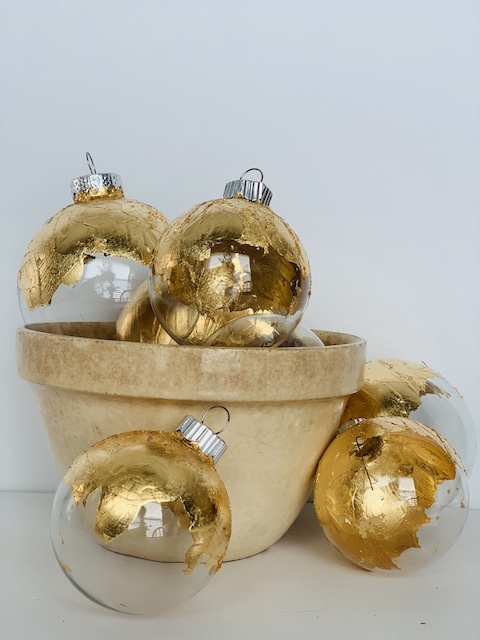
Sun-Kissed Gilded Ornaments 
Flicked Gilded Ornaments
I am so excited with the way that each version of these gilded ornaments turned out. The “Sun-Kissed” gilded ornaments add the perfect pop of gold that the eye can not miss. The “Flicked” gilded ornaments add a subtle touch of gold, each different and interesting in its own way. I am very happy with both results. Not only were these very easy to make but they were a lot of fun too.
Stage And Style Your New Gilded Ornaments
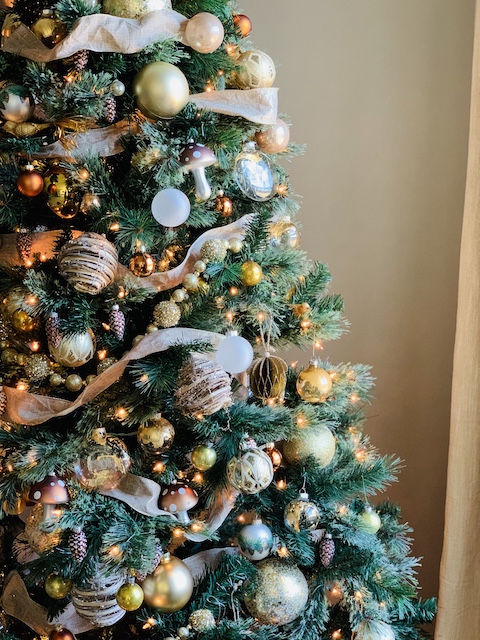
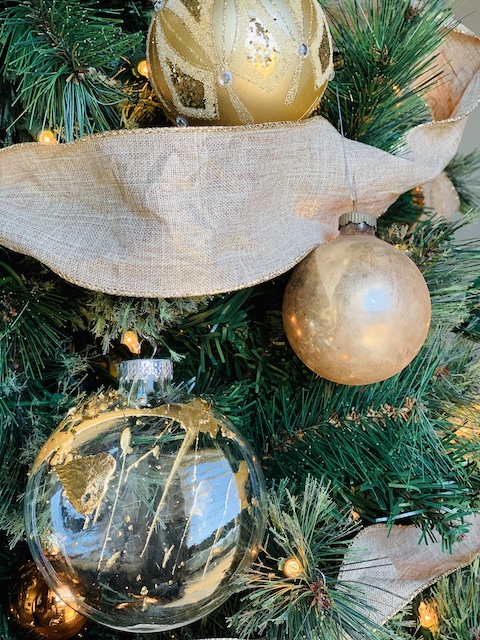
I just love it when I can easily solve a ‘problem’ with things that I already have on hand. When I couldn’t find a few extra gold ornaments at the store, I just got creative and easily solved the problem with a few things I already had at home! I love these gilded ornaments for Christmas. I hope this inspires you to think outside of the box when you are out and can not find exactly what you are looking for! Merry Christmas to each and every one of you!

 Rustic Christmas Mantel With Honeycomb Ornaments
 Simple Dollar Tree Ghost Transformation
 Rub ‘n Buff “Owl UpCycle”
 Cutting Back Lavender Plants

