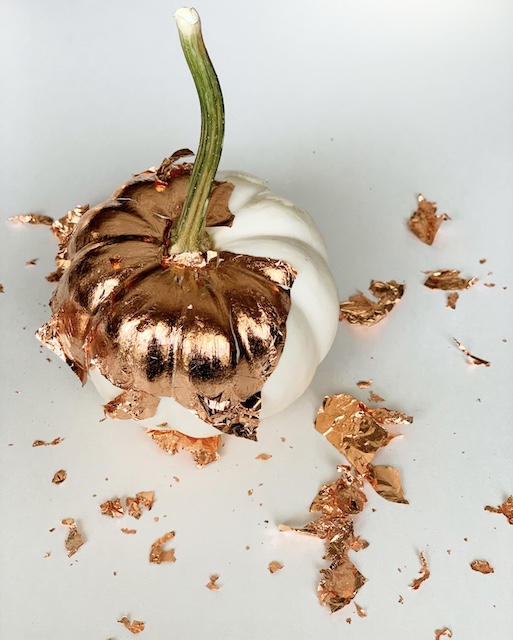
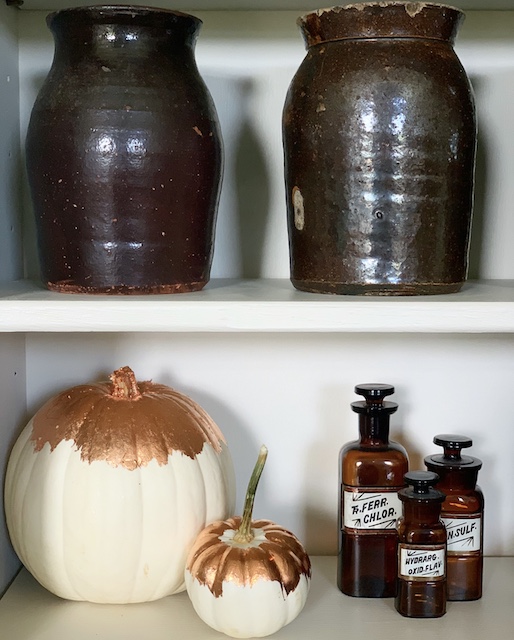
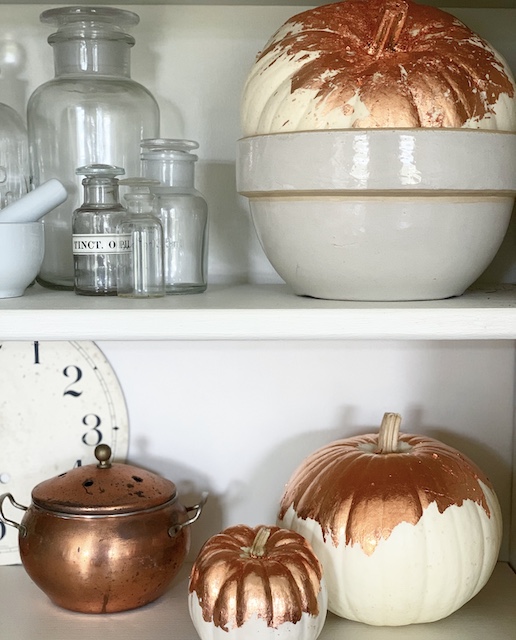
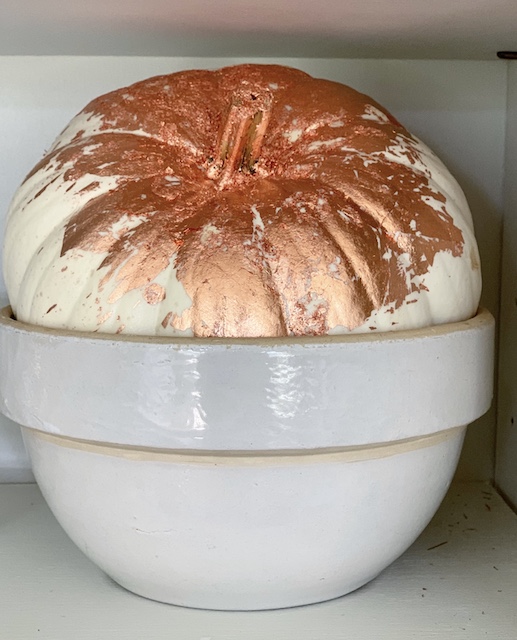
As you may know by now, I have been drawn to copper this fall. Just take a look at my ‘cupboard full of copper’ here! So, it should come as no surprise that I decided to add some copper ‘details’ to a few of my pumpkins this year! I was so excited to try this process for the first time and luckily it was very easy! These copper gilded pumpkins turned out to be so much better than I had hoped!
Materials
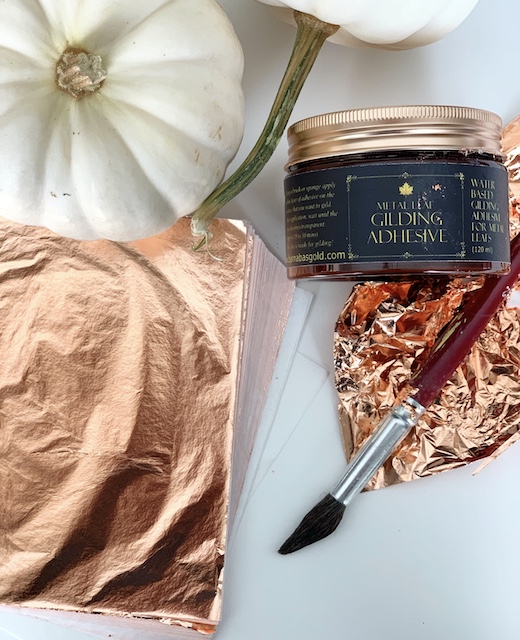
You may be able to find some of these items at your local craft stores or you can simply click on the individual words below to order online. The pumpkins are real ones that I found at the grocery store.
Process
choose the perfect pumpkin
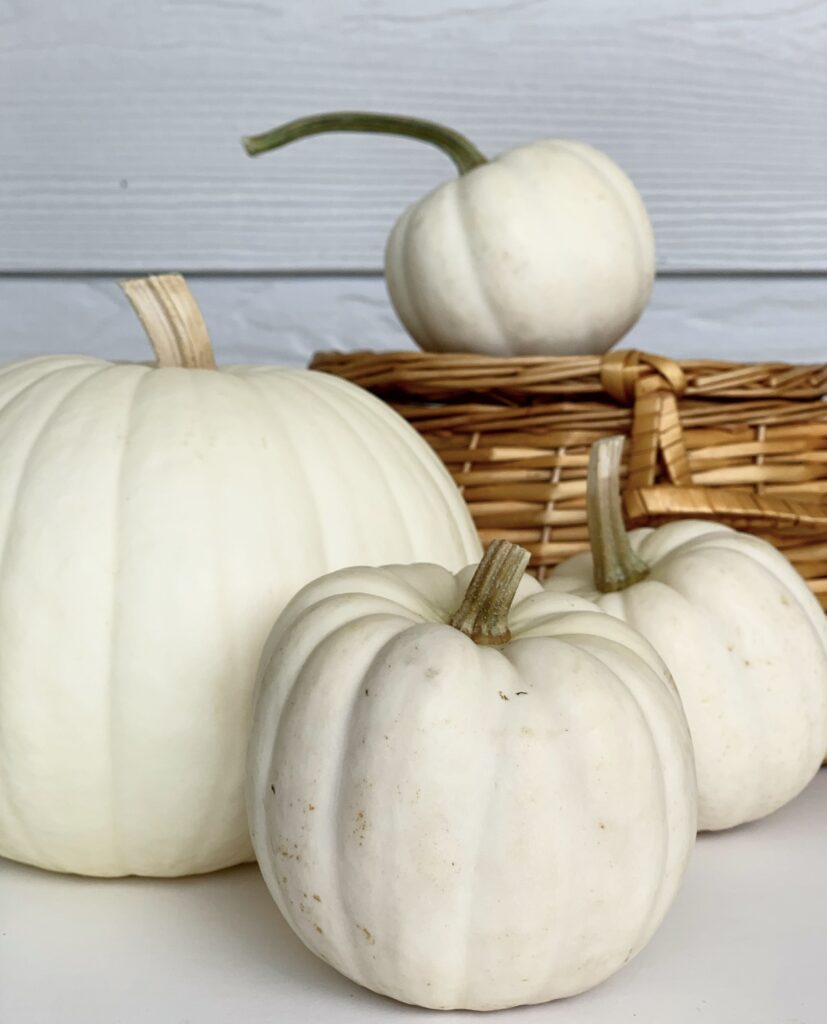
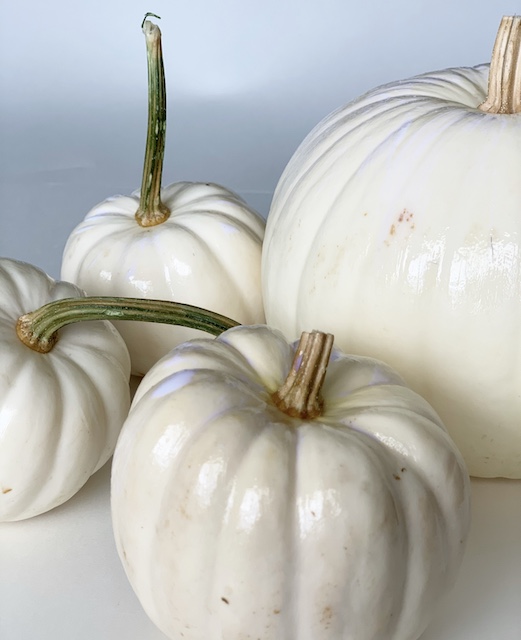
I chose to go with white pumpkins because I felt they would really help the copper gilding pop. I also decided to go with a mix of both large and small pumpkins!
apply the adhesive
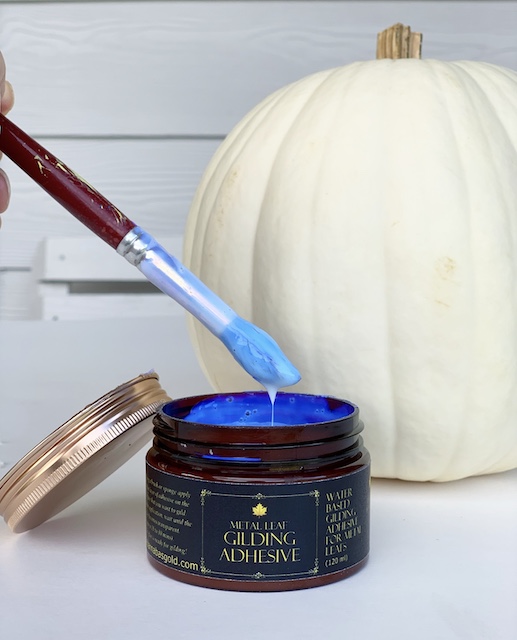
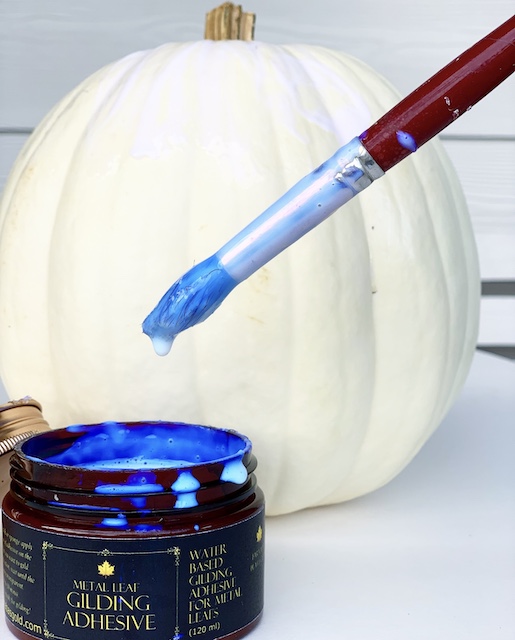
I began by taking an old paint brush that I found in our art closet. I just dipped it into the adhesive and I began ‘painting’ it on. The glue was easy to apply because you can “see it” – it almost looks bright blue in the container.
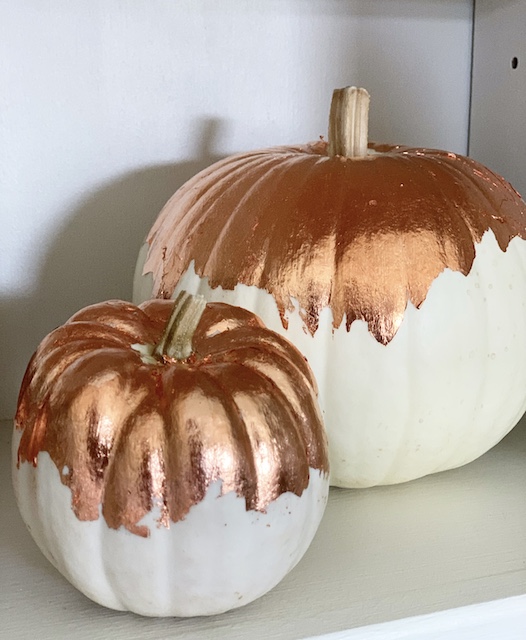
Do not overthink this process! There is no ‘right’ way to apply the adhesive so just play around with it. I was going for a ‘sunkissed’ look for my pumpkins. I just painted the adhesive down using uneven strokes, moving from the stem towards the floor. Each pumpkin will look different and that is what I wanted.
Tip: Be sure to NOT get any glue on your fingers during this process because it will make it difficult to work with the leaf in the next step.
allow the adhesive to dry
It is important to mention that if you use this adhesive then you will have to allow it to ‘come to tack’ for 15-30 minutes before you apply the gilding. This time will allow the adhesive to go from wet to ‘dry’ and once dry it will still be a little sticky. This will make the gilding process so much easier.
apply the leaf
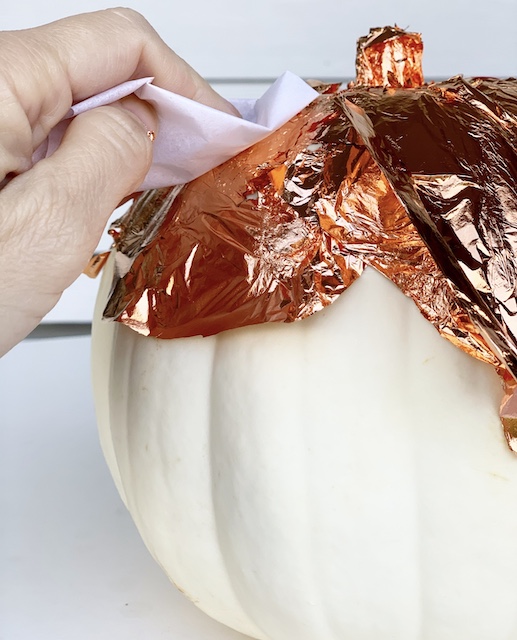
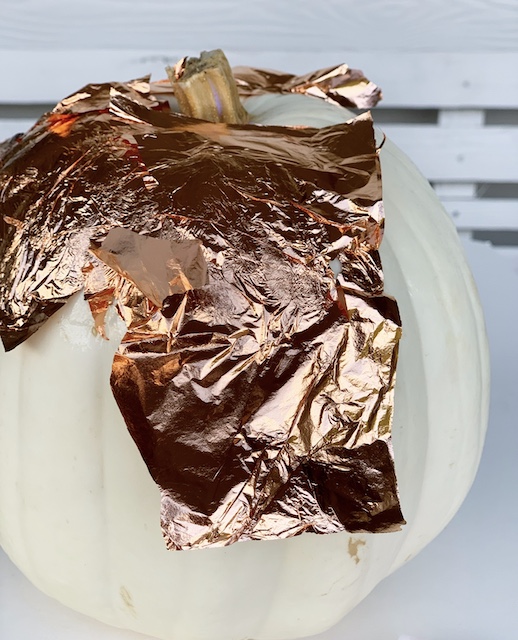
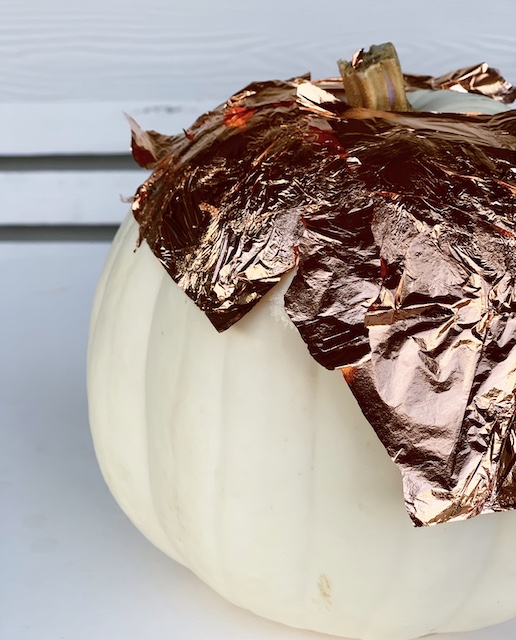
Once the adhesive is ready, apply the copper leaf one section at a time. The leaf comes in a neat stack with tissue in between each piece. Working ever so carefully, apply each piece of copper leaf onto the pumpkins using a bit of pressure. I took the tissue (the tissue that was separating the sheets of copper leaf) and I used it to ‘push down’ the copper leaf onto the pumpkin.
fill in any gaps
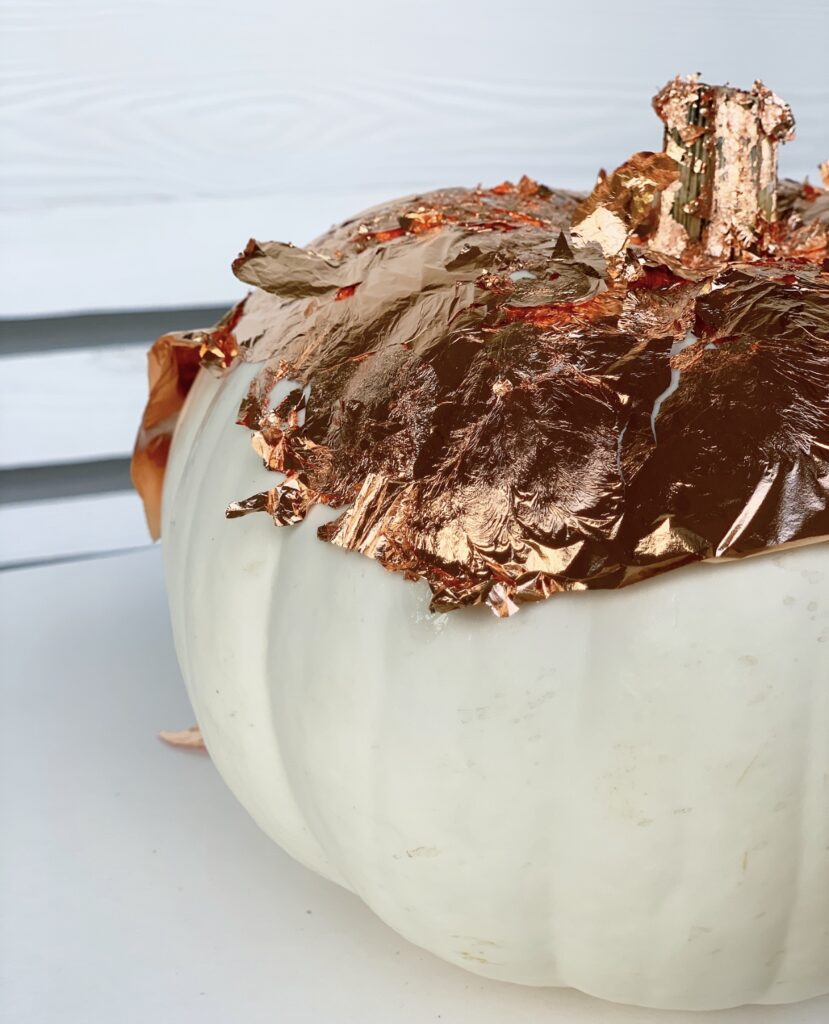
It is also important to note that the sheets of leaf are fragile and they will rip and tear easily. Also, as you work with them they may not completely cover the pumpkin the first time around. You may end up with some cracks and holes. Don’t worry about that though because you can just apply a second piece of leaf to those areas and you should be fine.
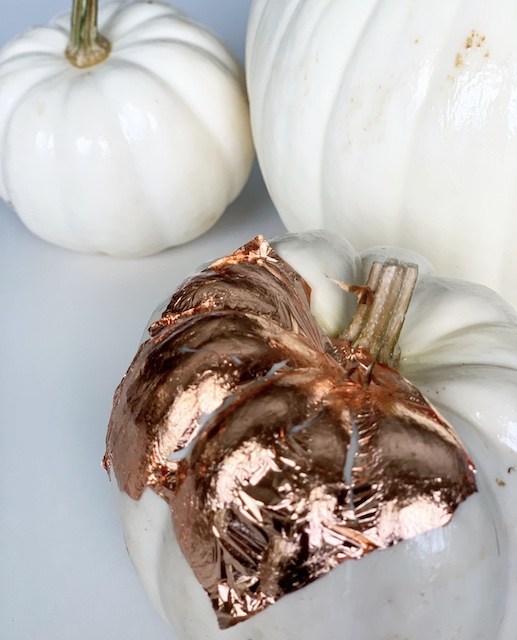
brush off the excess
Finally, after all the copper is applied, I used an old paint brush to clean off all of the excess leaf. I did this part outside in the grass because little bits of leaf will come off and it is sightly messy!
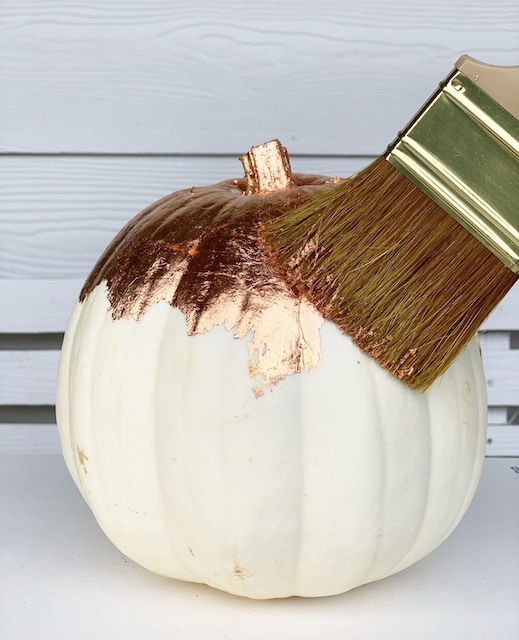
Style Your Gilded Pumpkins
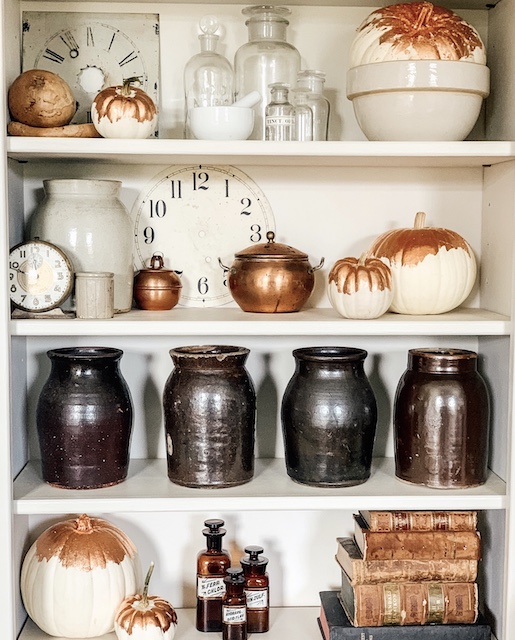
I was just thrilled with the way these turned out. The best part of all is that this little DIY was a both quick and easy! It also allowed for a little creative expression – which was perfect for me! Each little gilded pumpkin turned out a bit differently and I love that! Might I dare to say that they even look “chippy!”
I decided to style these gilded pumpkins on my white bookshelves and I felt that they tied in so well with the decor that I already had in this space! Check out a few other ways that I have styled my home for fall here.
I am simply in love with this and now I want to gild everything! Stay tuned, because I have another gilding project in mind already!
Oh, and if you like crafting with pumpkins, you may also enjoy:
- Making this corn husk wreath
- Making this fall garland
- Making this no-sew pillow
disclosure: please note that affiliate links are used in this post.
 Simple Dollar Tree Ghost Transformation
 Fall Flowers On The Mantel
 Neutral Paper Pumpkins
 How To Make A Shamrock


Love the way you put the copper on your pumpkins!!! They look sooooo good!!!
I’m going to the craft store tomorrow to try this!!
Those pumpkins look gorgeous in your cabinet.
You made it sound pretty easy to do..
This is a wonderful idea / easy DIY. Thanks for sharing Emily!!