Have you ever wondered how to clean old bottles and restore them back to their original beauty? Well, I am sharing my tips below!
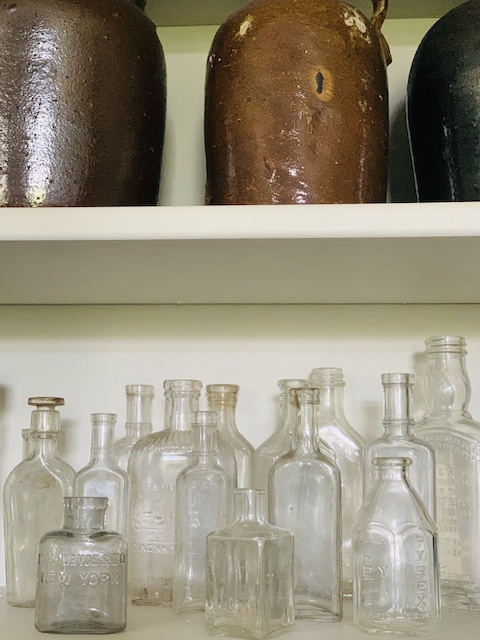
Have you ever walked into an antique store and spotted a shelf full of old bottles? Maybe there were brown ones, blue ones, green ones, purple ones … or maybe there were only clear ones? But … if I were to guess … I bet you would absolutely see one that needed some cleaning. You know, one that obviously needed a little TLC in order to be restored back to its original full beauty. I seem to always find a bottle or two that has a little dirt and grime still attached down inside!
Have you ever wondered how to get that mess out of there? Last year I shared a few of my ‘bottle cleaning tricks’ on instagram (you can see them in my highlight bubble) and today I thought I would share them with you here on the blog. You would be amazed to see how easy it really is to clean them up and my hope is that you could use some of these tricks to help you restore YOUR bottles to their full original beauty.
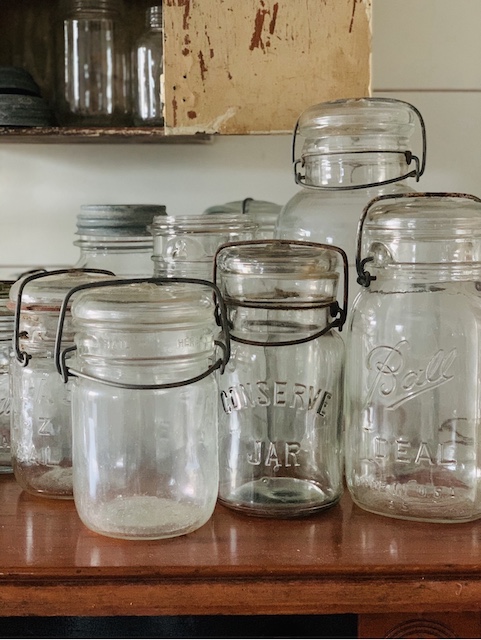
Let It Soak
This is always my first step. I usually just fill up a big bucket outside with a few squirts of mild dish soap and some water from our garden hose. Simply place the bottles in the bucket and be sure to let them fill up completely with the soapy water – otherwise they could end up floating. I usually let the bottles soak for a few hours (and sometimes even over night). After soaking, I like to pull each bottle out and (while covering the opening with my finger), I like to shake the water inside every which way to help remove the debris that may have gotten loose after soaking! The, I like to rinse each bottle out with water at room temperature and then I usually let them dry outside in the sun!
*You can use Vinegar in place of dish soap. I have done that and it works well too.
*You can use a product like Polident as well. Same drill: fill a bucket with water and drop the tabelt in and let you bottle soak! I have done this method before and it is hit or miss, depending on the severity of the bottle.
*I have read that you can also put your bottles into a pot of water on the stove and warm the water up – but do not biol. Let them sit in the warm water for a few hours and then turn off the heat and let them sit overnight. I haven’t done this before – but I do plan to try it!
*If you have a stubborn area of dirt inside the bottle you may want to try to add a little paint thinner inside your bottle. Just pour a bit in and let it sit for a bit. Be sure to close the opening of the bottle with a rag or something and be careful when using this product. After you dispose of the paint thinner you can use a tool to chip away at the dirt.
Brush It
You may find that sometimes you will need to use a bottle brush to remove any thick patches of dirt and grime. I have bought bottle brushes like these and these in the past and I have also made my own tiny bottle brush too!
how to make your own bottle brush:
- Wire Clothes Hanger
- Sponge
- Wire Cutters
- Scissors
- Pliers (I use bent nose pliers)
All you are going to do is add a little section of sponge to the end a clothes hanger!
Simply take a clothes hanger and determine the length that you want it to be and then add a few extra inches -which are needed to attach a section of sponge at the end. Using your wire cutters, snip the section of wire. Then, snip off a section of sponge with your scissors. (Be sure to keep in mind the size of the opening to your bottle – you don’t want it to be too big.). Using your pliers, wrap the section of sponge to one end of your clothes hanger wire and secure it tightly. Make sure you have the sponge really secured onto the wire well because you don’t want it to fall off inside your bottle while you are using it! Now, You are ready to go!
Mix It Up
You can make a ‘slightly abrasive’ mixture using salt and warm water to work on the insides of your bottles when needed. All you need to do is pour a generous amount of salt into your bottle and then add a bit of warm water until it creates a good consistency. Next, cover the opening of the bottle and shake it well! The salt acts as an abrasive to help scrape off dirt and debris!
- Other products that you could use in place of salt include:
- rice
- sand
- laundry detergent
Bottle Issues:
Mineral Stains
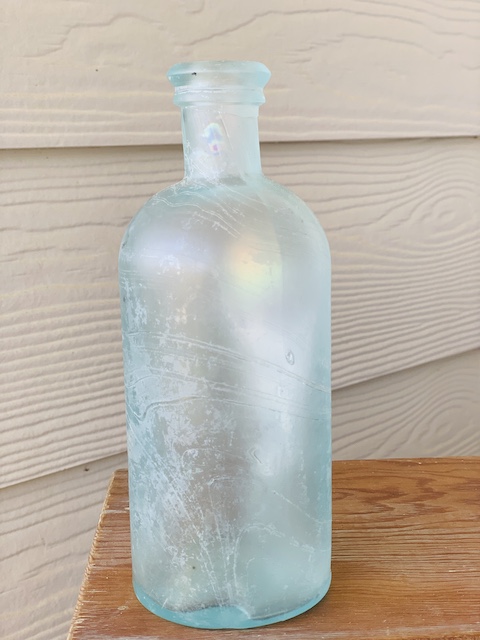
When water/liquid evaporates from a glass bottle, it can leave behind minerals that can bond with the surface of the glass. This causes the bottle to form spots and to appear dirty. (Think about what a glass shower door looks like after a lot of use… there are little spots all over). You may have to use something like a limescale remover to get those pesky spots out!
Cloudy Glass
Sometimes referred to as sick glass, cloudy glass happens to old bottles when water is absorbed into the glass through very small fractures. This can be similar to mineral stains – when calcium, lime, and other minerals are left behind – but here sick glass causes a light, foggy appearance to occur. Once this happens, it can be a real challenge to reverse the cloudy appearance. If the above suggestions don’t help to solve the problem, you may want to try using:
Rubbing Alcohol
Add some alcohol onto a cloth and rub the outside of the bottle. You can pour a bit into the bottle as well. Rinse with water and wipe down with a clean cloth!
Citrus Solvent
You can use a citrus solvent in the same way as the rubbing alcohol and simply follow the directions on the package!
Baby Oil, Vaseline, Mineral Oil
I just used my fingers to apply all of these products onto a cloudy bottle. Sadly, while they did solve the ‘sick glass’ issue upon contact, the results didn’t last.
Final Option
My dad is an avid bottle collector and he has taught me is the one who how to clean old bottles! He has also shared that there are professional bottle cleaners out there who will clean your bottles – for a price! They will use a bottle tumbler machine to make this happen. I am here to tell ya – the bottle tumblers are amazing and really do work! You can see a really great Youtube video explaining the process here – (caution: this video does include fowl language and may not be suitable for young listeners.).
Even though the results area amazing, sending your bottles to a professional bottle cleaner requires not only money but also packing it up and shipping it out and so on…. I just prefer to try my hand at cleaning these old bottles on my own!
Wrap Up

I hope you enjoyed learning how to clean old bottles. There are many methods and over time you can learn what best works for the particular bottles that you find. I hope this also inspires you to get out there and grab a beautiful old bottle when you see it – even if it is a little dirty! And, if you enjoyed this post about bottles, you may want to check out this post that my Dad and I did together about old coke bottles!
*This post contains affiliate links
 What To Use To Clean Copper: Fridays At 5:00
 Mailbox Makeover & Ways to Prevent The Birds From Taking Over
 Vintage Wooden Kitchen Items: A Short List and How To Care For Them
 Old Whisk Brooms: A Few Of My Favorites

