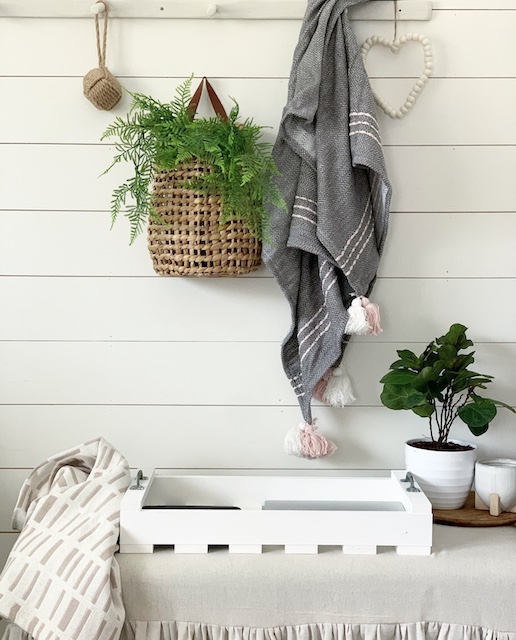
Our home seems to always have electronics laying. I don’t know about you, but I can not stand seeing all of the devices and chords and charging bricks all over the house. Mark and I have came up with a cute solution to the problem – sharing how to make a tray out of wood to help solve the problem! This easy DIY wood tray can be made in just a short time and can be used for many different things!
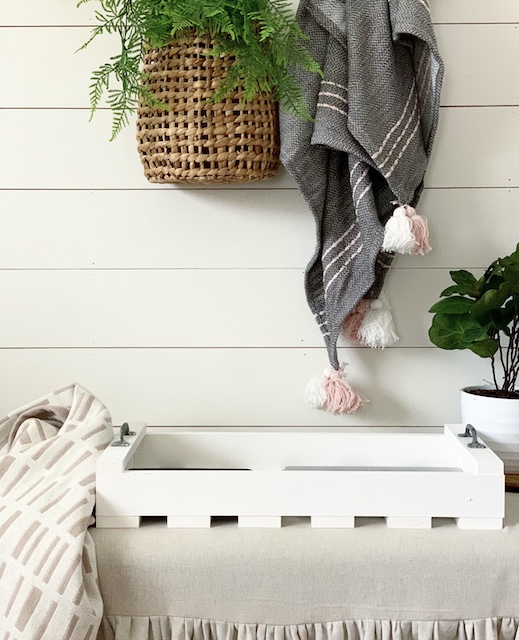
As we all know, being a parent comes with many, many responsibilities. I have found that one of those responsibilities is constantly picking up after your kids! I am not wrong…. am I??? From the moment that our kids come into this world that is just want we do – we pick up after them. It started with toys and now that my kids are older, it seems that I am picking up electronics and cords and chargers more than ever.
With three older kids, we seem to find these things all over our house and yet we didn’t really have a designated spot to put them in. So, I asked Mark to help me out with this problem. After a bit of discussion, Mark decided on a solution and I am excited that Mark is sharing all of the details with you guys right here on the blog.
Mark is taking over this blog post and he is explaining how to make a tray out of wood that will be used in our home to hold electronics. You could use this wood tray for any number of things in your home!
Take It Away Mark!
Over the last several years we have completed a lot of projects around our house. And, after many of our projects, we have leftover scraps of wood. Currently, most of our scrapes are in the form of 6” strips of wood. (I guess Emily has rubbed off on me since I keep all of the spare pieces now.) Over the years, we’ve used our scrap pieces for a variety of things. For example, I have made wooden stands to hold up antique doors at shows she’s and I have made a faux shiplap wall to use for displays. I have found that these left overs come in handy so I like to keep them around.
After we finished the board & batten in Porter’s room (see that details of that project here), we had a lot of wood left over. The wood for the batten was sold in 8 foot lengths and I only needed about 53 inches of it so I had a lot of it left over.
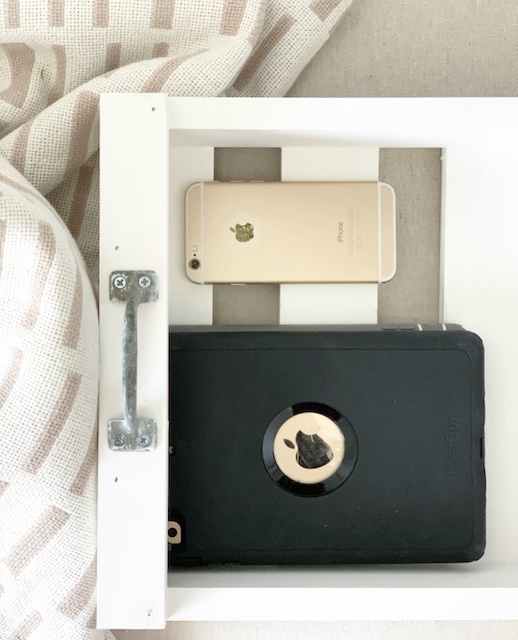
Then, a rainy day idea came up. Like many parents, we collect our kids screens at night – or during the day if need be! Storing them in our room removes distractions and the possibility for misuse. Emily and I figured that having a single place for the screens to live would be helpful.
My idea was to build a tray that could hold everything but also something that looked nice. It was actually pretty easy to make and I am happy to share what I did.
The Concept
With all of the wood scrapes that we have in the garage, I knew I had plenty of wood to work with. Since a tray is usually a rectangular shape, I figured I would just stick with that shape. I could frame the rectangle with the batten pieces and then use the same pieces for a base. I found some old handles in the garage that Emily had recently picked and I decided to use them. They gave my wood tray a bit of a vintage look, and also added a bit of function.
Materials:
- Old wood planks
- Nails
- Wood Glue
Tools:
Cutting
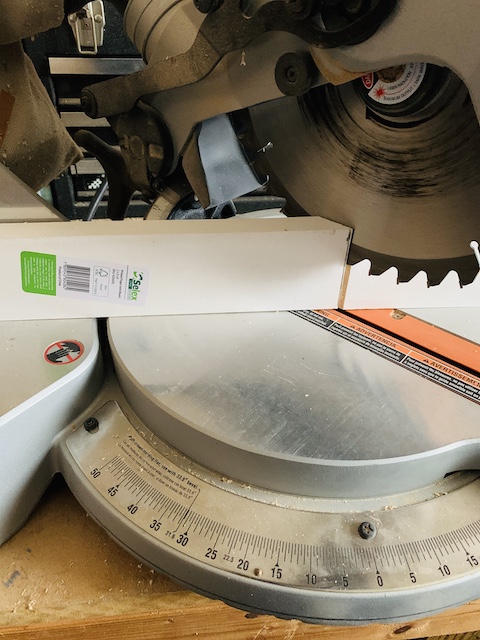
FRAME OF TRAY: I measured and cut two pieces of wood to 24 inches. I then measured and cut two additional pieces of wood to 12 inches. I used the miter saw to cut all four of those pieces at a 45 degree angle. These 4 pieces will be the frame for the tray.
BASE OF TRAY: I measured 6 pieces to 12 inches and cut them to length. These are the pieces that would be used as the base.
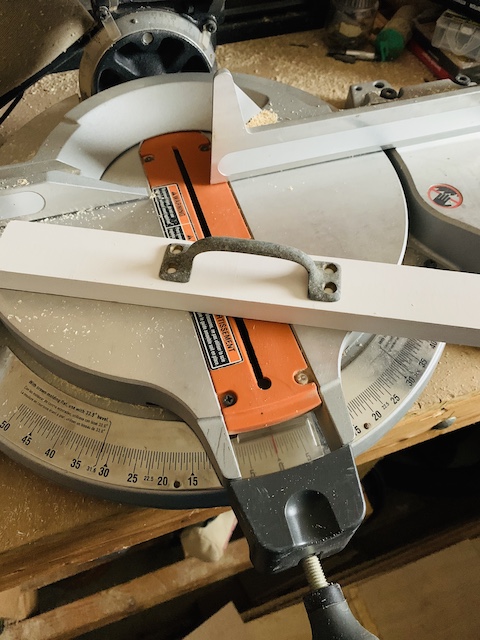
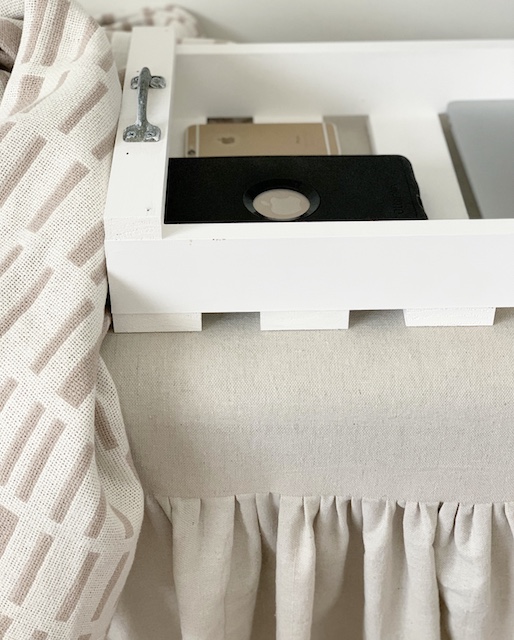
HANDLES OF TRAY: The old handles that I wanted to use were too wide to screw on the frame so I needed to get creative. I found some pieces of 1 x 2 board (that we used for the cap of the board & batten) and I cut those to 12 inches – the same lendth as the base. I placed those 12 inch boards on the top of the tray on either end, and nailed them into the frame. This allowed me the additional space to securely attach the handles.
Assembly
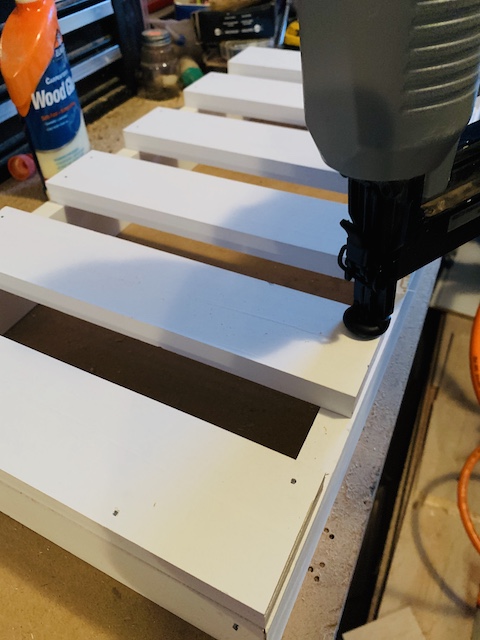
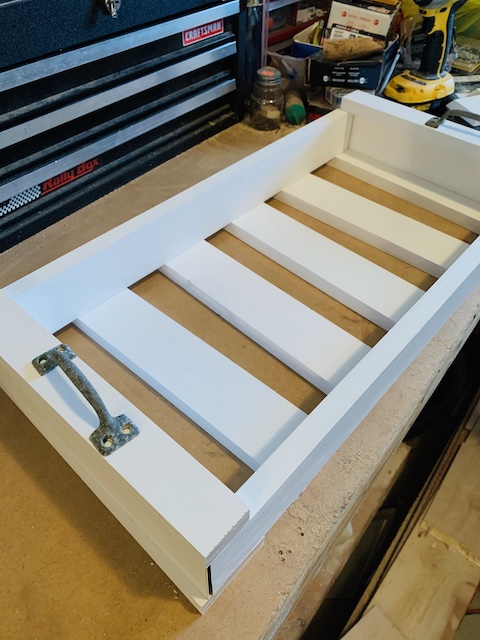
After cutting all of the wood, I dry fit the pieces together just to make sure everything lined up. Then I began assembling the pieces. I started with some wood glue on the edges and then began nailing the pieces together. Making sure the corners were secure was important, so I spent most of my time lining those up and I ended up using a clamp just to be sure.
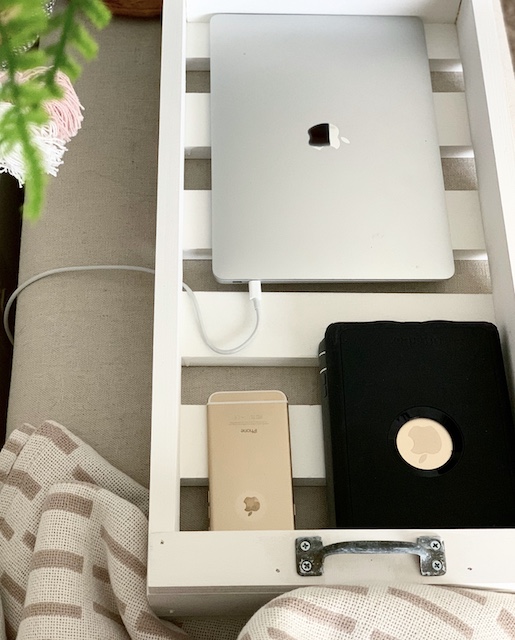
I used a couple of nails on each corner and after completing all 4 corners, I added the 6 pieces of wood to the base. The most important part of this was making sure the base pieces were evenly spaced. That just required a little measuring. Lastly, I added the two pieces on the top of the tray for the handles.
Once assembly was finished, I wasn’t sure if I needed to sink all of the nails and fill in the holes for a more finished look. Usually a clean look is desirable but a worn (weathered!!) look is what our house is based on. So we decided to leave it as is. We did decided to paint it all white but we kept the exposed nails.
Wrap Up
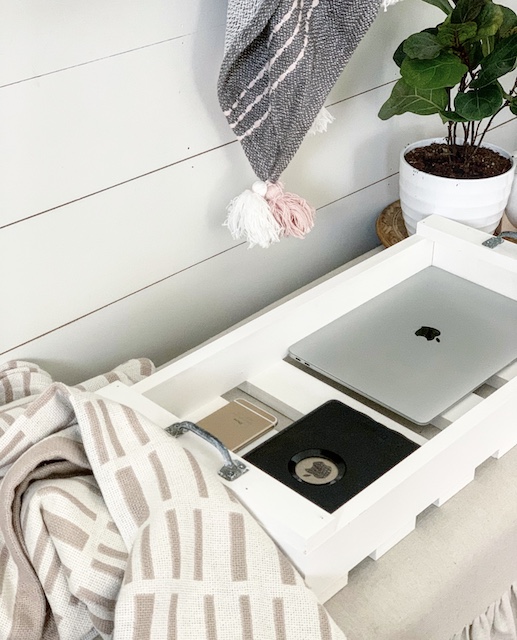
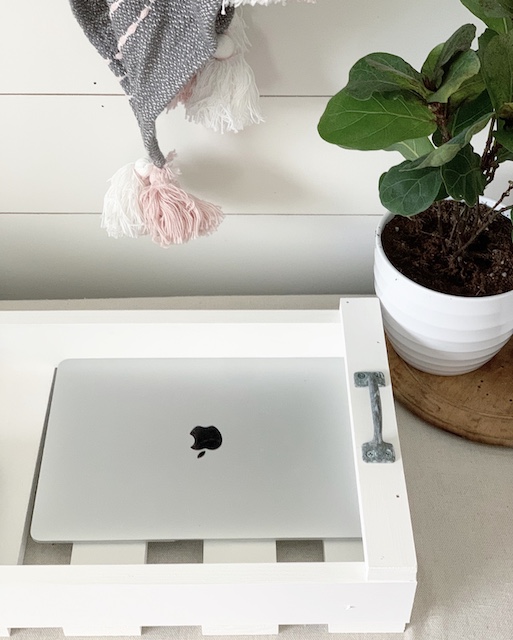
This was a quick build since we already had all of the wood and the cuts were fairly simple to make. Using a nail gun to assemble the tray also helped to make things a little easier. Those old pieces of scrap wood have now turned into a cool new tray that our kiddos can use to put their electronics in.
YAY Mark!
Didn’t he do such a great job. Not only did he make a very cool piece for our family but he also wrote an entire blog post. I am pretty excited about it. Now… I can not wait to see what he will build for us next! Cheers to all things DIY!
*this post contains affiliate links
 Simple Dollar Tree Ghost Transformation
 How To Build A Birdhouse With Scrap Wood
 Top 5 Blog Posts Of 2021: Fridays At 5:00
 Red Carnations On Display


Love the tray. Great job on building and blogging Mark.
Gahhh – I am so so glad that you love it! Thanks so very much!
Cool. Nice looking tray. You do impeccable work. I noticed that when you were painting something, maybe your bedroom. Then the shiplap in the bonus room. Keep up the good work, it’s fun to watch.
Oh man – Thank you so so so much for this very sweet message! Mark is such a great and awesome guy who does so much for our family. I will share this message with him and I am sure it will make him smile!