Are you dreaming of opening up a little antique booth? Are you wondering how to do it? I am sharing all of my tips and tricks on how to set up an antique booth in an efficient way so that it doesn’t seem overwhelming!
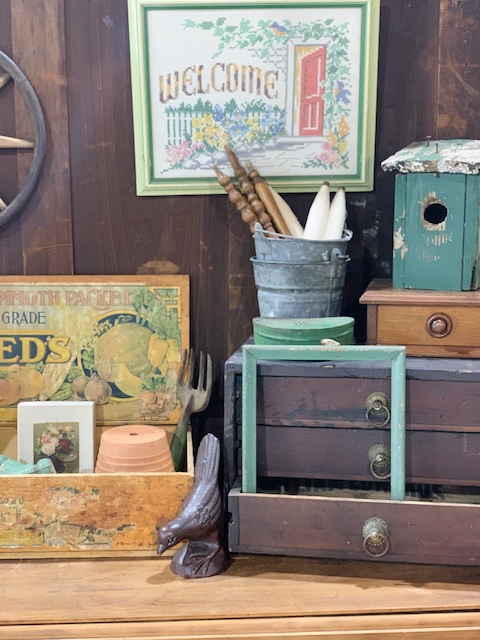
So, you have decided that you want to have an antique booth – and you are ready to get it going! But, maybe you are not quite sure where to start with all the set up! Figuring out how to go about filling the booth can feel overwhelming. I know that it was for me the first time I opened up a booth! But now, I feel like I can do it very easily. I have owned an antique booth for almost 10 years and I have set up for several shows and I am here to tell ya that it is NOT as hard as it may seem! Today I am going to share all my little tips on how to set up an antique booth! My hope is that these little tips will make YOUR process easier!
A few months ago I published a blog post entitled How to Start An Antique Booth and you guys really enjoyed that! (Click here to check that post out.) In this post, I want to share HOW to set it all up! You know, once you have gathered all of your treasures and feel confident that you have found the right location to suit your needs, the logical step is to move into your booth space and get ‘unpacking.’ However, the whole process can easily become overwhelming if you have not done it before but I have found just a few ways that work well for me and I want to share them with you.
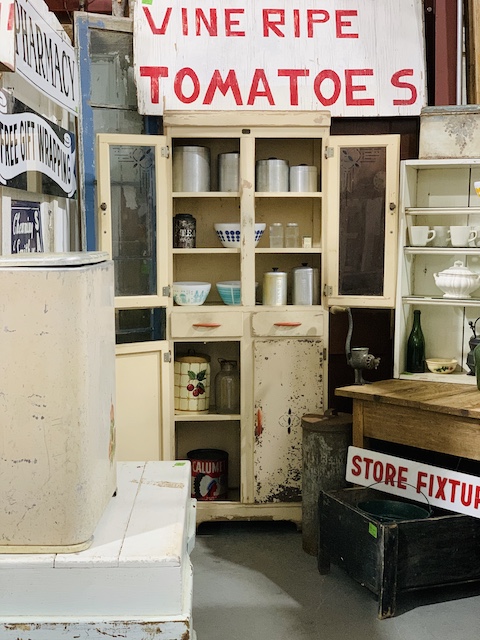
At Home Prep:
There are a few things that you can do right at home that I feel will help you when you are ready to set up the booth! Those things include:
- Have all items tagged and ready – check with your store/your contract for any tagging requirements
- Pack items in groupings – I like to pack up totes with ‘like items’
- Map Out Booth At Home – you may want to set it up at home first
- Aquire Staging pieces – Make sure you have pieces for your things to sit on
- Do you need to bring walls – I like to create walls in my booth (more below)
- Lighting form home such as lamps – If your booth is dark you may want to bring lighting with you
- Items to use as risers as needed – You may need to give some things a ‘lift’
Arrive To Your New Booth Prepared
I have found that the following items really have come in handy when seeing up a booth:
- Hand truck & Dollys to move your heavy items
- Broom & dust pan
- Hammer & Nails
- Electric Screw Driver & Screws
- Extension Chord
- S hooks
Now It Is Time To Set Up Your New Booth
Walls
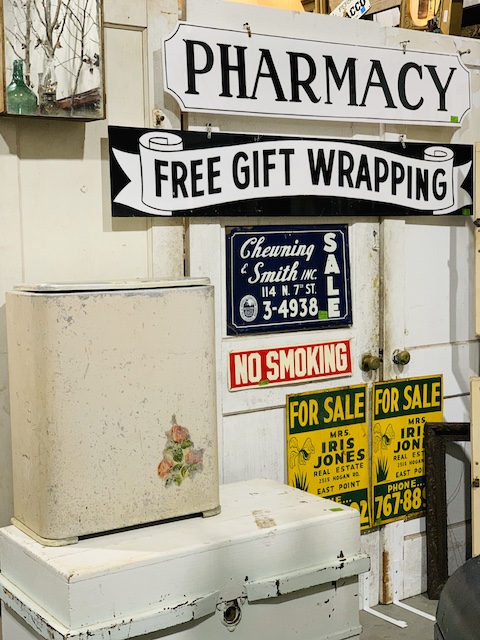
The very first thing that I like to do is to define my booth space by adding walls. Maybe you are lucky and your new antique booth space is already defined, but if not, walls can help to make your space more cohesive. You can use all sorts of things for ‘walls.’ At the antique store that I am in now, the owner used old doors to help her dealers define their spaces – and it looks really good! Another option is to use large pieces of furniture to create “walls.” Those large pieces (just like a wall) can help block the wondering eye of a customer and help keep their attention and focus on YOUR merchandise. It also will help to keep them in YOUR booth longer!
Large Pieces In First
Speaking of big pieces of furniture, moving those in would be my next step! I always stage my big pieces (without all of the small items) first. My goal with the large pieces is to make the space both visually pleasing AND easy to shop. Most importantly, I feel that the flow of the booth needs to make sense. The big pieces are what most shoppers will see first and spending a little time styling them will pay off.
Now, there is something to think about when it comes to your large pieces: to sell or not to sell – let me explain. Obviously, some of the big pieces that I bring into the booth are purchased for resale but sometimes there are pieces that I bring in that are strictly for display only. Those pieces are usually ones that I have found that fit a spot within the booth perfectly or pieces that would too expensive or too hard to replace. (I do keep “back up pieces” in my garage and storage unit in the event that a large items sells so that all of my smalls are not living on the floor.)
Add In Your Smalls
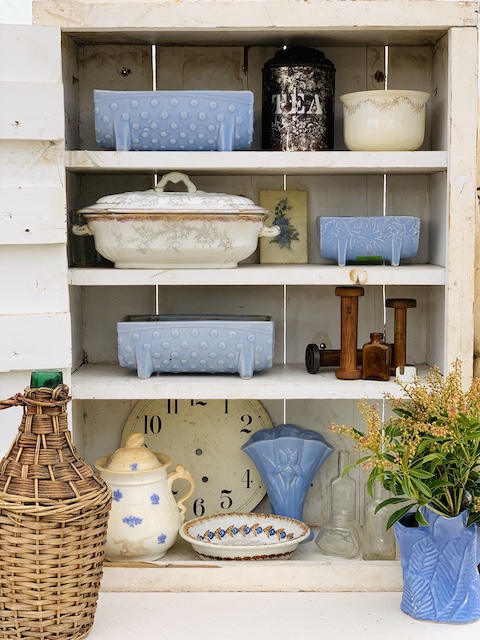
Remember all those totes and storage tubs that you packed up at home? Now is the time to start unloading them and filling all of your shelves and table tops. I love to style my booth in ‘vignettes’ – seasonal vignettes are my favorite. For example, right now I have a cute Back To School Vignette happening in my booth! Those are so much fun to style! But remember my tip above, pack up all of your vignettes together if you can! It makes working these ‘moments’ into your booth so much easier and faster!
Add In Your Filler
Once all the smalls are in, I like to add in a little filler here and there. For me, that includes things like plants during the summer and pumpkins during the fall. Sometimes those little extra touches will help to elevate your booth and set you apart from your neighbor.
Hang Your Art And Salvage
This happens last for me. I want to make sure that I have ALL of my items in place before I start nailing things in my booth. That way I am making a few nail holes as possible.
Sweep And Dust Your Way Out
The final touch for me is sweeping and dusting myself right on out of my antique booth. You see, I love old chippy pieces and it never fails – I always seem to have paint chips laying all over the ground after working in my space. I also like to dust off any surfaces as well, for that very reason!
Social Media
Once your booth is all done you are now ready to make some money! Do not forget to start blasting out photos of your brand new booth space all over your social channels. No one is going to shop your booth if they do not know it exists … so be sure to tell the world. Attention is KING! Also, touch base with your antique mall and see if they will post your new booth on their socials as well!
Wrap Up
Congratulations – your booth is all set up and you are ready to make some sales! I hope you enjoyed these few tips on how to set up an antique booth! In fact, just three days ago I used these very same tips! I completely redid one of my booths that was empty and I shared it all in IG stories (you can follow me here on IG). I followed this very process that I just shared above!
One last tip: I would recommend going in often – especially for the first few weeks and fluffing your space! Try and analyze what is selling so that you can reinvest portions of your profits in those items. (It is also a good idea to fluff your booth often because many times your antique mall will have repeat customers – if your booth looks the exact same as it did the last time they were there then those repeat customers may not stop by and shop with you.) I recall that when I opened my very first booth I spent that first year really analyzing what was selling well for me and I made changes and adjustments in the items that I brought in as needed. I started with a very small space but after that first year I was able to invest in a larger booth and then expanded from there!
Good luck to you and I hope you enjoy your new antique booth!
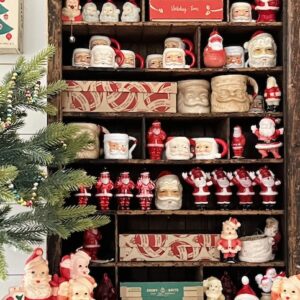 Nostalgic Santa Display
 Cozy Fall Corner Nook
 Organizing A Vignette By Color – With Country Sampler Magazine
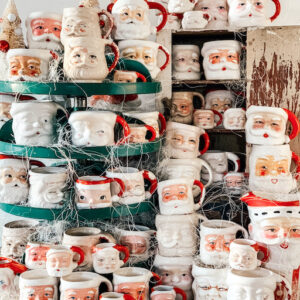 Vintage Santa Mugs

I always add a business sign and business cards to my booths.
This is an excellent addition to the blog post! Thank you for your suggestion! Thanks too for taking the time to read!
Hi I have many beautiful items to sell Disney collectibles, porcelain dolls, etc. How do I find out who has booth space available, do I visit stores in my area and ask or is there a place that list booth for rent?
Hello! Great question – I shared a blog post about how to go about searching out the right shop for you. It is actually linked toward the top of this very post! If you can, click on that link in THIS blog post and it should take you right to the information! But the short answer to your questions is YES! I would visit your local shops and see what their waitlists look like and get on one! But, do your homework to make sure that is the right shop for the items YOU want to sell! The other blog post should help you with this!
Do you have the redo of an empty booth in a highlight in your stories? I love to follow along when you and Dad are picking and love all the things you pick. I would love to see your process in styling from the anchor pieces in your booth to the smalls and vignettes. I too am in a mall booth but struggling. Haven’t been in a mall in a few years. Always did outdoor shows with lots of space. Love following you!
Hello – I do not have a highlight I don’t think, alhtough I have shared the process in my stories. I do have a reel that I recently did that shows a bot of the process. That may help a bit!