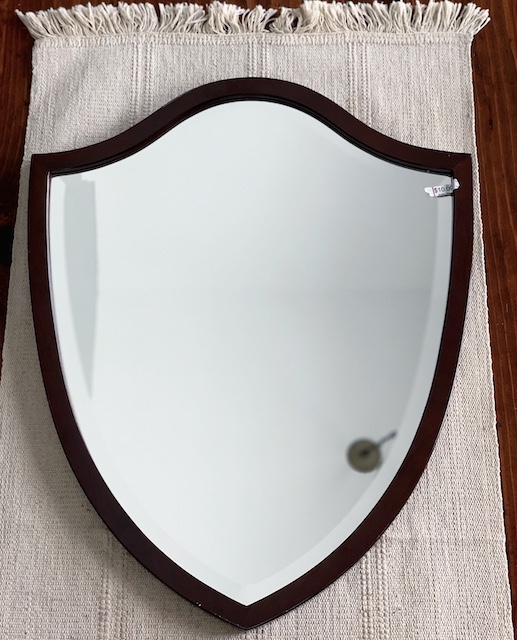
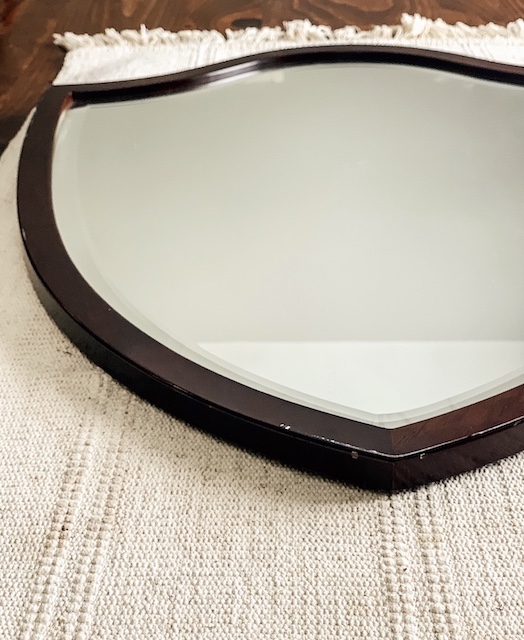
Every now and then I stumble upon the perfect little project. Last week I was very happy to find this cool mirror. It was only $10.00 at a little local thrift store. Although I didn’t like the faux wood detail, I did LOVE the shape. I thought it was very unique and I knew that I could easily change the “wood” using just a little elbow grease and a little creativity!
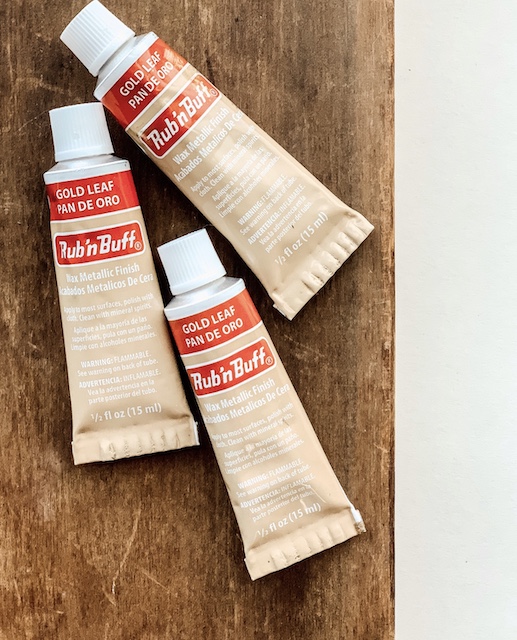
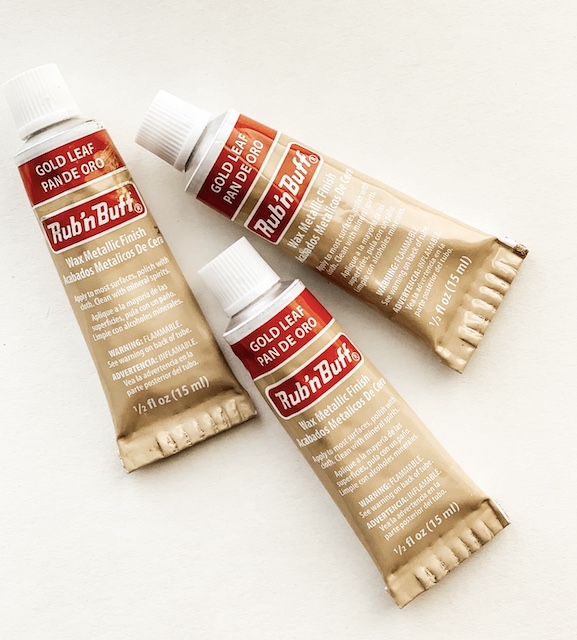
A while back I placed an order with Amazon for some Rub’n Buff in the color Gold Leaf. I have been patiently waiting to use this on ‘something’ and this thrifted mirror seemed like the perfect project! I am always up for an experiment! While I wasn’t quite sure how it was going to turn out, I knew that I was going to have fun trying it!
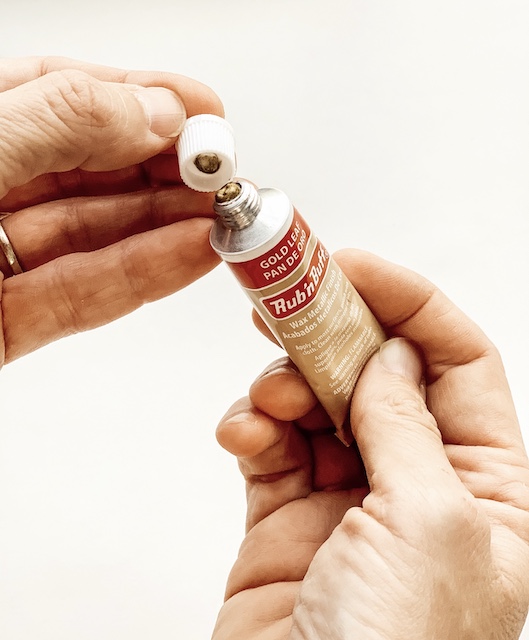
Supplies:
-GOO GONE
-PAPER TOWEL/RAG
-RUB’N BUFF
-DRY CLOTH
-GLASS/MIRROR CLEANER
Clean the Surface
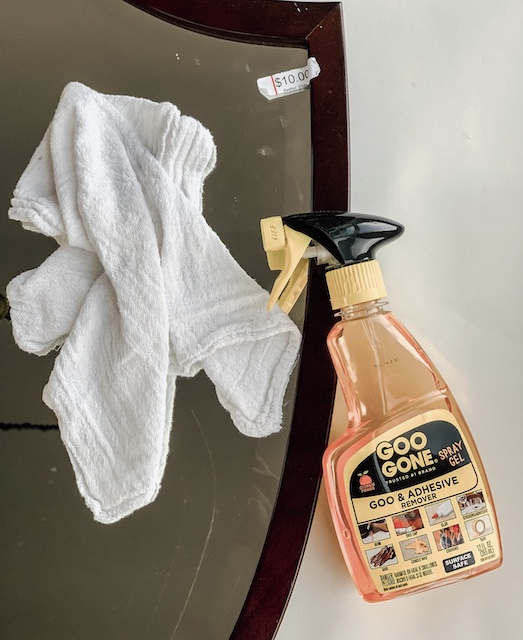
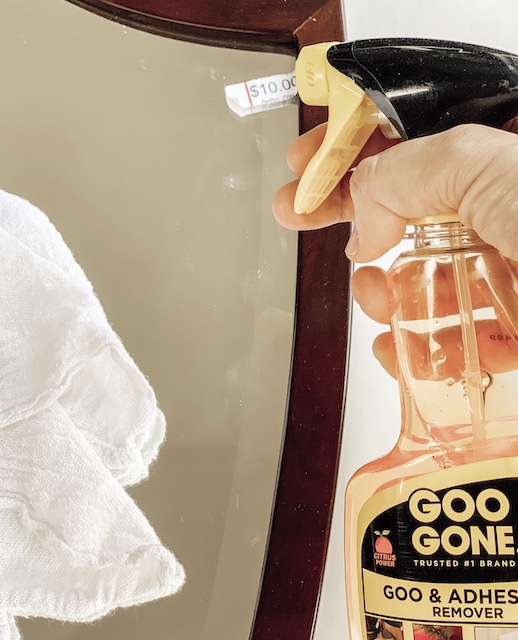
The only prep work that I did was to clean off the sticky price tag using some Goo-Gone. I didn’t bother to clean the mirror at this point because I knew I would have my fingers all over it as I worked! I did give the faux wood a little wipe down with a dry cloth. I didn’t sand it down or prime it. I let the Rub’n Buff do all of the work.
Tape the Mirror
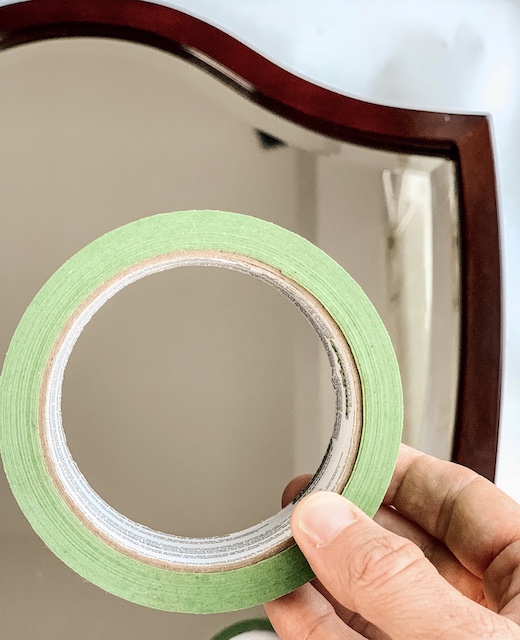
I grabbed some painters tape that we had laying around and taped off all of the edges around the mirror. I wasn’t sure how easily this product would go on and I didn’t want to accidentally get it in on the actual mirror.
Apply Run’N Buff
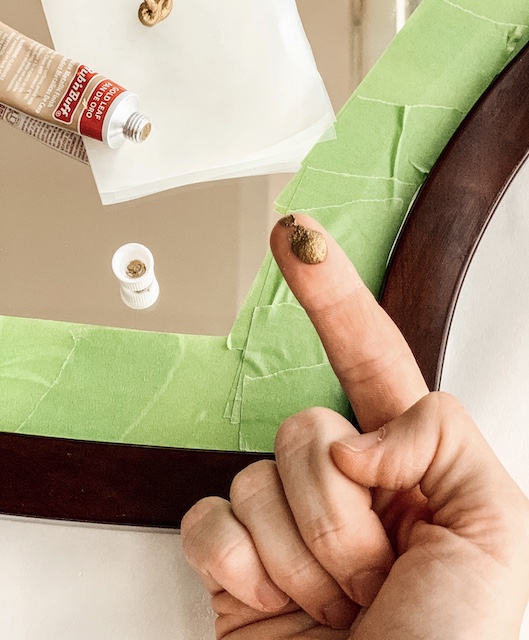
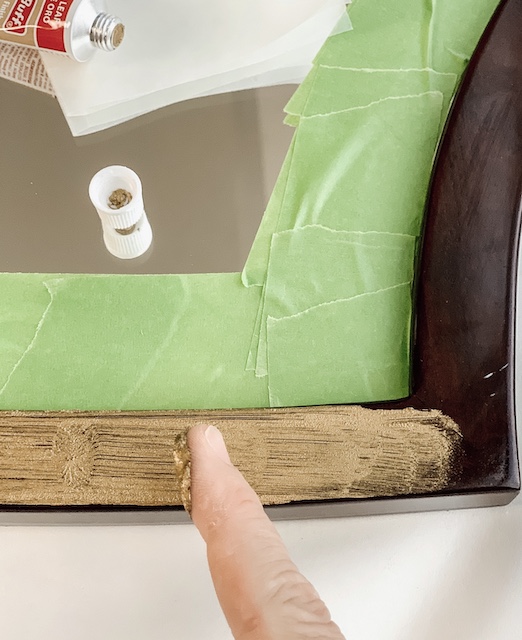
This was the fun part! I applied this with my finger! Yup, I squirted a small dab on my finger and went to town. I have to admit, it felt a bit weird, but it worked! I ended up just dotting the faux wood with the rub’n buff to help speed up the process and that worked well. All you have to do is litterally rub the product all around and “into” the faux wood. It is important to note, this is a messy process but it all washes off using dish soap and water.
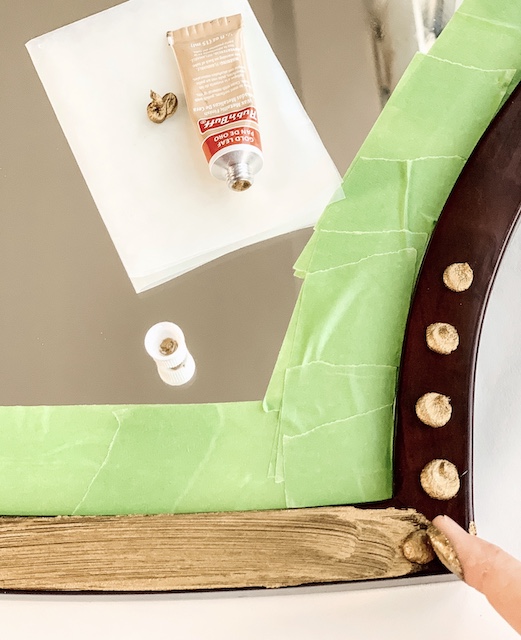
Dry & Buff
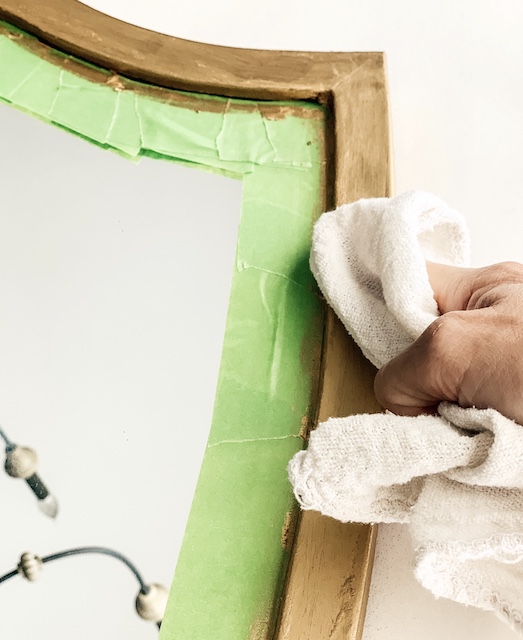
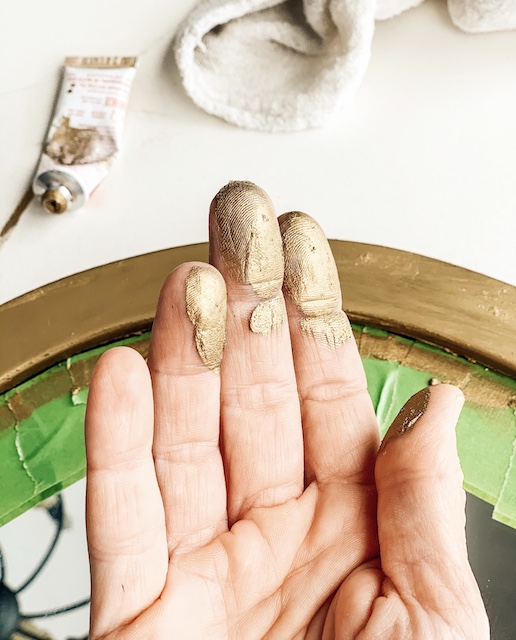
This product does dry fast and I noticed that there were some ‘crumbles’ falling off of mirror almost immediately. This stuff kind of ‘hardens’ as it is drying which is great for me because it added a bit of a ‘texture.’ It really didn’t dry ‘smooth’ in many places but I love “chippy” and “imperfect” things so the look is great for me.
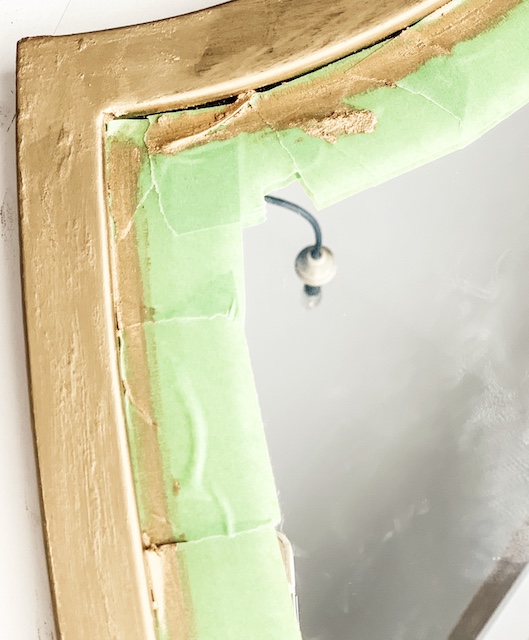
After it all dried really well, I did use a dry cloth to rub it all over to help make it shine a bit. That knocked off a lot of the extra hardened chips. I would recommend doing this step outside for sure. It was a bit of a mess.
Second Coat
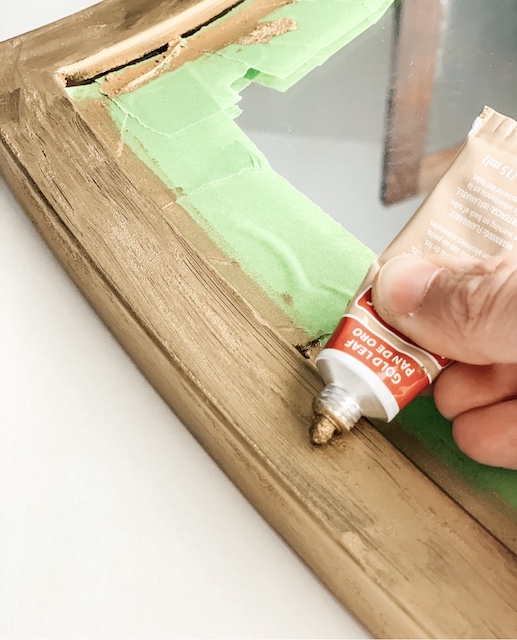
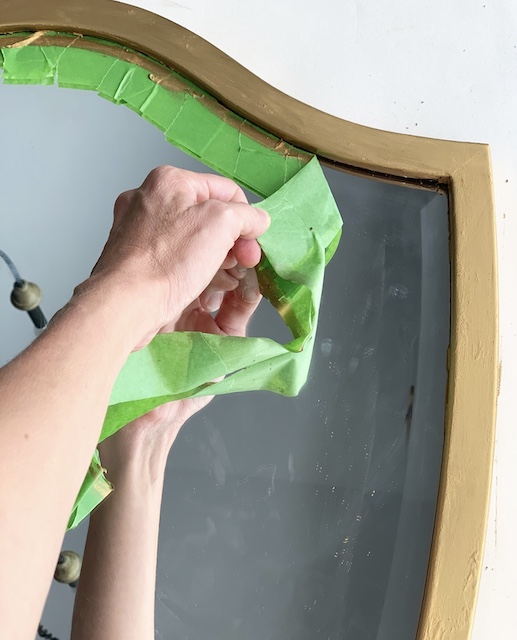
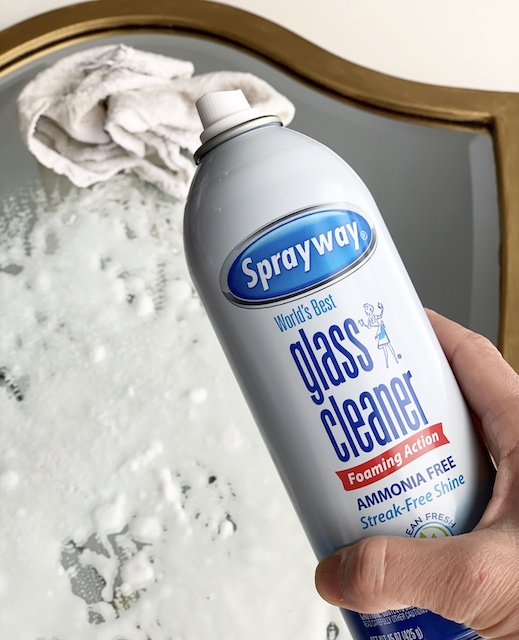
There were some spots that needed a little touching up. All I did was add a few more dots of the Rub’n Buff where needed and then I just used my finger to blend it in with the first coat. I was worried it may not dry evenly, but it did! After the second coat dried – which didn’t take too long, I simply used a the same dry cloth to give it one last little ‘buff.’ When that was all done I just took off the painters tape (that was very satisfying) and then I took the mirror outside to tap off any extra crumbles that came off while removing the tape – there were a lot. Finally, I gave the mirror a quick clean with my favorite glass cleaner, Sprayway.
The Results
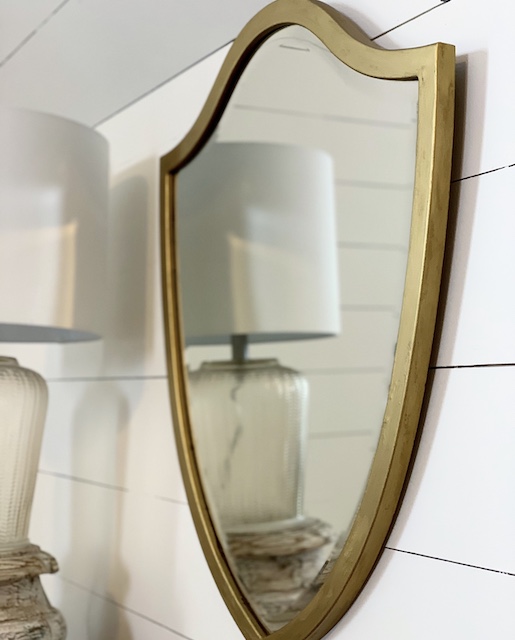
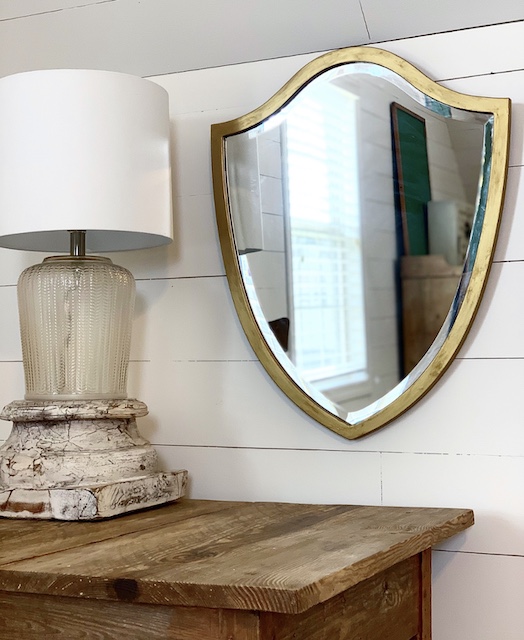
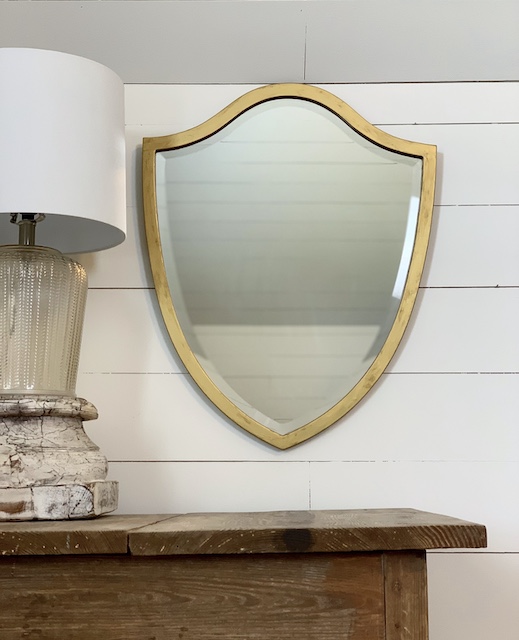
The transforamtion of this mrror is more than I could have hoped for. After just this one time using Rub’n Buff I have to admit, I am hooked. It was fun to use and it was super easy to work with. I think it is safe to say that I will be using it again in the future. It is also safe to say that when you see a mirror calling your name, even if it needs a little work, that you should go ahead and get it!
 Santa Blow Mold Styling
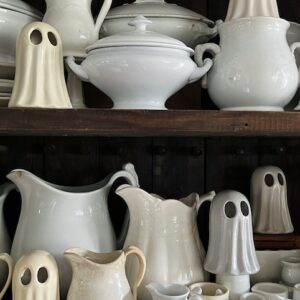 Simple Dollar Tree Ghost Transformation
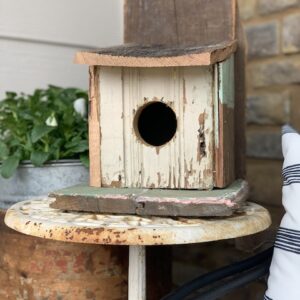 How To Build A Birdhouse With Scrap Wood
 Shaving Cream Eggs

The mirror turned out great! 💖 I now want to try this product on some faux wood picture frames. Love your blog, congratulations!!!
Love this! So proud of you!🧡
Great post! Your mirror looks awesome!! Congratulations on your blog!!! I am so excited for you & I am looking forward to reading each of your posts.
Loved all the articles!
Hey Emily, It looks beautiful, I love the bevel on the mirror and also the shape is really pretty. I started using Rub and Buff probably 40 years ago, it is great stuff and you don’t need much, it goes a long way.
Love the look of your blog, it’s beautiful, congratulations.
Terri
Emily the mirror looks great. I love Rub n Buff too! Congratulations on your blog! It looks so good! You did a beautiful job! So excited for you friend!
Love your new blog!!! Congrats!!
Ordering rub and buff now!
LOVE the mirror but mostly LOVE you. I’m so proud of you for starting your blog. Thanks for sharing all your cool ideas.