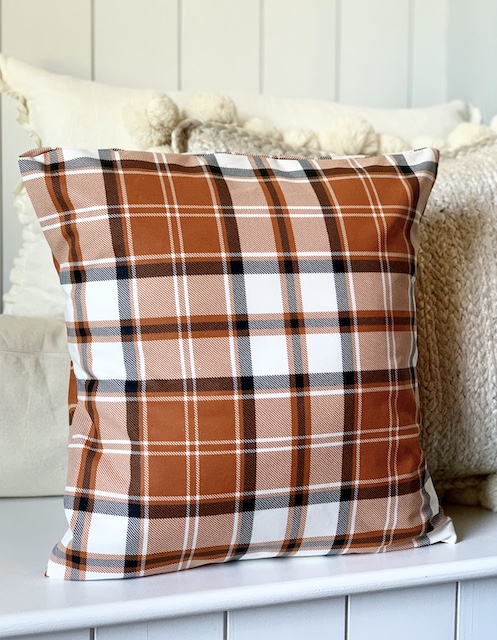
A few days ago I was walking through Target and I found myself admiring all the fall pillows. I loved so many of them but I realized that I didn’t really want to store them after the season. With three growing kids and a lot of seasonal home decor already, storage space is really a hot commodity around here. With that in mind, I decided to tackle a new project today, a no-sew fall pillow cover!
This may surprise you but I am NOT a seamstress. We don’t even have a sewing machine in our home and I can barely sew a straight hem. However, I knew that I could transform this boring pillow form into a fall pillow that would truly compliment my style … without having to sew a thing. I am going to share with you my process for making this no-sew fall pillow. It is an easy envelope style pillow cover using a little liquid stitch, an iron, and a little elbow grease.
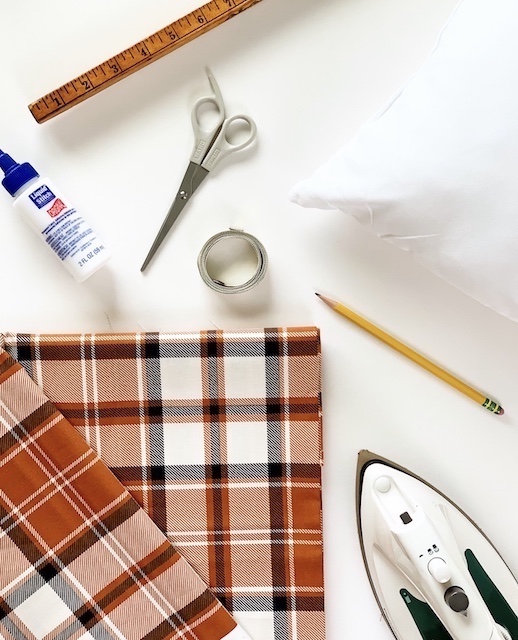
THE PROCESS
1. Find Your Fabric
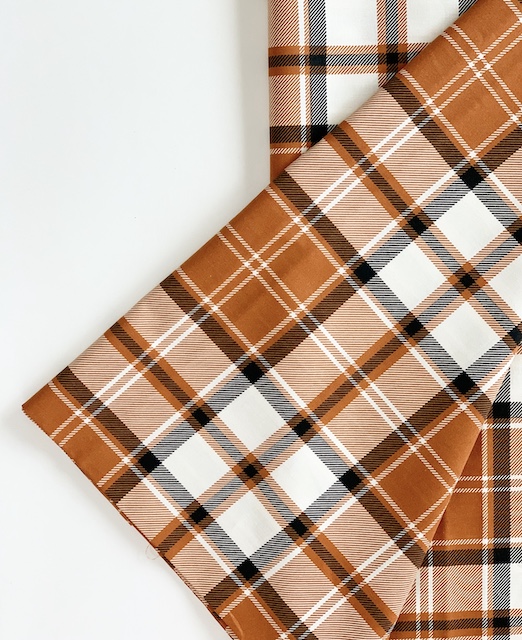
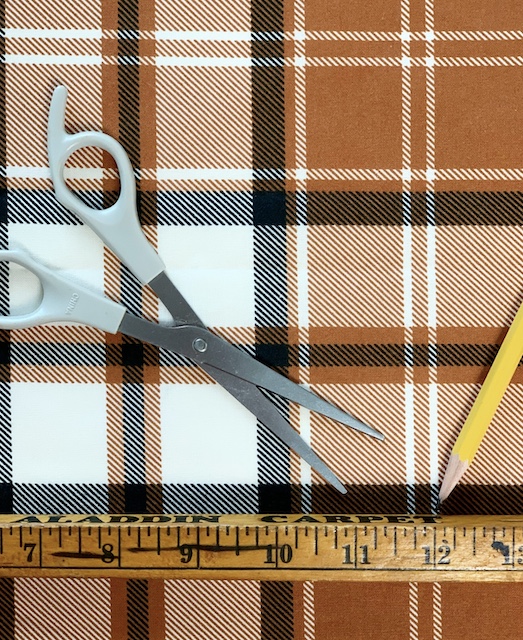
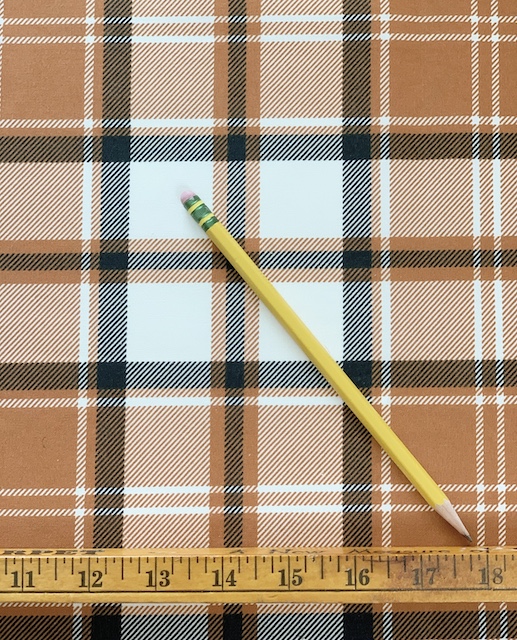
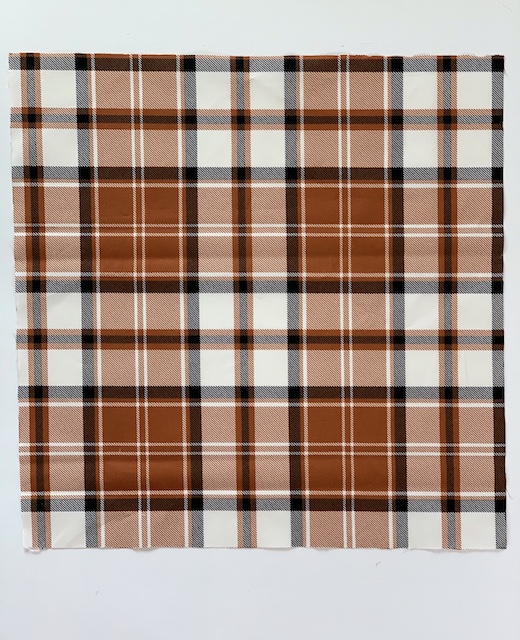
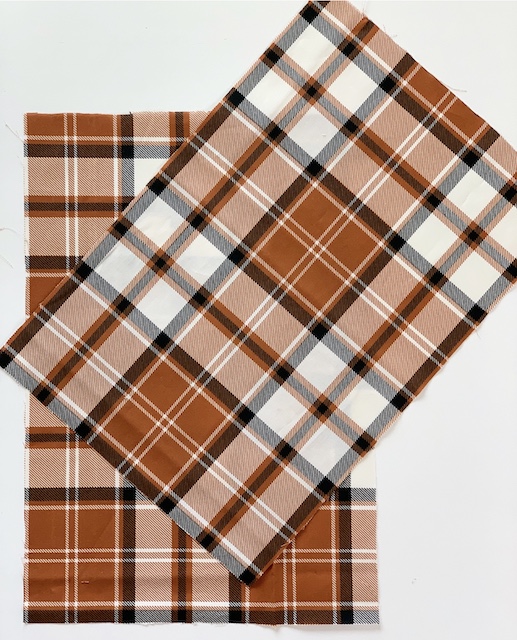
I actually had a hard time settling on a fabric that I liked and that also fit the style of my home. Luckily I stumbled upon this fall plaid print. I love the combination of the orange and brown.
2. Choose Your Pillow Size
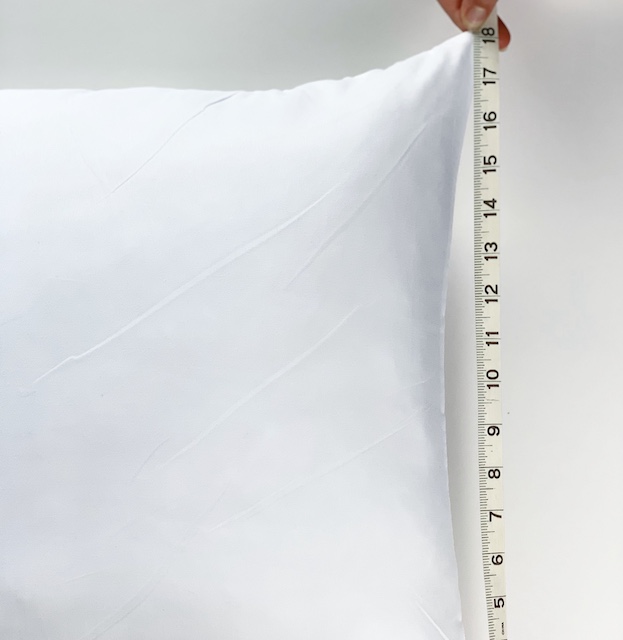
I chose to use a pillow form that I already had at home. It measures 18 X 18.
3. Prepare Your Fabric
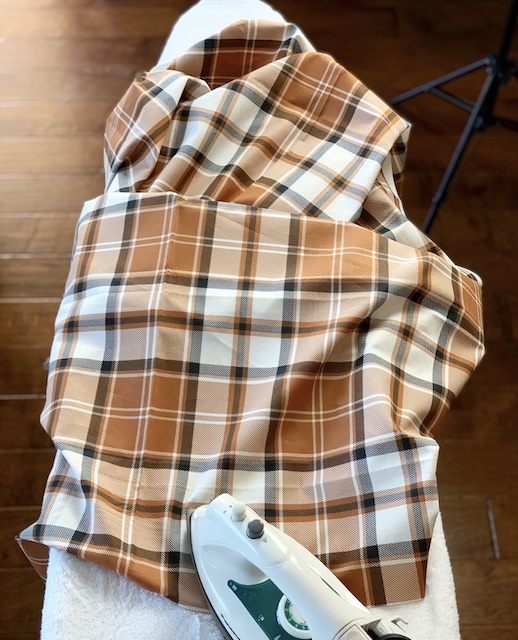
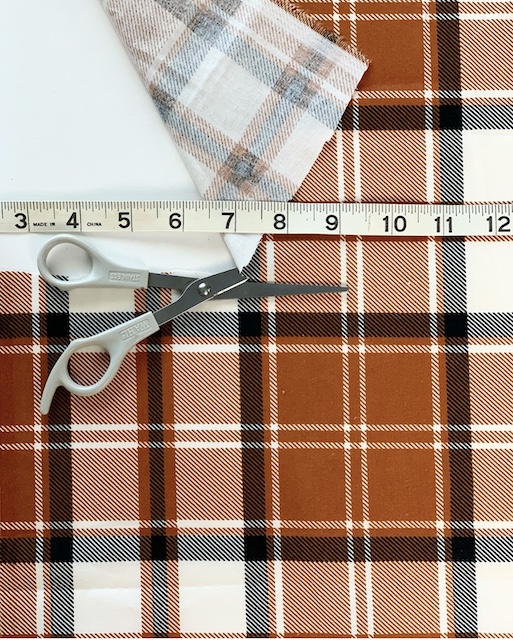
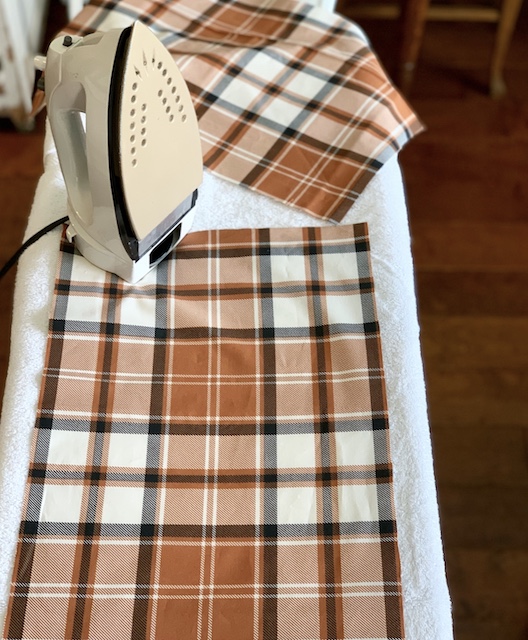
You will need about one yard of fabric per pillow for this project. I decided to iron my fabric before cutting it just to insure that the measurements would be as correct as possible.
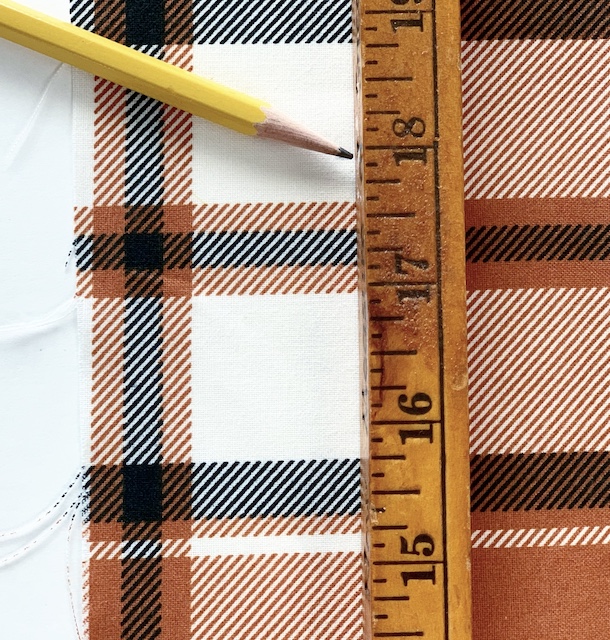
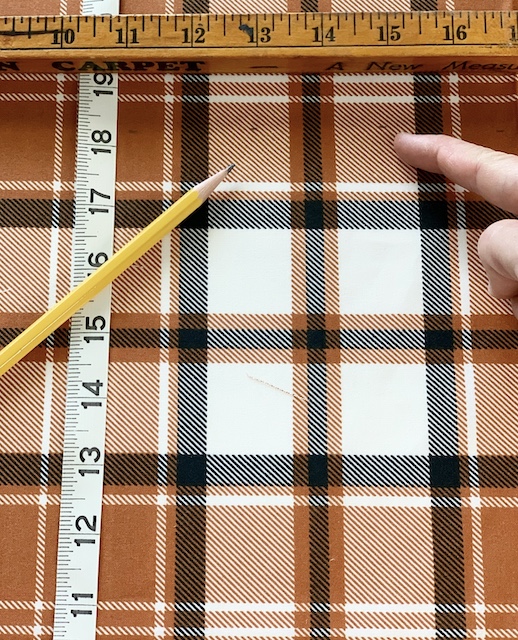
4. CUT YOUR FABRIC
You will need three sections of fabric for this pillow cover: one section for the front and a two sections for the back.
FRONT OF PILLOW
For the front of the pillow you will cut a section of fabric exactly the same size as the pillow insert that you are using. I am using a 18 x 18 pillow insert so I will cut this section of the fabric the exact same size, 18 x 18. The size will help to ensure that the pillow will be nice and full and snug inside the pillow cover.
BACK OF PILLOW
For the back of the pillow you will cut two sections of fabric, each the exact same size. The width of these two sections will be the same as the width of the pillow insert you are using. To determine the height of these two sections you will use the following formula:
(Width of your pillow) + 6 ÷ 2 = the height.
For this particular pillow, my formula will look like this.
18 + 6 ÷ 2 = 12 inches in height
So, for the back of my pillow I will need to cut two sections of fabric that are 18 x 12.
You will end up with three pieces of fabric total: One section for the front (18 x 18) and two sections for the back (18 x 12).
5. Iron & Glue Your Hem
Now it is time to prepare the two back sections of the pillow. I simply eyeball a small hem a little over a half an inch along the longer sides of the fabric. Then, with my iron on a medium setting, I iron the hem along each piece of fabric. These two sections will create the envelope.
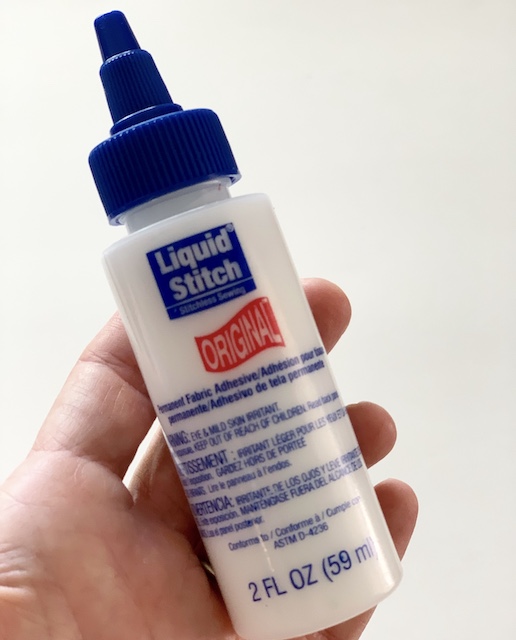
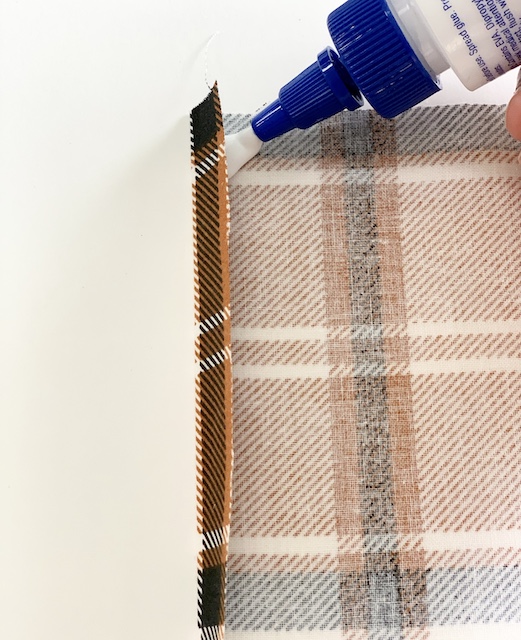
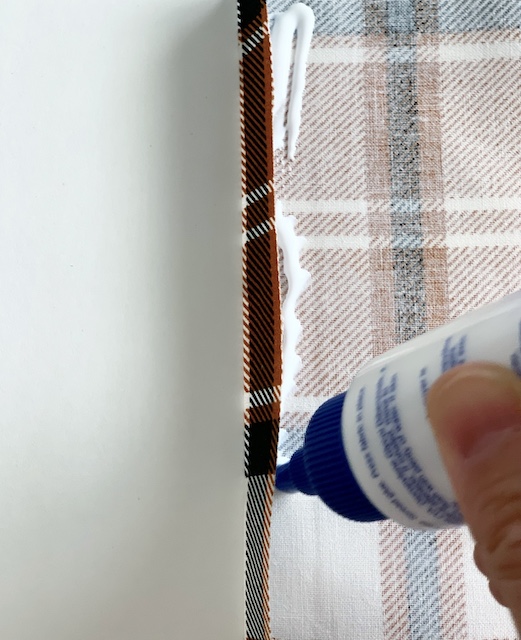
Next, take your liquid stitch and glue down the hem that you ironed.. don’t worry if a bit of the liquid stitch seeps out a bit, it will dry clear.
6. Attach Front & Back of Pillow
For this step, you will be assembling the pillow cover inside out. Place the front section of fabric FACE UP on your table. Then place both of the back sections on top of the front section, FACE DOWN.
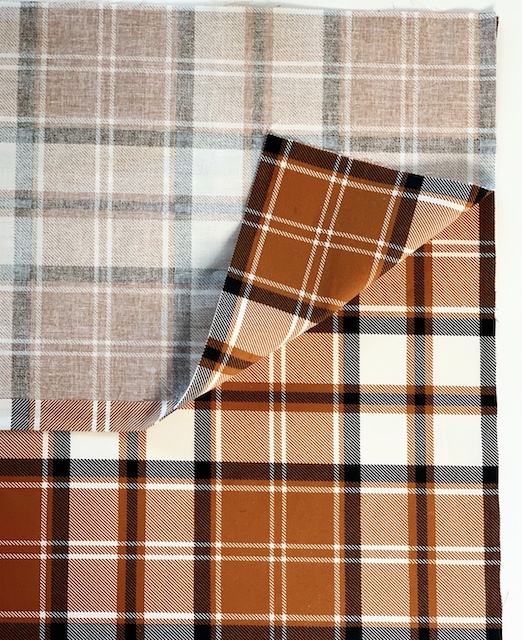
Front section FACE UP with 1 back section on top of it FACE DOWN. 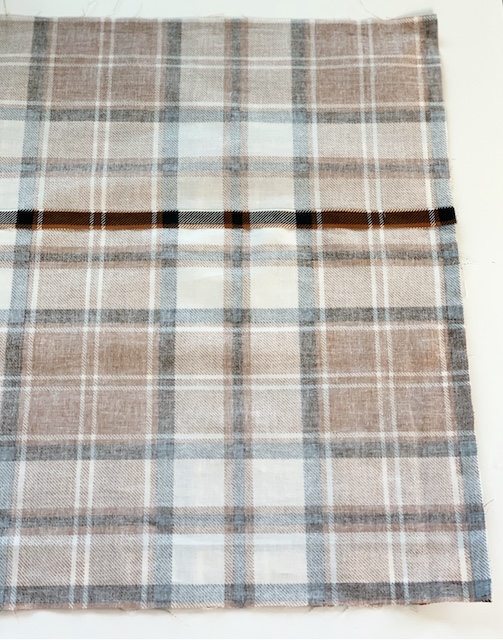
Two back sections FACE DOWN on top of the front section.
Using a pencil or a fabric pen, place a line on the front section where the first back section ends. Next, add a line of glue on the front section of fabric all the way around the perimeter. Then, do the same for your second back section. It will overlap the first section – but that is what we want because we are making an ‘envelope’.
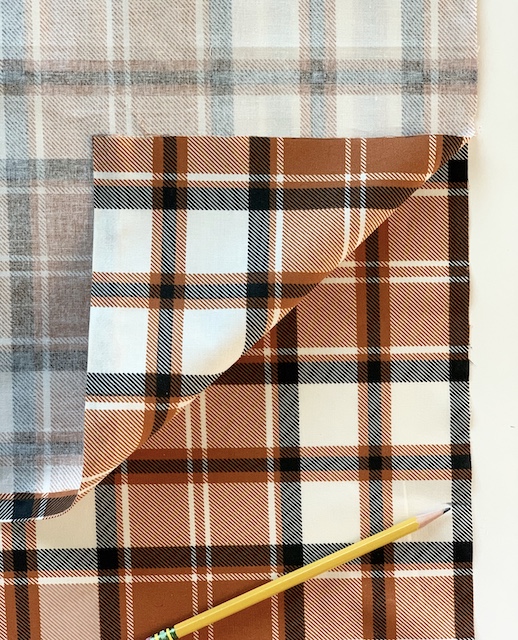
Mark the ‘ends’ 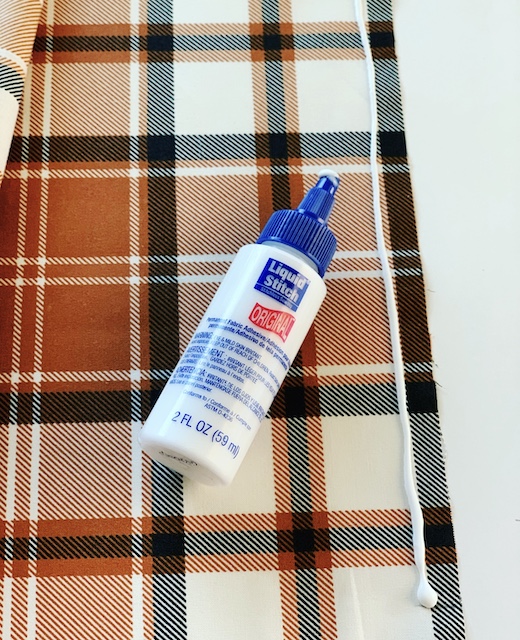
Add liquid stitch 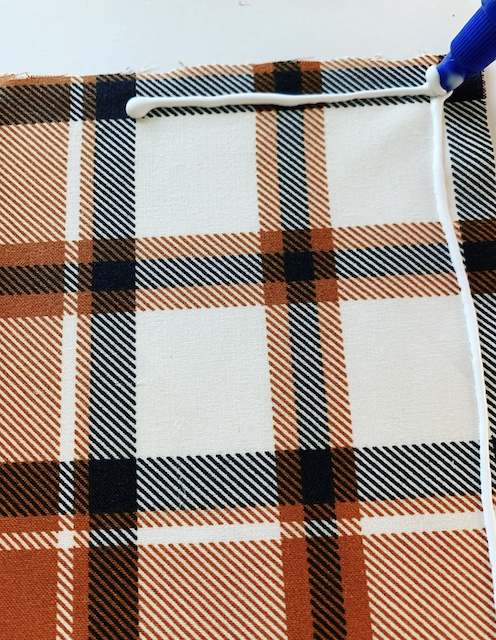
Add liquid stitch around the perimeter
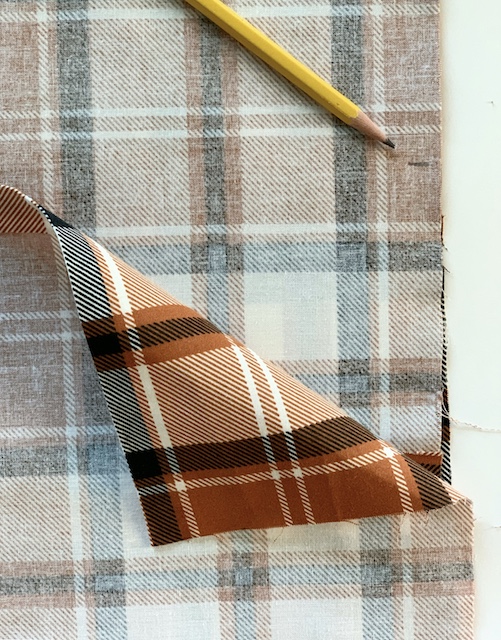
Second back section – overlapping – marking the ‘end’ point 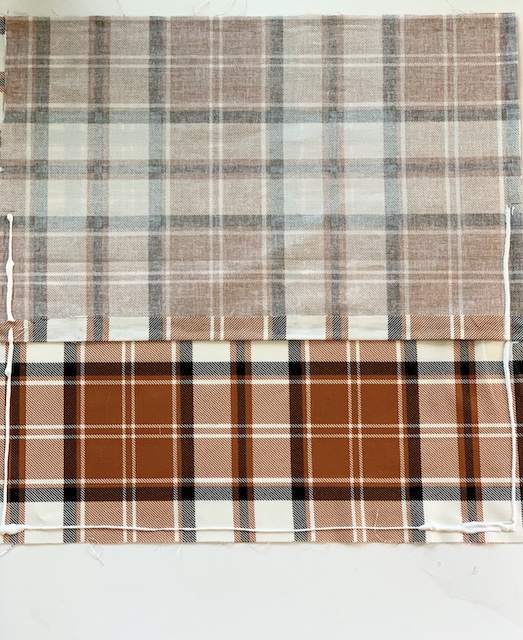
Adding liquid stitch around the perimeter for the second back section
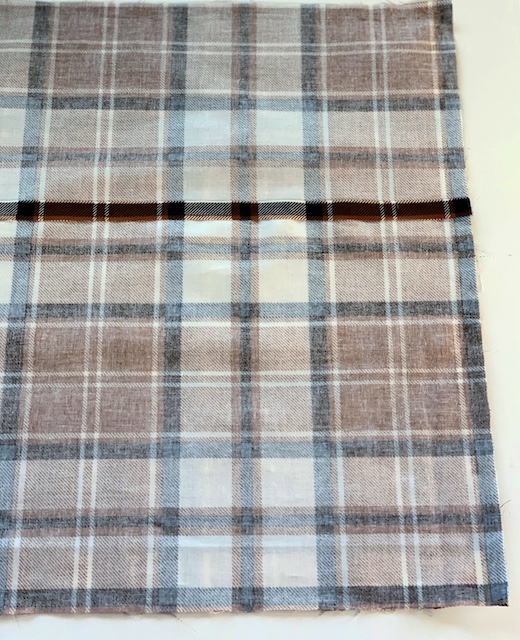
This is the pillow cover fully assembled – two back sections overlapping the front section – to create an envelope.
7. Clip Your Corners
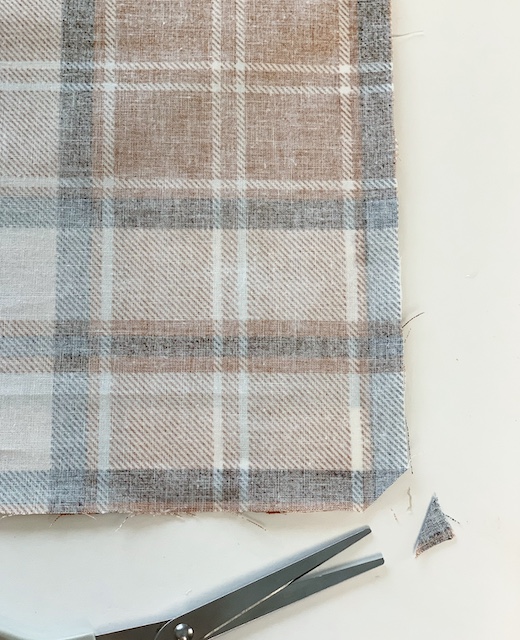
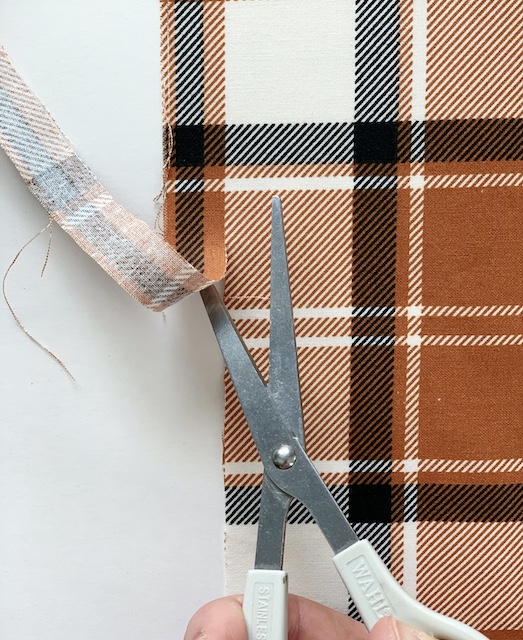
Being careful NOT to cut any areas where you applied the glue, give each corner a small snip. This will help to reduce the bulk in the corners of the pillow when we go to turn it inside out.
8. Let Dry & Stuff Your Pillow
It will probably take a few hours for your pillow cover to dry. Once your pillow cover is completely dry and the liquid stitch has set, go ahead and turn your pillow cover right side out and use your fingers to poke out the corners to give them a really good ‘shape’. Then, stuff in your pillow insert.
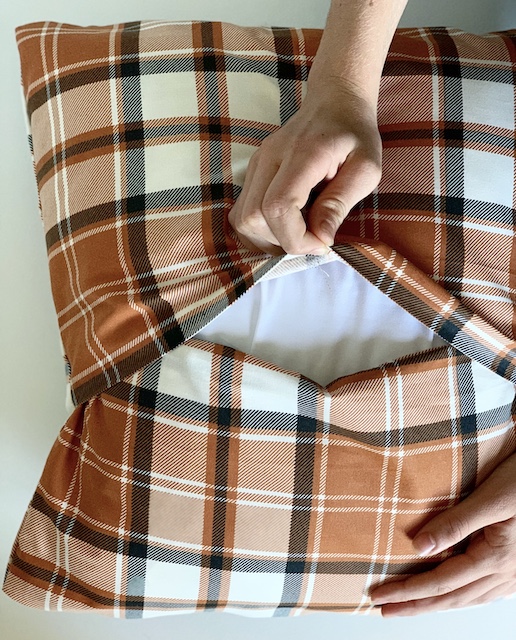
RESULTS
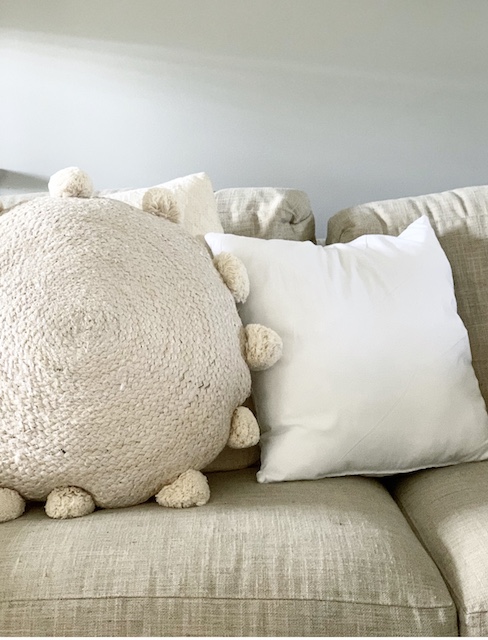
BEFORE 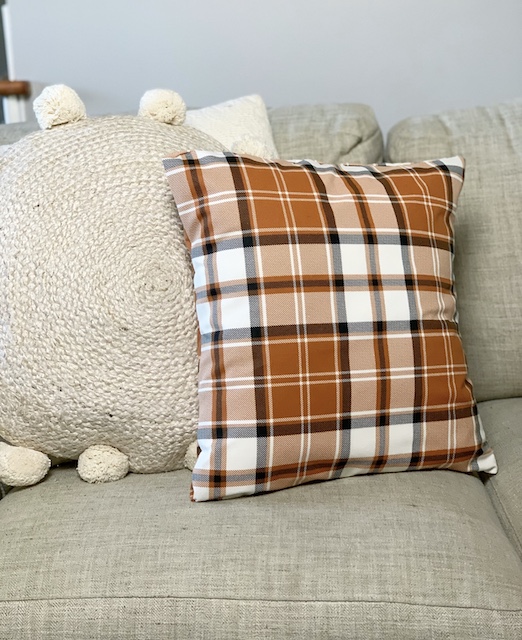
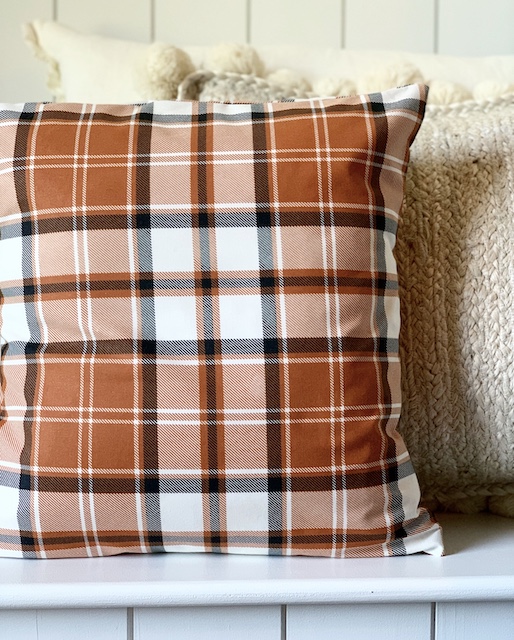
AFTER
Well, I am pretty excited with the way my no-sew fall pillow covered turned out. It was quite easy to make and it was very affordable. Most importantly, I won’t have a bulky pillow to store when the fall season passes. I can simply take the pillow insert out and make a new cover for the Christmas season – wink!
MATERIALS
- 1 yard of fabric
- liquid stitch
- pillow insert – size of your choice
- iron
- scissors
- ruler/tape measure
- pencil/fabric pen



 Simple Dollar Tree Ghost Transformation
 Dried Hydrangeas In the Cupboard
 How To Build A Birdhouse With Scrap Wood
 Antique Acquisition: A Salesman Sample


I love changing out my pillows that are in my window seat for the seasons but storage and budget can be an issue. I don’t sew either and had never heard of liquid stitch. So excited to try this. Thanks for sharing Emily!