Want to know how I easily transformed these old ceramic owls? I am sharing my quick and easy rub ‘n buff owl upcycle project.
I am going to share with you how I transformed some thrifted ceramic owls using only a couple of products. It doesn’t take a long time to do and I am sure you will love this super easy process.
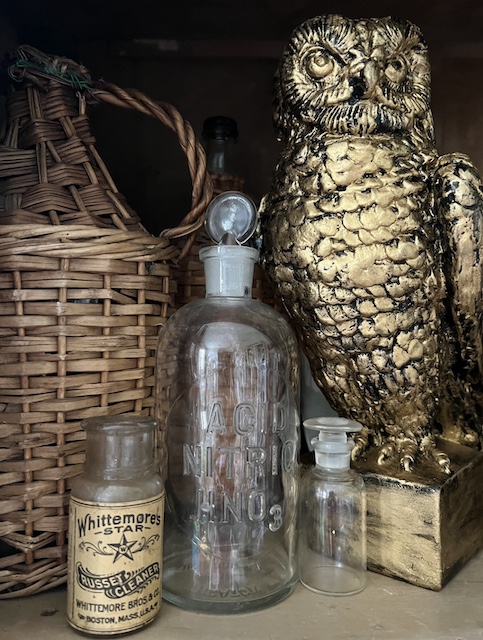
I have been shopping at antique malls and estate sales and thrift stores for years and on many of my adventures I would see the cutest little vintage ceramic owls. I have always been drawn to them (probably because they remind me of the 1970s for some reason) but I have never purchased a single one – until recently!
A few months ago I saw a handful of vintage ceramic owls on a shelf in a local antique mall. As I stood there debating how I could use them in my home, it hit me! I knew right then and there that I could use Rub ‘n Buff to transform these cute little owls to achieve a look that I would love! I wanted a way to display them all together (everything looks better ‘in mass’) but I wanted to be sure that the owls would look good together. I had one owl already at home (like this one) and I wanted all of them to look similar to that one! I knew that if I used Rub ‘n Buff that I could achieve that look and also it would ensure that all of my owls would match.
Rub ‘n Buff
Rub ‘n buff is easy to use – simply rub it on with a soft cloth, a paint brush or even your finger and then buff to a high shine. It’s the perfect way to ‘elevate’ many things throughout your home.
Rub ‘n Buff is a metallic finish in a paste form that can be used to give just about anything a beautiful gilded finish. All you need is a little elbow grease and you can transform almost anything using Rub ‘n Buff. You can easily apply it to so many things: furniture, picture frames, moldings, ceramics, etc. Best of all, it is simple to use! Simply rub it on with a soft cloth, a paint brush or even your finger and then buff to a high shine. It’s the perfect way to elevate many things throughout your home.
Another great thing about Rub ‘n Buff is that it comes in an array of colors, so you can customize any project to match almost any space. The color options include:
Owl Upcycle Project
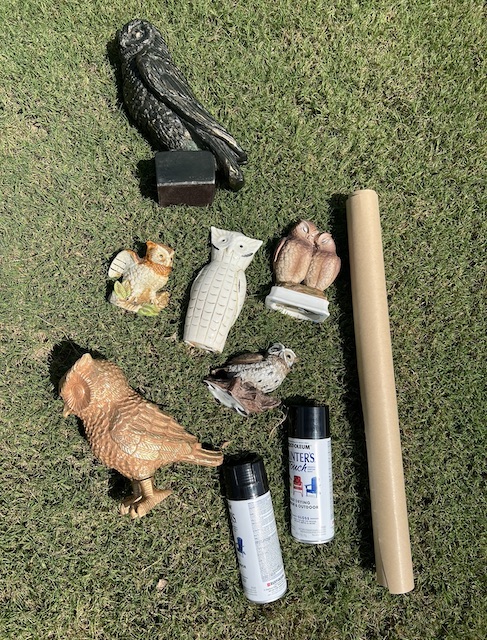
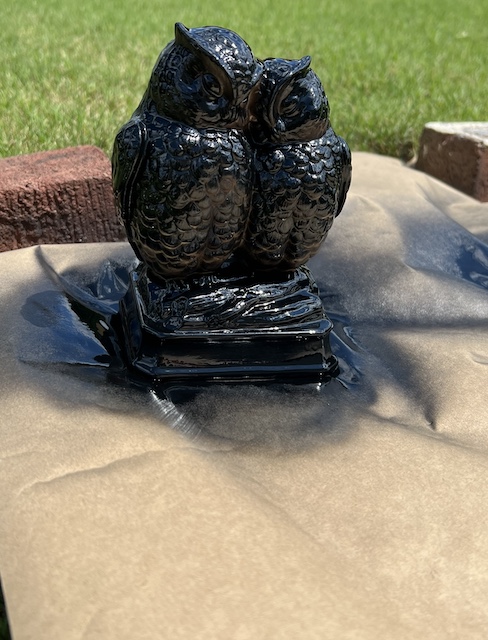
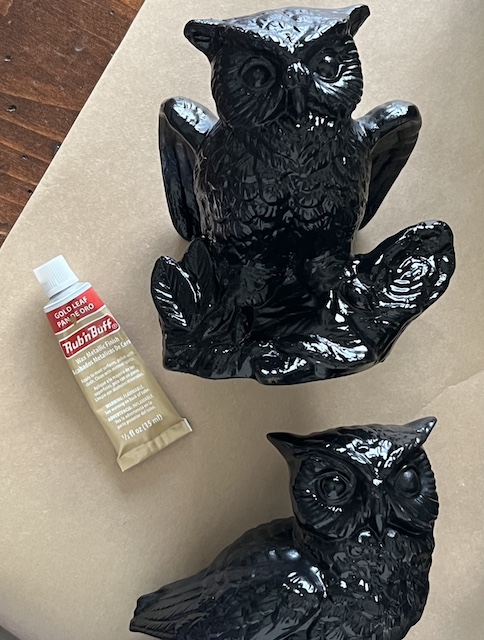
I was so excited to get started with this project. After a few weeks of gathering my owls, I began their transformation by painting them all black with spray paint! I put some brown craft paper down to protect the grass and I got to work! It actually took me 3 or 4 separate coats to really cover all the nooks and crannies – but I did get them all.
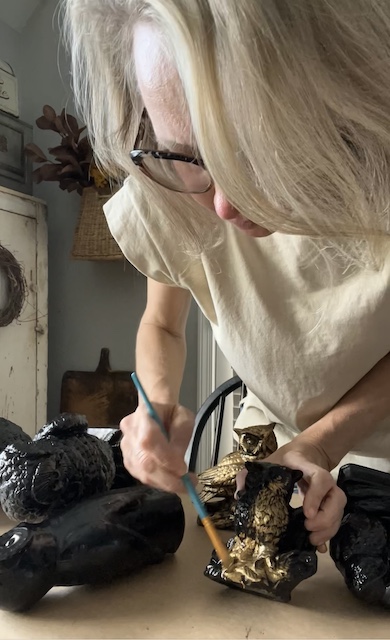
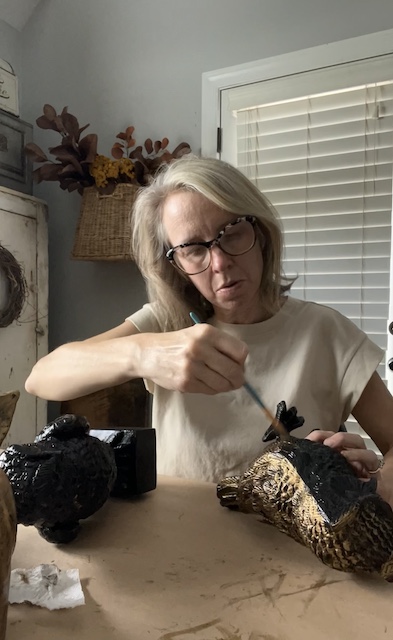
After they were completely dried, I brought them inside and got to work! I rolled out some craft paper onto my kitchen table and then I just squirted a dap of Rub N Buff in the color Antique Gold onto the paper. Using a plain kids paint brush, I just dabbed the rub n buff onto each owl with no real rhyme or reason. In some places I went really heavy and in others I only applied a light coat. I just had fun with it!
Let’s Get Them On Display
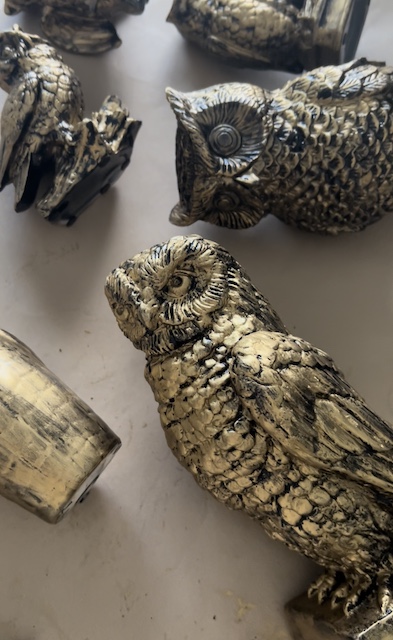
Of course, after any DIY or craft is complete, the best part is having the opportunity to admire your work! As soon as the rub ‘n buff was dry to the touch (only a minute or two) I gathered them all up and got to work!
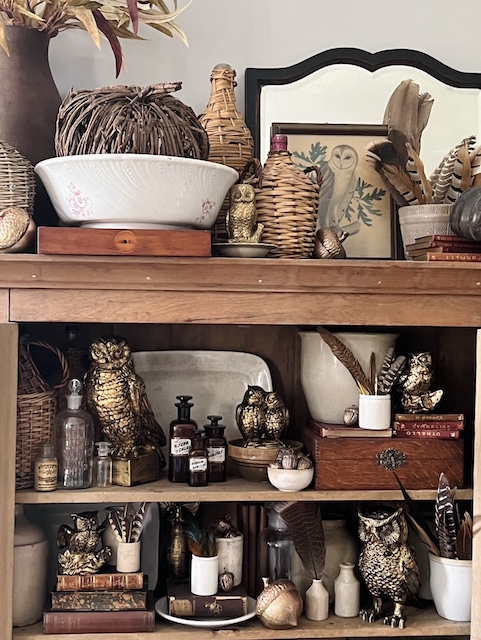
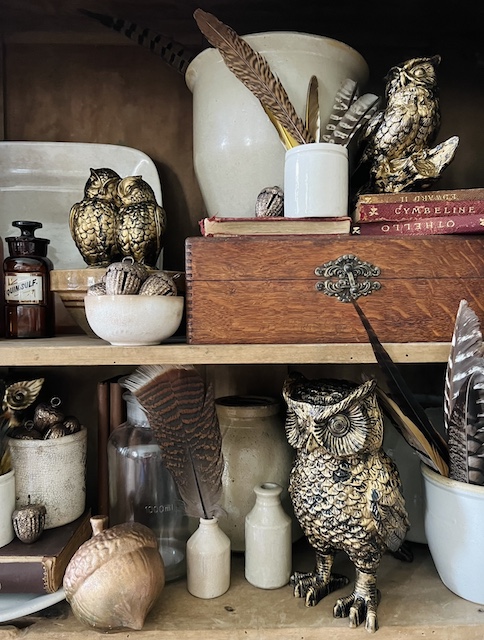
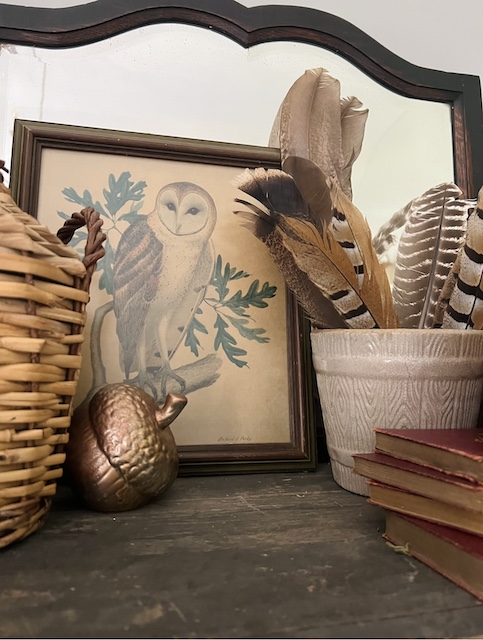
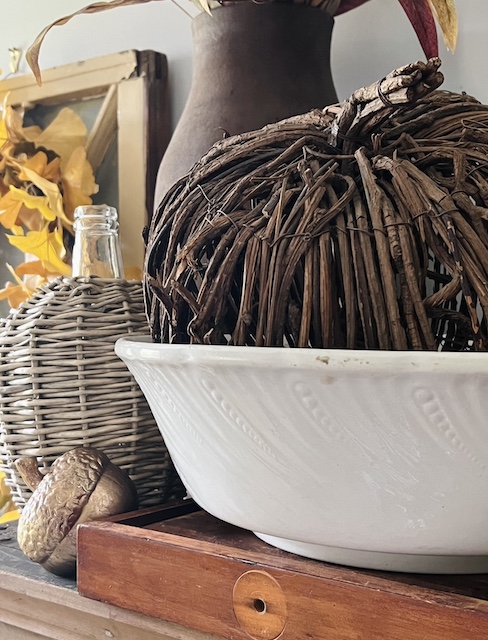
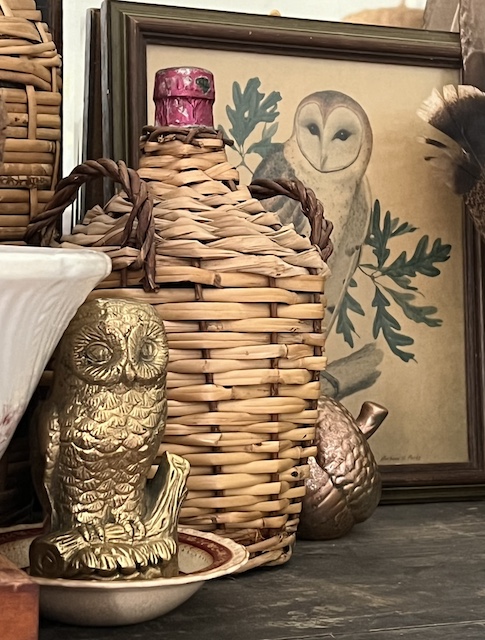
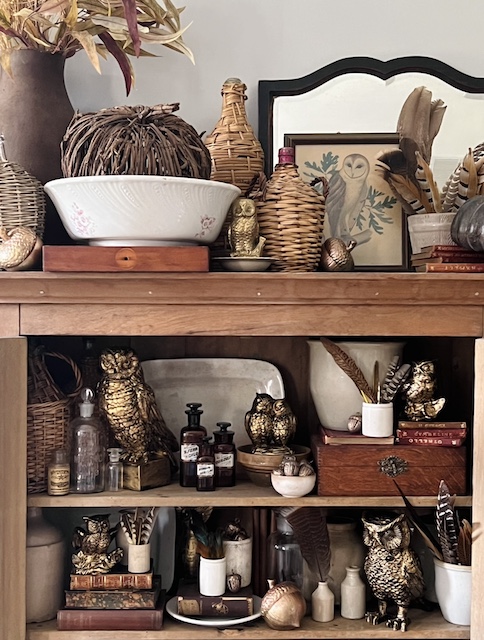
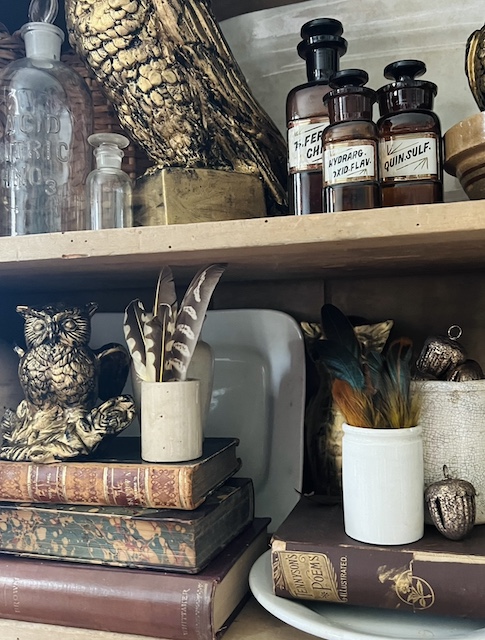
I used a variety of other pieces to pull these shelves together. For example, I layered in old medicine bottles, aged acorns, and feathers! But, the great thing is the variety of owls – while they are all different, using this rub ‘n buff technique really helped to create a unified and cohesive look!
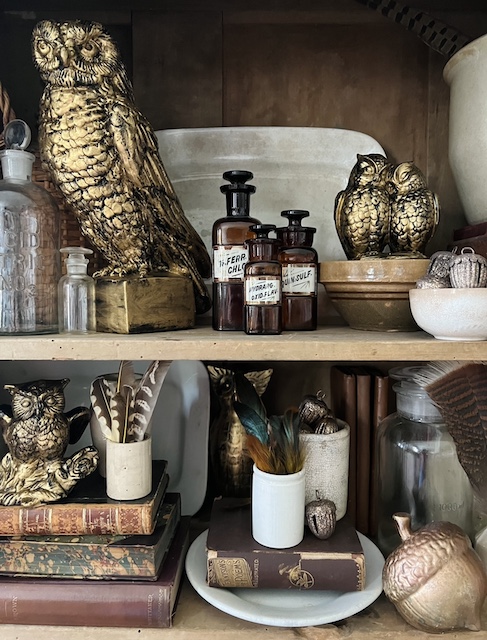
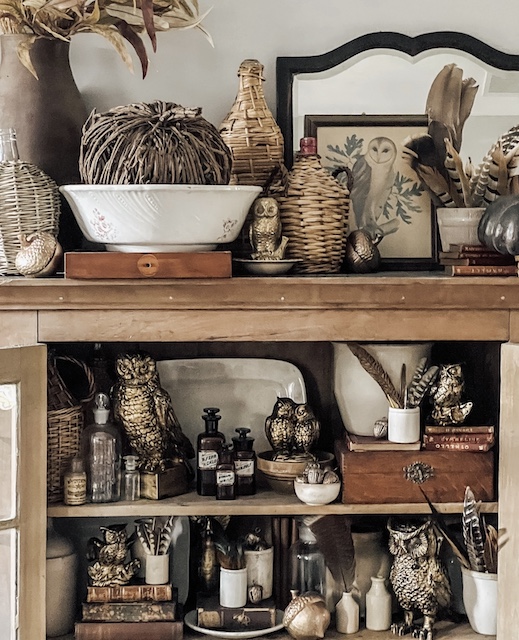

The very best part of using this technique is that you can easily hide a chip or ding! A few of my owls that I used here were chipped and one was really broken in one area! But, after a little spray paint and rub ‘n buff, you can’t even tell!
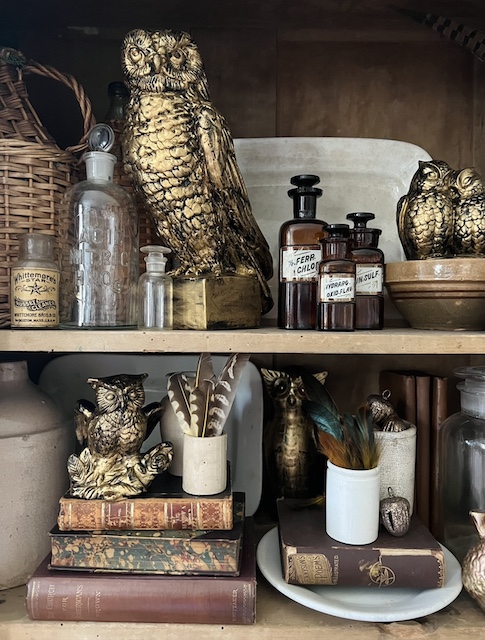
Want to see a few of the other projects that I have used rub ‘n buff on? How about
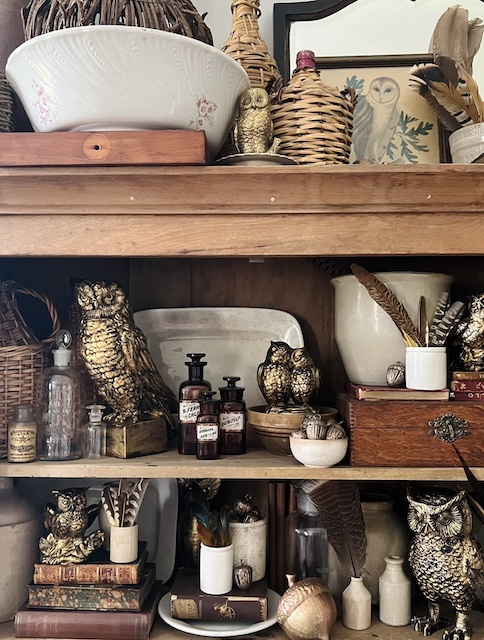
I hope you enjoyed this quick and easy rub ‘n buff owl upcycle! I bet you could do this with almost any ceramic figure (I did it with turkeys last year, you can so how by clicking on the link) so get creative and start using that rub ‘n buff!
disclosure: affiliate links are used in this simple fall cabinet styling blog post. When you purchase an item through one of my links, I receive a small commission at no additional cost to you. Thank you for supporting My Weathered Home.
 Vintage Christmas Tins: Easy Styling Tips and Tricks
 Santa Mug Shopping
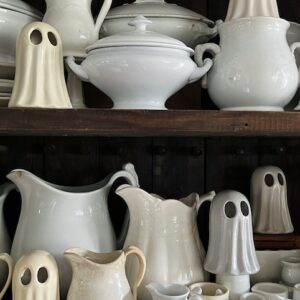 Simple Dollar Tree Ghost Transformation
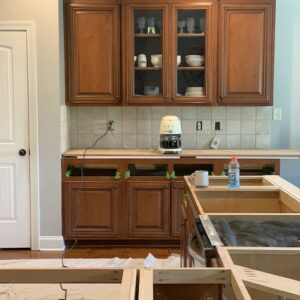 How To Start A Kitchen Remodel: My Process

