I decided to style this jack-o-lantern with tarnished silver. Come see a few of the tricks I used to make these shelves come to life.
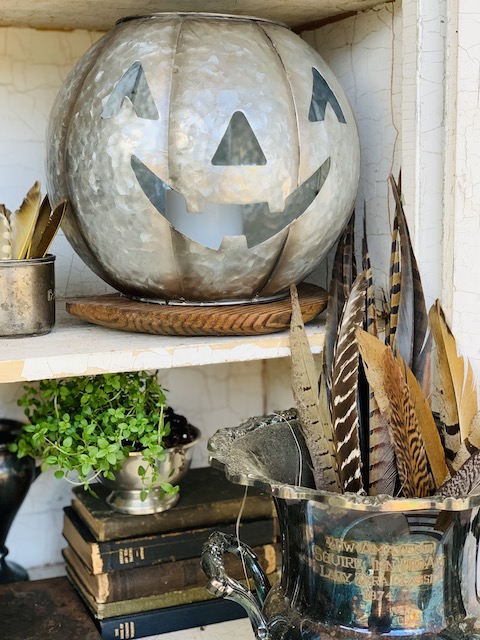
Can you believe it? Halloween is less than two weeks away and it seems like only yesterday that my kids started the school year. Man, time sure does fly by! Thinking back, I remember that one of the very first things that I purchased for this Halloween season was a metal jack-o-lantern from Home Goods. I really loved his little smiling face. I wasn’t sure how I was going to use him – but I knew I would come up with an idea sooner or later.
When I got him home that day back in late August, I plopped my new metal jack-o-lantern down in the kitchen next to our coffee pot and called it a day. I mean, he was cute there (we just completed a kitchen remodel – see it here – and our backsplash actually looked great with the metal), but I really wanted to create a vignette that would feature his cute face. Also, so many people have been painting all sorts of pumpkins white this year (me included) and I really wanted to leave him that original metal color and play off of that.
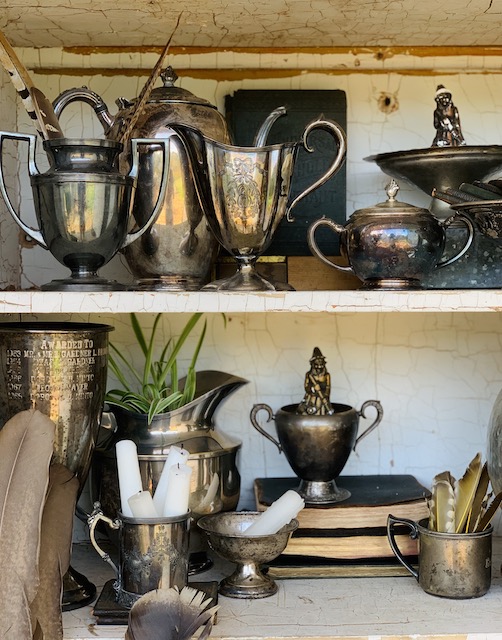
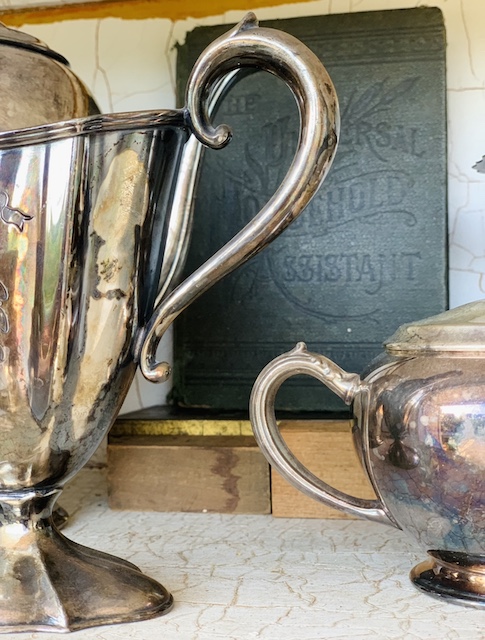
After sitting on my kitchen counter for quite a while, an idea finally hit me. I decided that I was going to embrace his metal color (because I didn’t want to change that) and I began pulling out all of my tarnished silver. Yup – I said tarnished silver. Look, I know it may not be for everyone – but if you have been following me for any amount of time then you know that I love the look of old and weathered pieces (just like the name of my website states – My Weathered Home). Plus, I love the ‘look’ of the tarnished silver for this Halloween. I feel that it is beautiful and if I could manage to do it right, I could make it look timeless too!
Once I decided to go with the silver, I had to make a decision on where to put it all! I knew that I wanted the color to pop so I chose to use an old set of white vintage shelves. I cleaned off those shelves because they were full of pumpkin blow molds (another halloween display I had recently done – I only have so many shelving options here at home) and I got to work. Within 15 minutes I had styled the shelves basically to my liking – but there were a few tweaks that I wanted to make! Let me share those with you …
Raise It Up
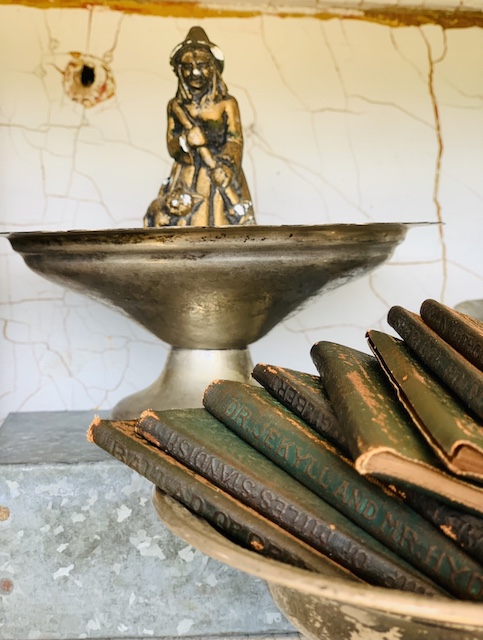
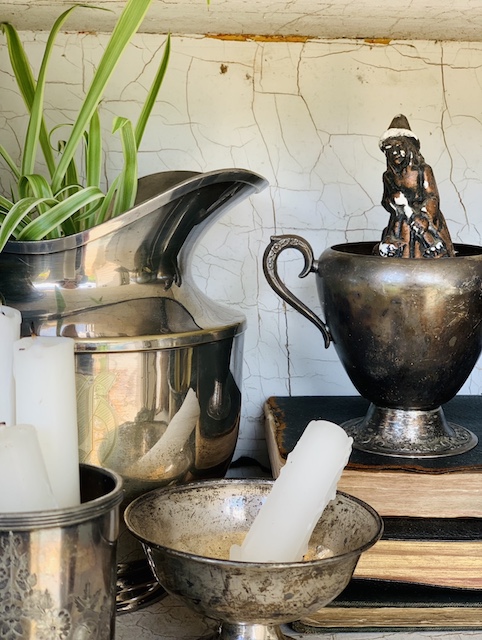
If you look closely inside my cabinet, you will see the coolest little chalk ware witches that I found a few years ago. I knew I wanted to add them into the cabinet with the tarnished silver but I didn’t want them to get lost among the other smaller pieces. So, I decided to raise them up onto a few of the taller pieces. I added some height and I did that by stacking a few boxes of matches so that you could see the witches well. When I posted this vignette on IG (You can follow along here) a sweet follower told me it looked as though the witch was stirring a cauldron – and I think that it dies indeed!
Pop A Plant In It
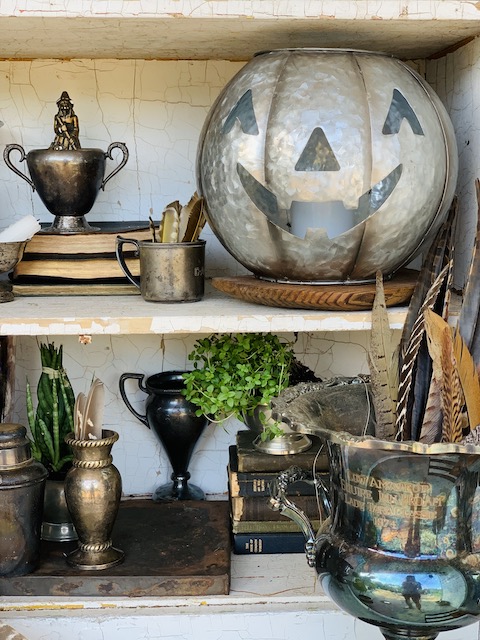
I wanted to add just a touch of color into the space and I knew that a few little plants would do the trick. I simply shopped my house for these (yes, I always have – plants laying around) and I was careful to choose plants that were small so that they did not overwhelm the space. While I love them all, my favorite plant here is the lemon sage. This is the plant that is on the far right in the picture above. It is so cute!
Old Books For Filler
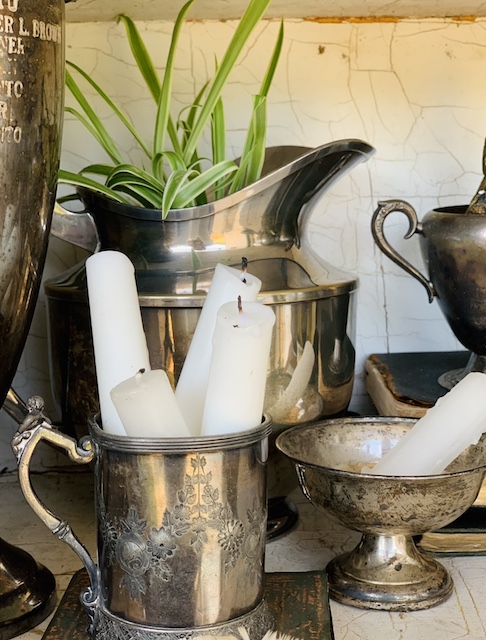
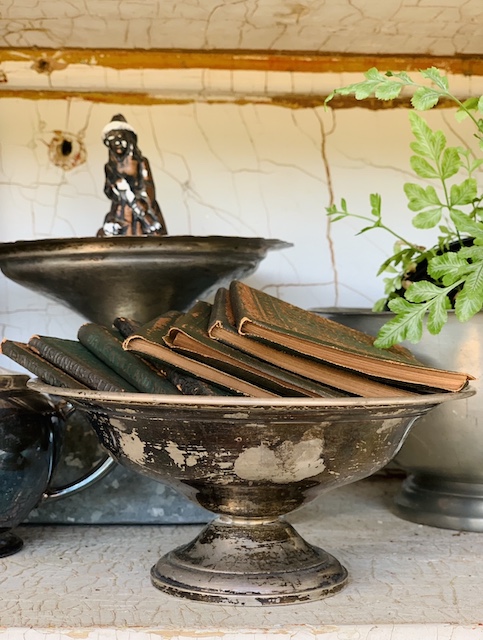
In the spirit of adding interest to the cabinet, but also keeping with the theme of the space, I decided to add in some black books as a ‘filler.’ This helped to add texture as well. All I did was prop a book up (and had to raise it a bit) and I threw a few smaller old weathered books into a tarnished silver dish! Oh, I also used old half burned candles too for a filler. I love that look that the burnt ends give!
Feathers To Tie It Together
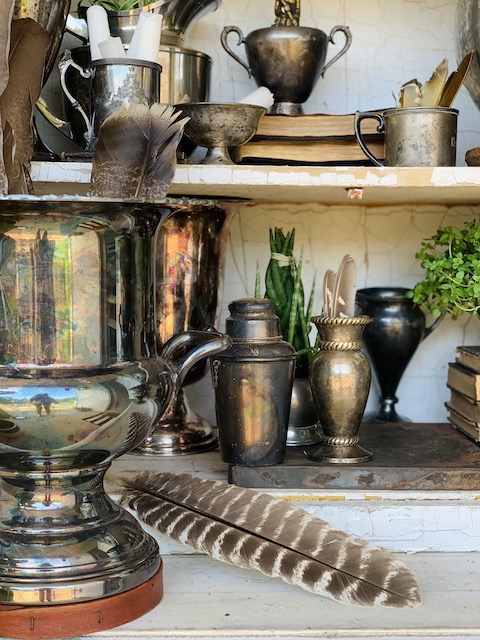
I loved using the feathers in this vignette. I love the way the colors of the feathers correlated with all of the colors within the cabinet. I sure am beginning to have a large feather collection these days! And Turkey Feathers are some of my very favorites to use – you can shop for them here.
Depth and Height
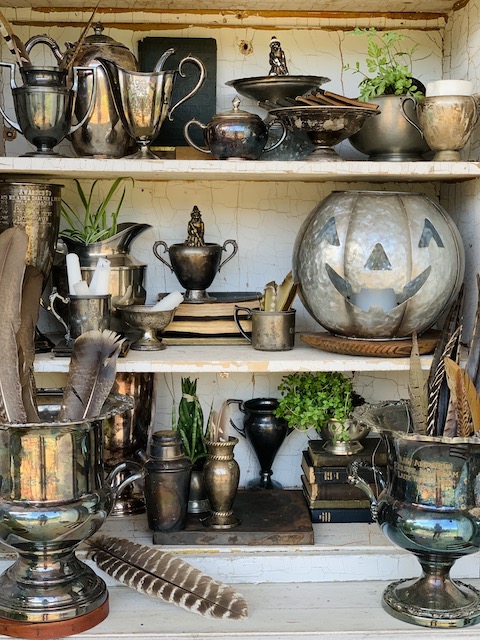
I just wanted to quickly point out that I kinda sorta kept things in groupings while building this space. I also was sure to add interest by playing around with the depth of the pieces that I was working with. Some pieces are pulled way up front and others are kind of tucked in the back. I also played around with the height as well, as I spoke about before, it helps for the eye to be able to see all of the moving parts on the shelf.
Wrap Up
I hope you enjoyed my tarnished silver spooky cabinet. It truly was a fun one to put together. I love playing around with these pieces and creating something interesting and fun … especially for the Halloween season. Do you have tarnished silver laying around? If so, I hope this inspires you to pull it out and play around with it – tis’ the season!
Side Note: I don’t have my tarnished silver pieces out on display year round. I have a tote in my garage that stores it all. Why do I have a tote full of old silver might you be asking – because I have many important family pieces. Like my dad’s baby cup and pieces that were used in my family long before I was born. My grandmother passed them down to me and I can not let them go. I also pick up odd pieces while I am out on my picking adventures as well. While I don’t use or decorate with tarnished silver, I still see beauty in each piece that I chose to keep.
Want TO Recreate This Look
I couldn’t find the exact items that I used here because they are all vintage -but you can just click on the picture below for more details for these items. I added in some various witches that I would have added here. I couldn’t find the chalk ware ones.
*this post contains affiliate links

 Nostalgic Santa Display
 Organizing A Vignette By Color – With Country Sampler Magazine
 Simple Vintage Spring Vignette In Blue
 Easy Corn Husk Wreath


I LOVE your silver pieces! Your shelf is styled perfect for fall.
thank YOU so so so very much!