A few weeks ago my dad and I found the coolest old work bench at an estate sale. This piece was sitting half way under the awning of a work shed and it was covered with junk like old tools, papers, and metal scraps. It also had a really rough ‘plywood top’ that looked to be in bad shape. That top was actually peeling apart. But – all I could see was the gorgeous layers of chippy paint on the legs and the sides. I knew that this piece had potential so I decided to give it a closer look. As soon as I took off the plywood (right there in the yard at the sale), I fell in love.

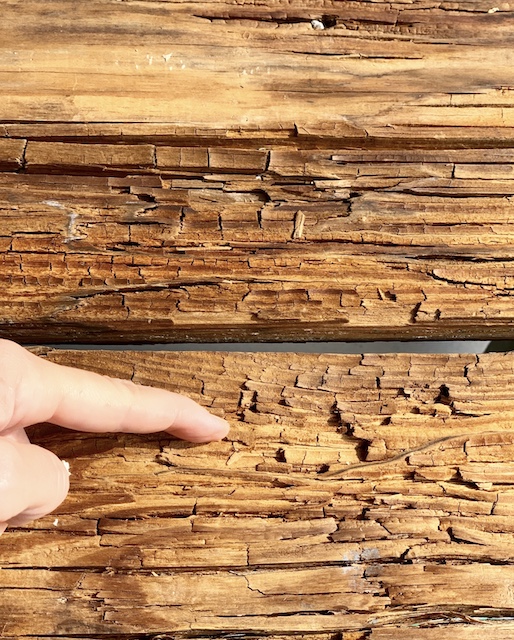
Underneath that old flaking plywood top I uncovered some really pretty boards. But, while they were indeed pretty, they were not perfect. I noticed right away that there were a few spots that were ‘soft.’ I could almost peel away parts of the boards. I began to second guess this beauty.
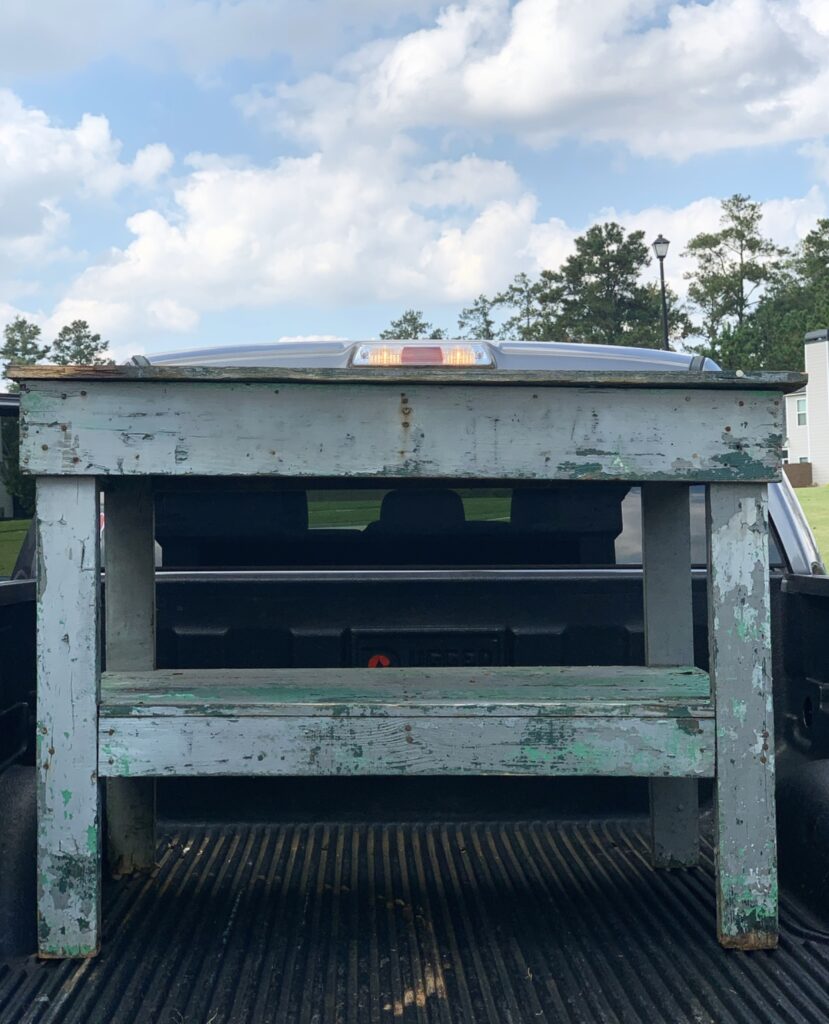
After careful inspection, I decided to take a chance as buy the bench. Even though it wasn’t perfect, I just couldn’t leave it behind. I got it home and decided to head to my nearest home improvement store to see what I could find to help solve the ‘soft spot’ issue. There I found something called Wood Hardener and I decided to give it a try. You can check it out here.

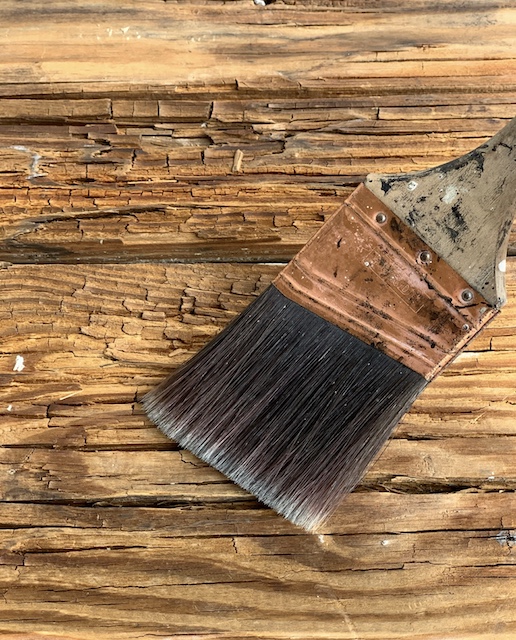
When I got the piece home, I took some time to scrub it clean. After it was dry (a few weeks later actually, because our family got busy), I took a dry brush and brushed the entire top off well. At that time I realized JUST how bad the top was in some areas and I began to wonder if the Wood Hardener would really work! The top of this work bench was really flaking and coming apart. I decided to jump right in and give it a try anyway.
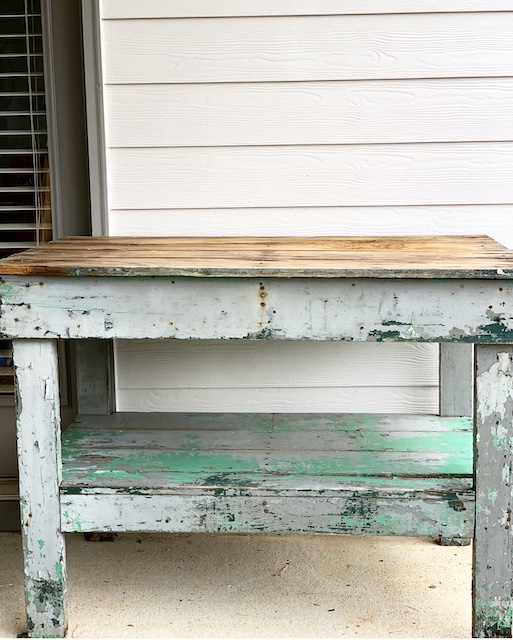
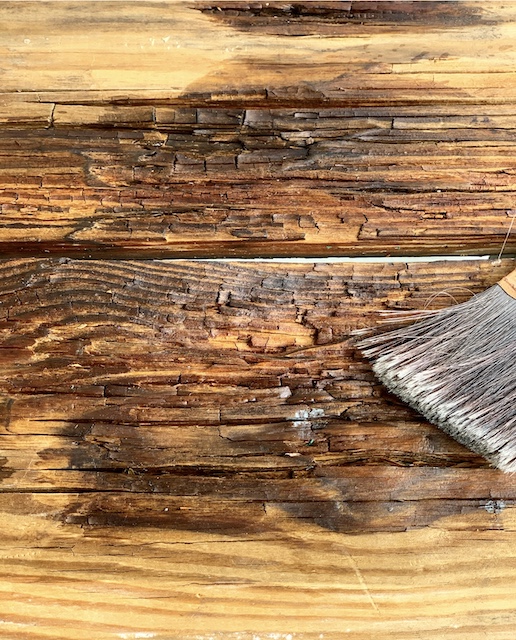
After I got the bench all cleaned up, I simply poured the wood hardener into a plastic cup and began brushing it onto all of the soft areas. Make sure to do this outside or in a well ventilated area because the fumes are very strong!

This was so easy to do. I went over each of the soft spots several times and I was very generous with the amount that I was applying. It dries really fast so I was able to apply several coats as well. I ended up putting on three generous layers of the Wood Hardener. Be prepared – your brush will harden too!
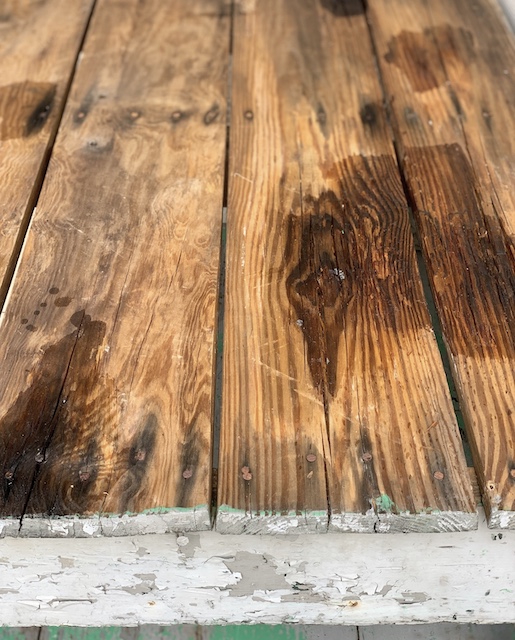
I did discover that Wood Hardener does not dry clear and I didn’t like the look of the splotchy top. So, I decided to add a final layer of the Wood Hardener to the entire top at the end to even out the coloring.
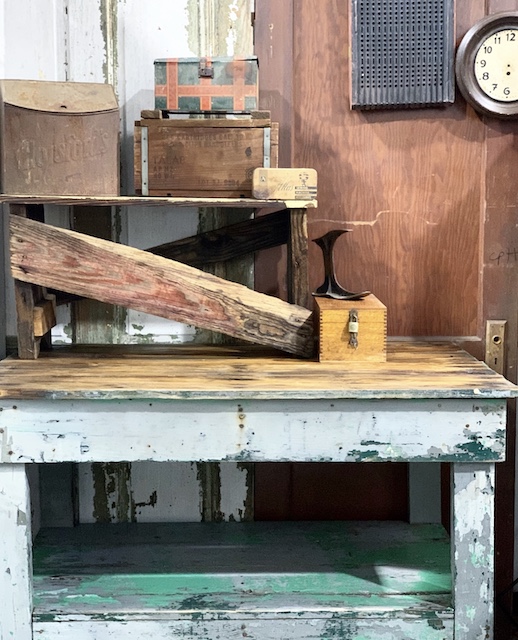
Overall I am so pleased with the way this product worked. If I had to describe it, I would say that it is like putting a really sturdy ‘top coat’ on the soft areas. Although I could still see and feel the soft spots, it did greatly improve the top. While it isn’t quite like replacing the boards, the soft spots did seem to be ‘stronger’ when I pushed on them. I will defiantly be using this Wood Hardener again on other pieces! (You can click here to see other products I love to use.) I hope you will give this product a shot if you ever find the need to toughen up some spots on one of your pieces!




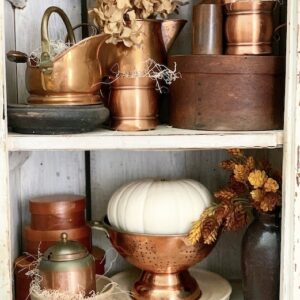 What To Use To Clean Copper: Fridays At 5:00
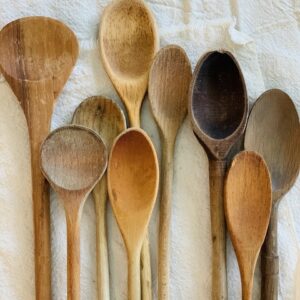 Vintage Wooden Kitchen Items: A Short List and How To Care For Them
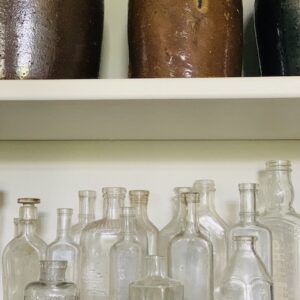 How To Clean Old Bottles
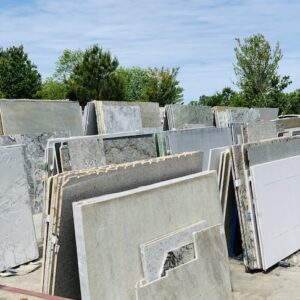 New Quartz Kitchen Counters

