Who doesn’t love a good pumpkin DIY? This one is quick and easy and with only a few materials you too can make this 7 minute yarn pumpkin!
A few months back I shared a quick and easy yarn heart idea (click here to see that) and you guys loved it. I loved how easy the yarn hearts were and so did you all and I wanted to do a ‘fall version’ of that ….using pumpkins of course … here on the blog.

I tried a few different yarn heart strategies. Some methods were too messy (like cutting a hole through the center and running yarn through it). Other methods would take forever (like using a hot glue gun to glue yarn – piece by piece) to the pumpkin). The method I am about to share was by far the easiest and the fastest!
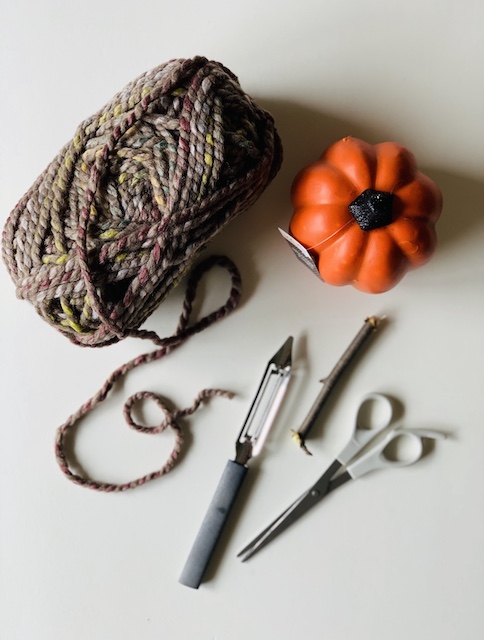
Materials:
You very well may have many of these items right at home already! If not, your local craft stores will have what you need. I did have a bit of a hard time locating foam pumpkins this year. I eventually found a handful at Walmart!
- Foam Pumpkin
- Yarn
- Stick
- Apple Peeler
- Scissors
- T Pins/Glue Gun (as needed)
7 Minute Yarn Pumpkin Steps
take off the top
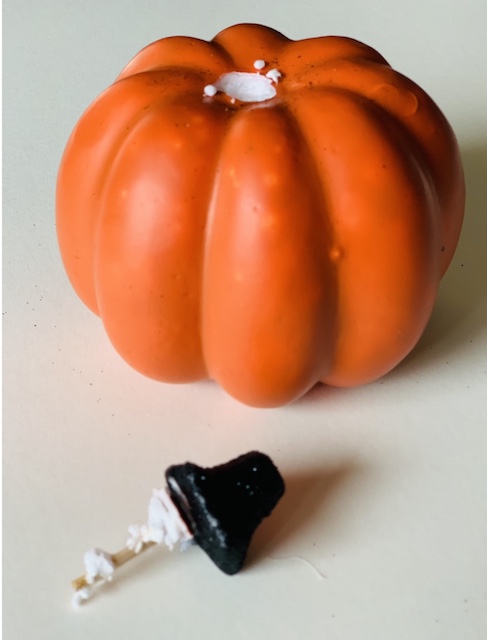
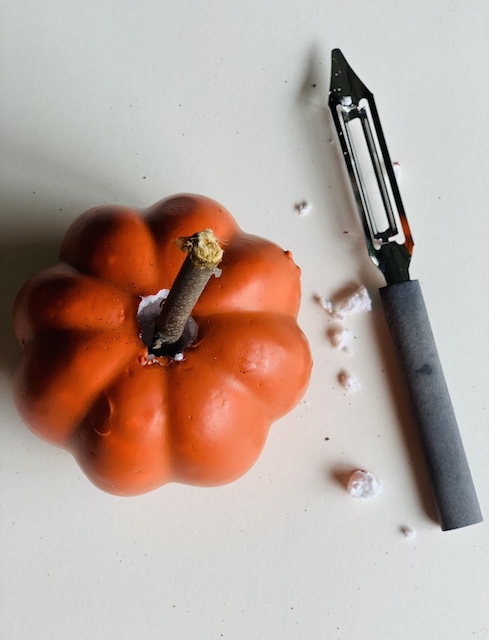
This may be the most satisfying part of the whole process. Simply take your foam pumpkin and pull off the stem. We are doing this to create a spot for the new stem. I am using a stick from the backyard for the ‘upgrade.’
create a spot for the new stem
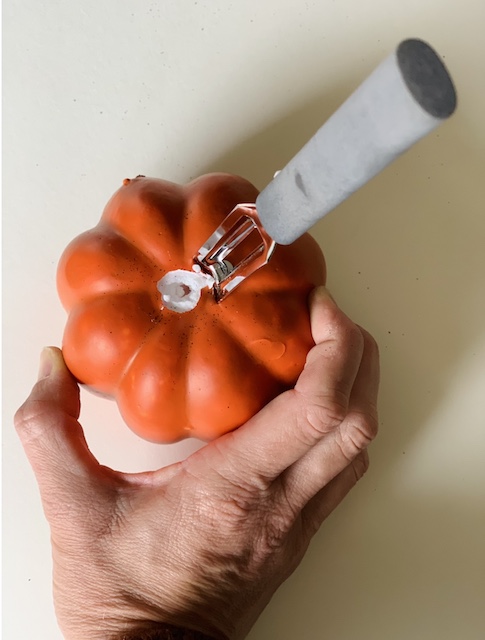
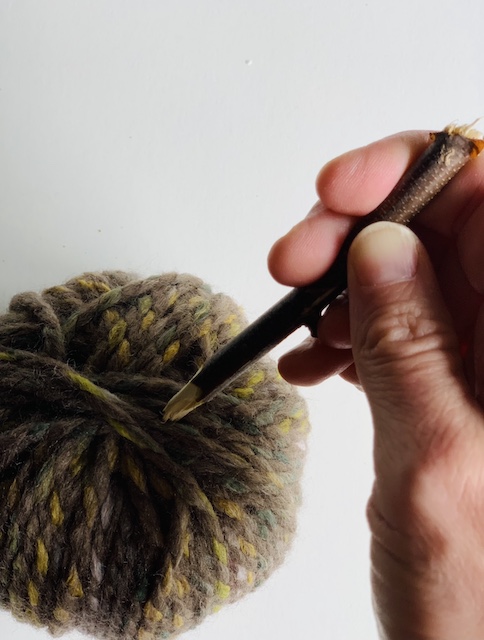
All you need to do to create a spot for the new stem is to take your peeler and stab the center of the pumpkin where the original stem was and remove a bit of the foam. You don’t have to take out a whole lot of the foam – just enough for the stem to sit nicely inside.
removal
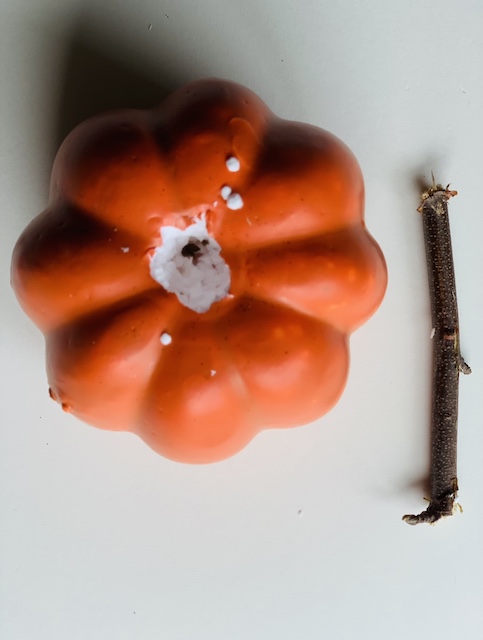
Remove your stick stem and set it to the side for later.
yarn time
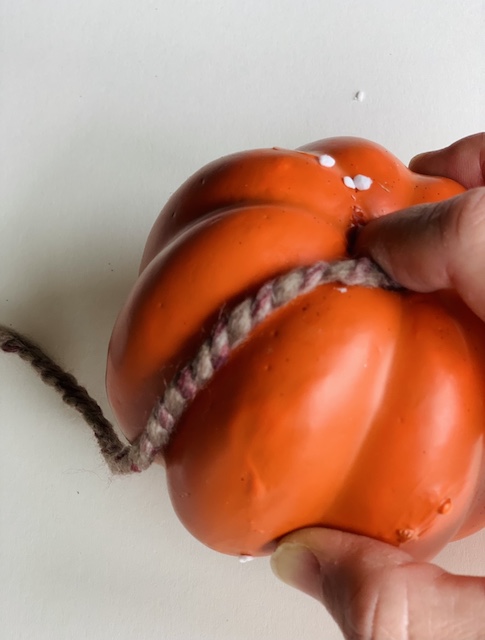
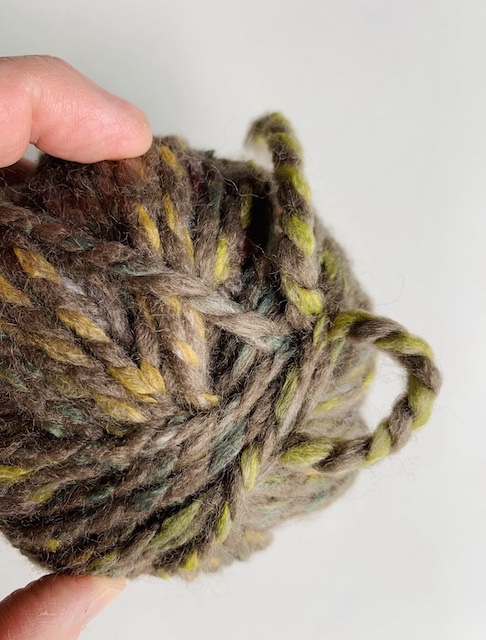
Now, it is time to begin wrapping your pumpkin with yarn. To start, just grab your ball of yarn and find the very end. Tuck the end of the yarn into the hole that you just made with the peeler. You will want to secure the end of the yard (inside the hole) tightly with your finger. Just give it a little pressure against the inside of the pumpkin. That should hold it for a few seconds!
wrap tightly
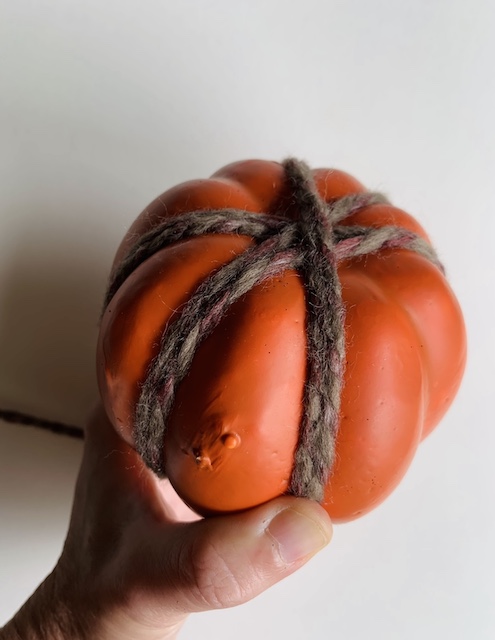
You are now ready to begin wrapping. The key here is to wrap it ‘tightly’ and ‘secruly.’ You want to make sure that the yarn is stretched pretty well so that there is minimal sagging. If you notice some sagging, don’t worry. We will touch on that later. (After a few wraps you will feel that the end (inside the pumpkin) is secure and you will be able to let go of your finger.)
vary the directions of the wrapping
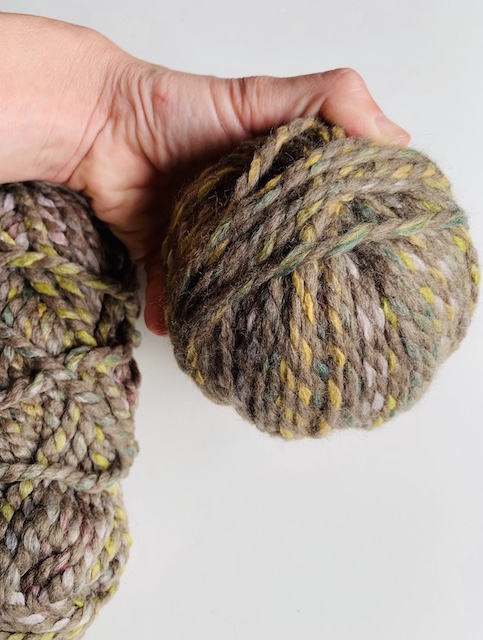
As I wrapped the yarn, I noticed that I naturally kind of filled in the groves first. After that I made sure to go in all sorts of different directions, in order to avoid large ‘clumps.” (Think of it like a clock: be sure to cover 10 and 2 for a bit. Then cover 6 and 12 for a bit, etc…. – I hope that makes sense.)
don’t worry about little gaps
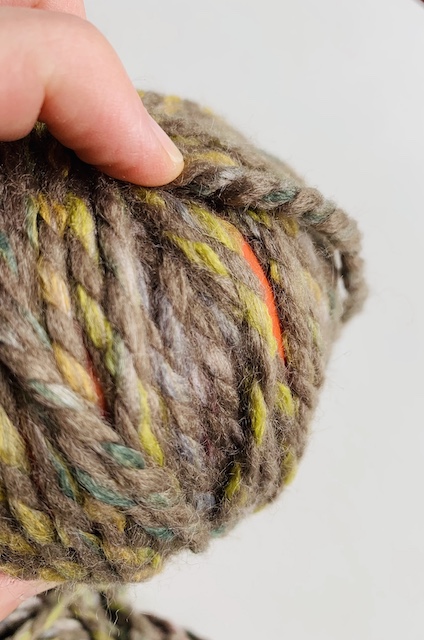
Also, I wasn’t worried of the yarn moved a tad and exposed a bit of orange. These easy yarn pumpkins are not meant to be perfect! They are going to be sitting on a shelf or popped into a bowl so it will be easy to hide any imperfections anyway.
knot it up
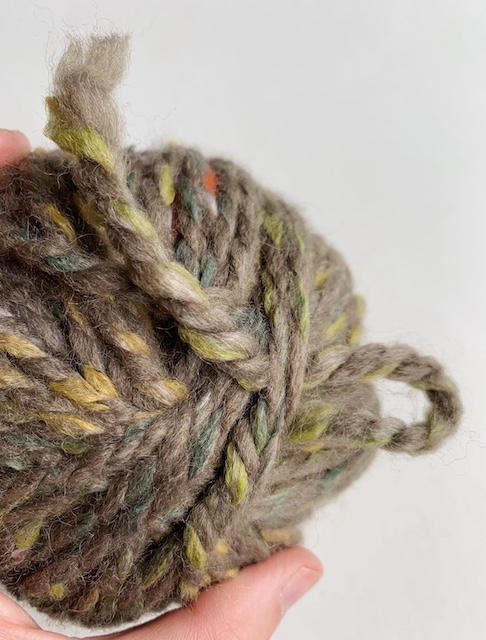
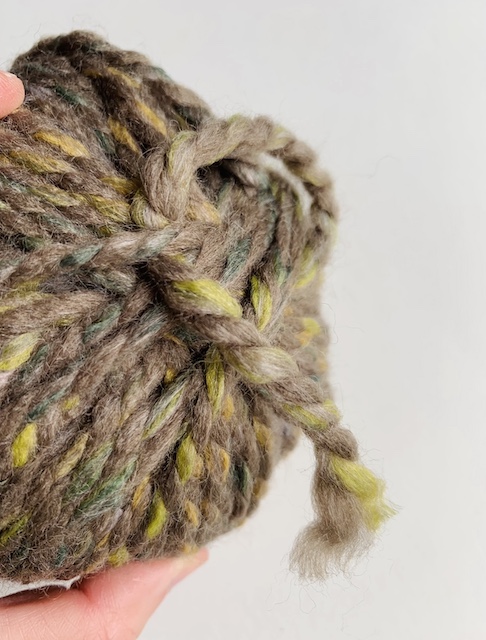
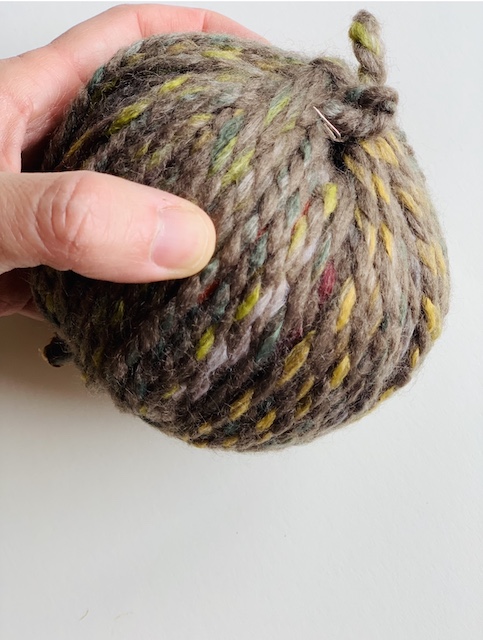
Once you are done wrapping your pumpkin then it will be time to secure the end of the yarn. To do that all I did was tuck the end of the yarn into and through a section of the wrap! I did this two or three times and then I simply added a knot at the end.
give it a little trim
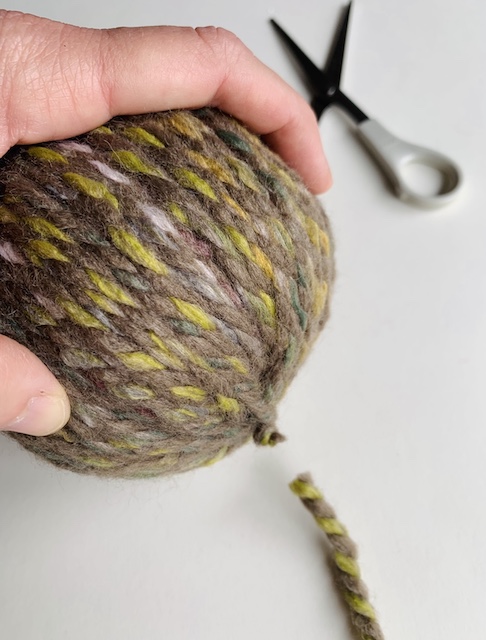
Once you are done wrapping your pumpkin then it will be time to secure the end of the yarn. To do that all I did was tuck the end of the yarn into and through a section of the wrap! I did this two or three times and then I simply added a knot at the end.
add the stem
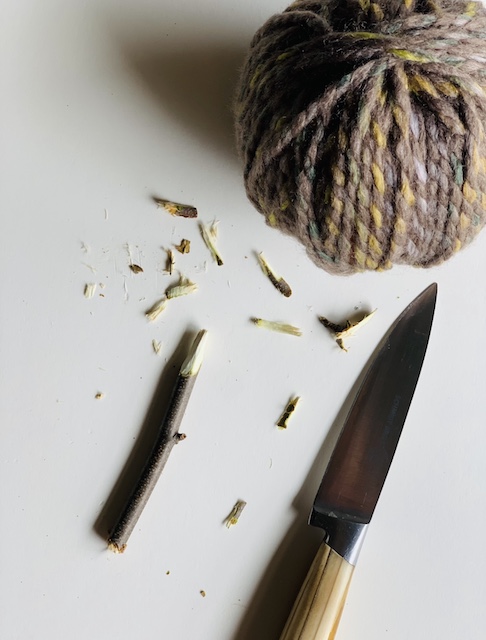
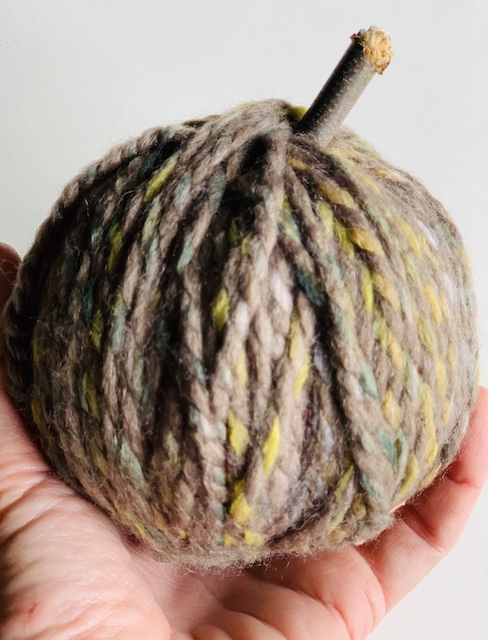
Now you can add the stem. I simply took a branch from a tree that we have outside and cut off a small section of it. I used a kitchen knife to create a ‘point’ on my stem and then I just pushed that stem right through all the yarn at the top and into that hold that we created with the peeler at the beginning of this project.
fix any sagging
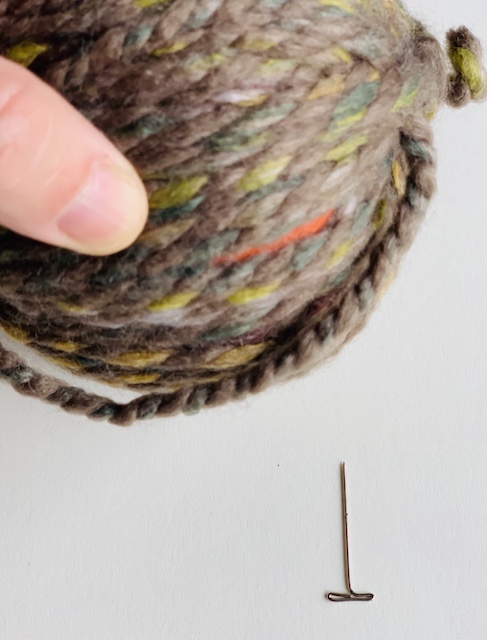
*At this point, if you notice a little ‘sagging’ in your yarn do not worry! You can simply pull it tight and tuck it into a neighboring section. If that doesn’t work, like in the photo below, you can you a T Pin to secure the ‘sag’ or you could even use a dab of hot glue! I would encourage you to pull the string as far down towards the bottom of the pumpkin as you can so that the ‘mend’ can be hidden more easily.
finishing touches
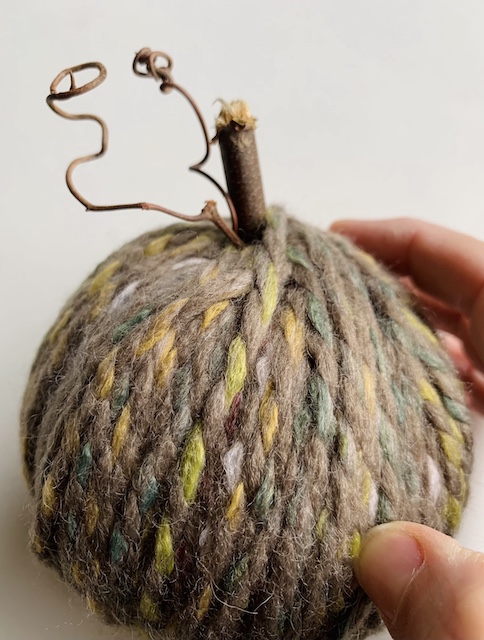
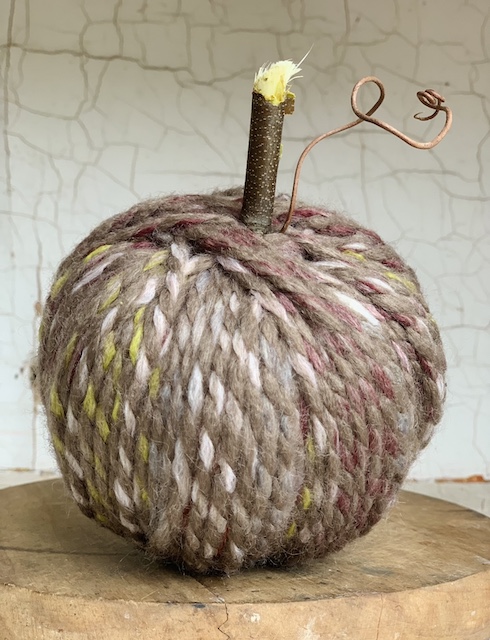
Finally, if you want to make your yarn pumpkin a little more fancy, just snip a few curls off of a grapevine wreath of you have one (or maybe even a small little leaf from a tree outside) and tuck in into the pumpkin where the stem is added.
Style Your Pumpkins
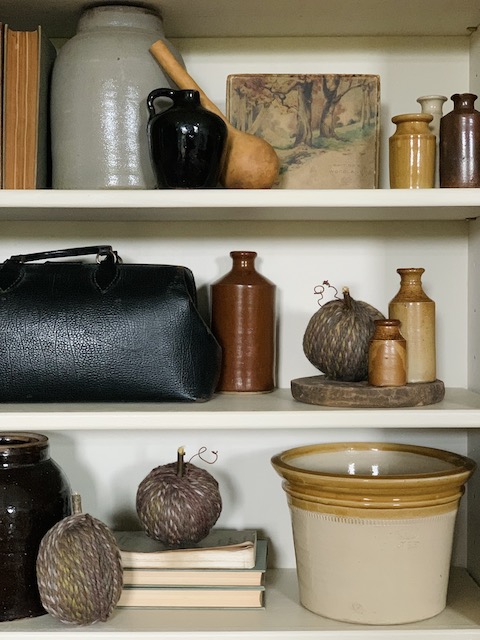
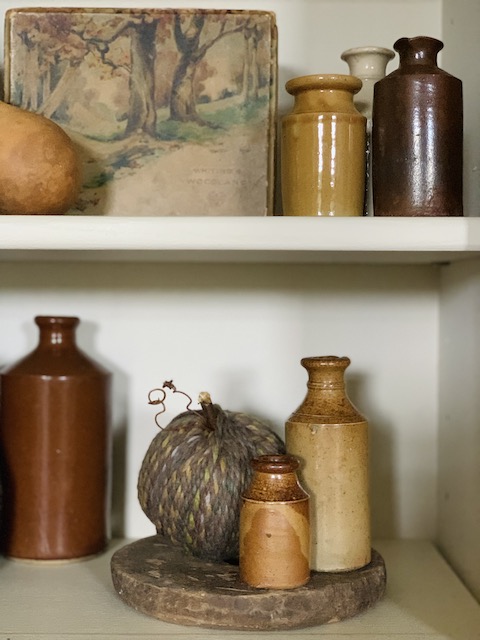
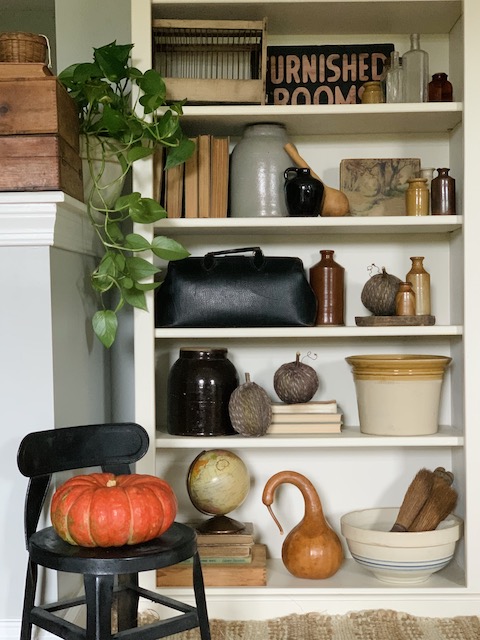
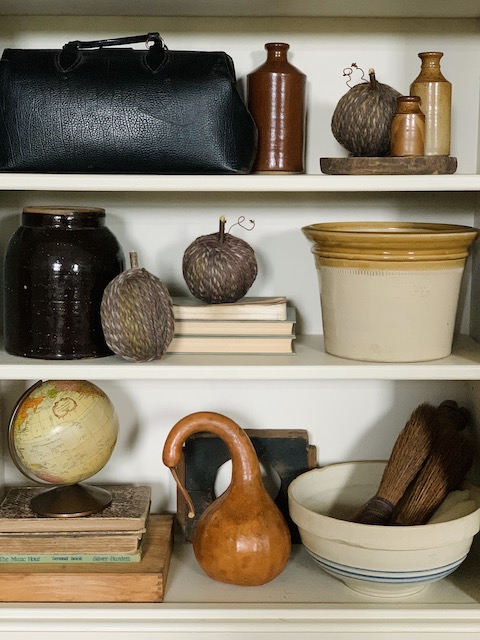
I was just thrilled with the way these turned out. The best part of all is that this little DIY was a both quick and easy! It also was a fun little craft that I could do without having to think about it too much – I need little creative outlets like that every so often.
Wrap Up
These little fall yarn pumpkins are sure to be a fun and easy craft to do alone or with your kiddos! The possibilities are endless and with only a few supplies (many of which you may already have) you can have your very own pumpkin patch!
Thanks so much for taking a moment to check out these simple yarn pumpkins. If you make these, let me know over on Instagram!
 Simple Dollar Tree Ghost Transformation
 How To Build A Birdhouse With Scrap Wood
 Top 5 Blog Posts Of 2021: Fridays At 5:00
 Mirror Makeover Using Rub’n Buff


Cute idea🧡🍂🍁🍂🧡Thank you for sharing..gotta give this a try🧡
Love them! Thanks for the tips!