Sharing a very quick and easy Christmas bell DIY that only requires a can of spray paint and a little rub n buff!
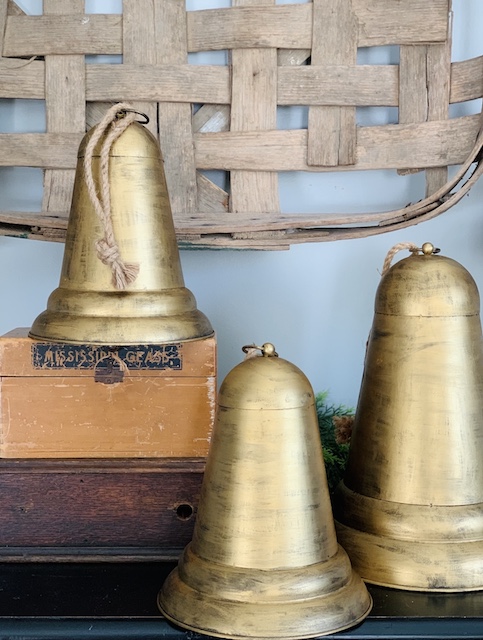
Let me tell you a little story about a busy mom who really wanted a set of large bells like these from pottery barn for the holidays. The reason I even know about bells like these is because my mom was gifted a set of them from her sister not long ago. She displays them year round in her kitchen and every time I go ‘home” to eat a meal, I stare at them longingly … in hopes that one day she may give them to me. I really, really like her huge golden bells.
Fast forward to this Christmas season. Mark was pulling out all of the Christmas totes and bins from the attic and as he was passing down all of the things the attic stairs one by one, my eye caught a glimpse of something. There, staring right at me from the inside of a clear plastic bin were a set of old bells that I had purchased from Walmart … of all places. There were three bells to be exact – and they were big! I was so happy because as soon as I saw them … an idea hit me like a ton of bricks.
A few months ago I transformed some thrifted turkeys into (what I called) golden gobblers (see that blog post here). I just knew that I could use the exact same technique on these bells! So, the next day, I gathered all of my supplies and got to work! It really is very, very simple. Let me share the quick and easy Christmas bell DIY transformation with you!
How To Transform These Bells For Christmas
Materials
- Bells
- pliers
- Flat Black Spray Paint
- Rub N Buff
- Paint Brush
- Paper Towels
Steps
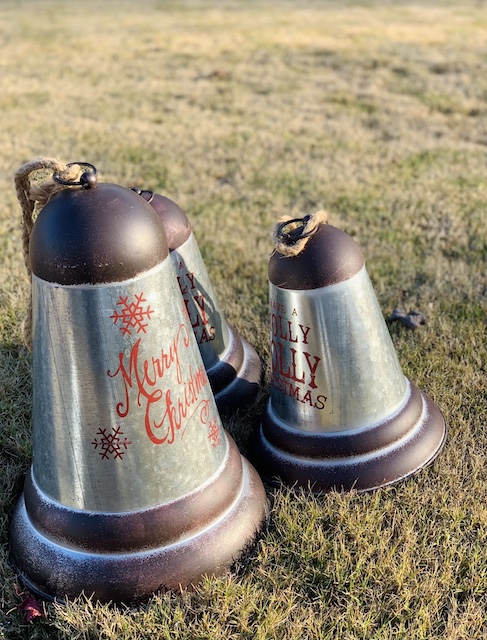
Each of the bells that I was working with had a thick rope attached to a ring at the top. So, the first thing that I did was to take the rope off so that it did not get paint on it. I had to use a pair pliers to open the ring and then I was able to slide the rope right out.
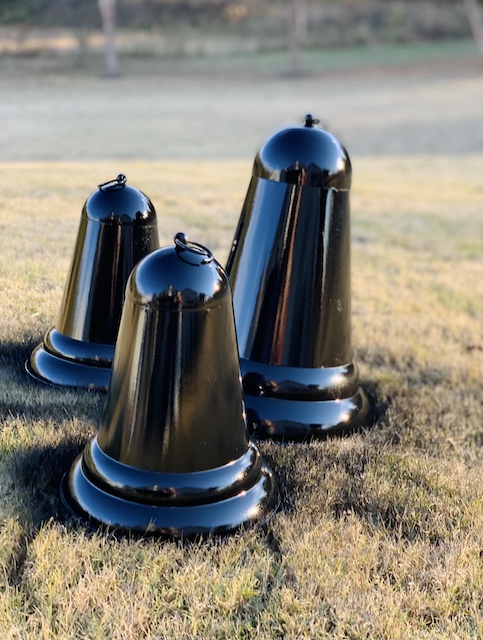
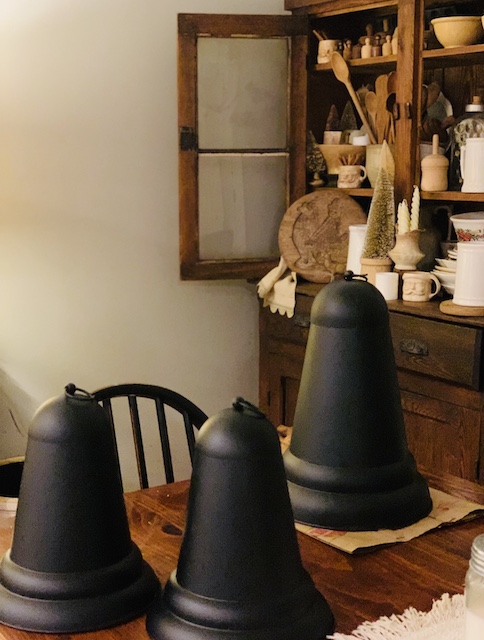
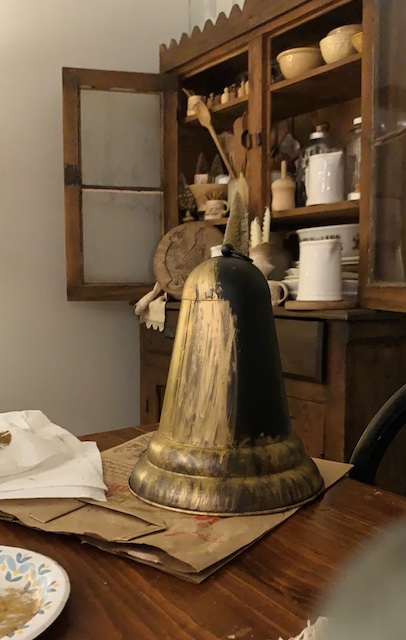
Next, I sprayed each bell with flat black spray paint. It took a few coats, but eventually each bell was a beautiful black. Now, a word to the wise here. I highly recommend that you out a piece of cardboard under your bells before you spray them to protect your grass. I was being lazy and I did not do this step and my grass paid a hefty price.
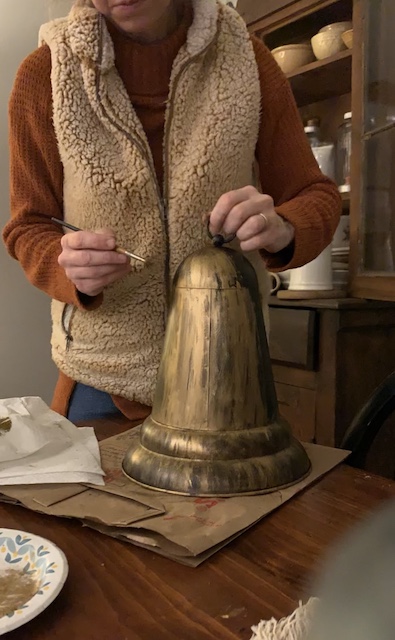
After the black spray paint dried, I brought the bells inside and began the next step. I painted each bell with Rub N Buff in the color gold leaf. This took a little while to do, but was very easy. I applied the rub n buff to each bell (a little goes a long way) and then I used a paper towel to smooth out the brush strokes. I wasn’t as careful when applying the first coat of the rub n buff, but I really paid close attention to smoothing out the brushstrokes on the second coat for sure.
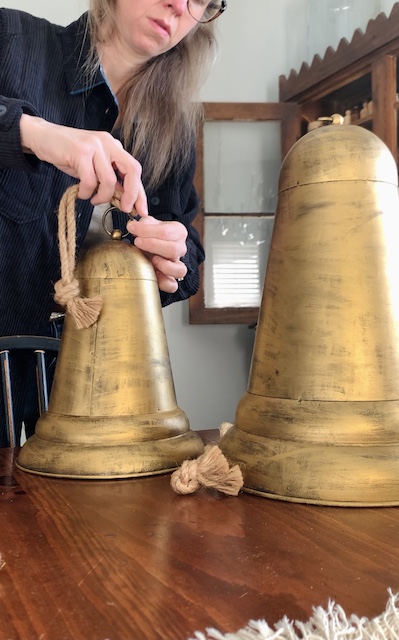
I let all three bells dry for several hours. And then, once they were dry, I reattached the ropes to the tops of each bell.
Style Them
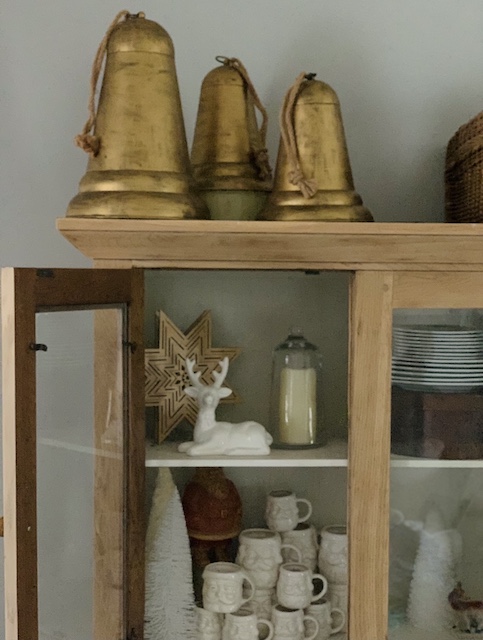
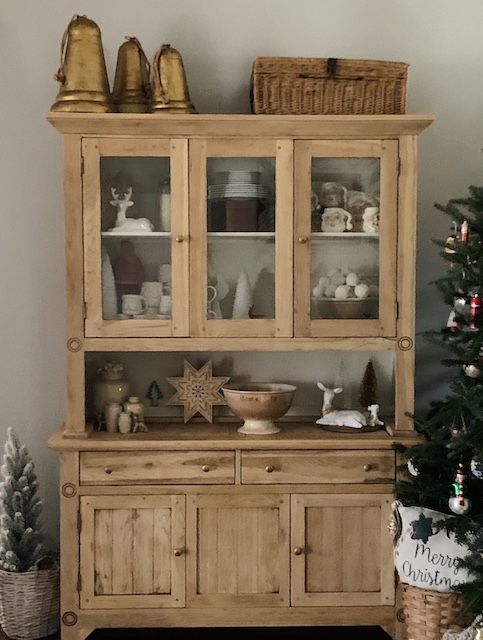
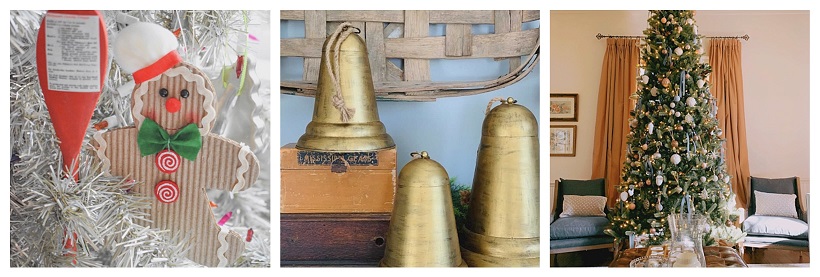
So this is always the best part! I love the challenge of styling new pieces and because these bells are so big knew that I wanted them to be up high. I tried a few different places but then settled on the top of my newly sanded piece that I just completed. There were a set of glass trees here, but I think I like the bells here better! They now sit close to our family Christmas tree and they really coordinate well with the glow of the lights on the tree!
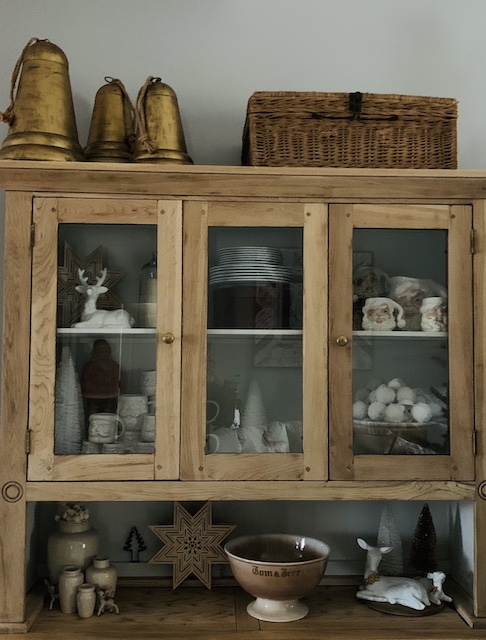
I am excited to add a few more bells here to this cabinet as I find them. I love that fact that I will easily be able to match up any new bells using the steps that I listed above. Even if I find bells that are bright red or white as snow, I will be able to match them up in just a few steps!
Shop The Materials
I am sharing the supplies that you would need to do this project just in case you are interested in transforming any old bells yourself in the future!
Just in case you are looking for some great bells that are already gold – I am including some of below!
Wrap Up
I hope you enjoyed this quick and easy Christmas Bell DIY Transformation. It really is amazing what you can accomplish with a can of spray paint and some elbow grease! Oh, and if you want to try a few other Christmas DIYs then may want to try:
If you try this then please let me know! I want to see those Christmas bell DIYs! Thanks for taking a minute to read!
Good To Be Home Blog Hop
As you may remember, the first Monday of each month, I join in with a bunch of talented ladies for a blog hop where each of us discuss ‘all things cozy home.’ I am so excited to be sharing these talented ladies with you.


 Santa Blow Mold Styling
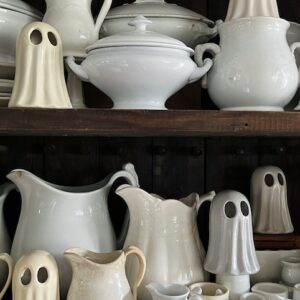 Simple Dollar Tree Ghost Transformation
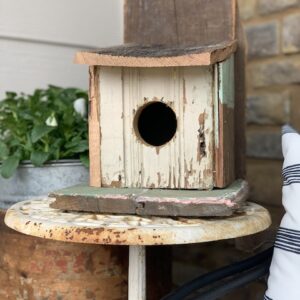 How To Build A Birdhouse With Scrap Wood
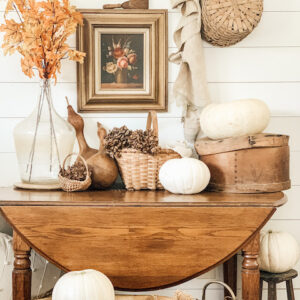 Simple Fall Table Decorating


I love how they turned out, Emily! So fun for Christmas 🥰
Thanks my friend. so much fun being in this hop with you!
These belles turned out beautiful. I love that you took something so very pedestrian and made it into a very high end looking piece. It is seeing past the surface to the bones of an item. Great job!
You nailed it my friend. Thanks for the kind words and it is my honor to be in this hop with you!
These are beautiful, Emily! I’m on the hunt for some bells, and now this opens up a lot more options!
Thank You … and yes, hopefully you can do it on a budget!
Emily these bells turned out amazing! Rub & Buff is such a cool product!
Thank you so so much. I do love Rub N Buff and have used it many times!
Oh Thank you so so much. She is french Canadian!
They look amazing! Might try that for next year.
What an AMAZING idea Emily!!! They turned out beautiful and I love how you styled them. I for sure want to try this next year! Thanks for sharing!